Friday 17 July 2020

How I Paint Mantic Kings of War Orcs - Part 5, Finishing Touches

Concluding my step-by-step guide to painting orcs.  You can find part 1, assembly, here, part 2, basecoats, here, part 3, highlights, here, and part 4, shading/washing, here.

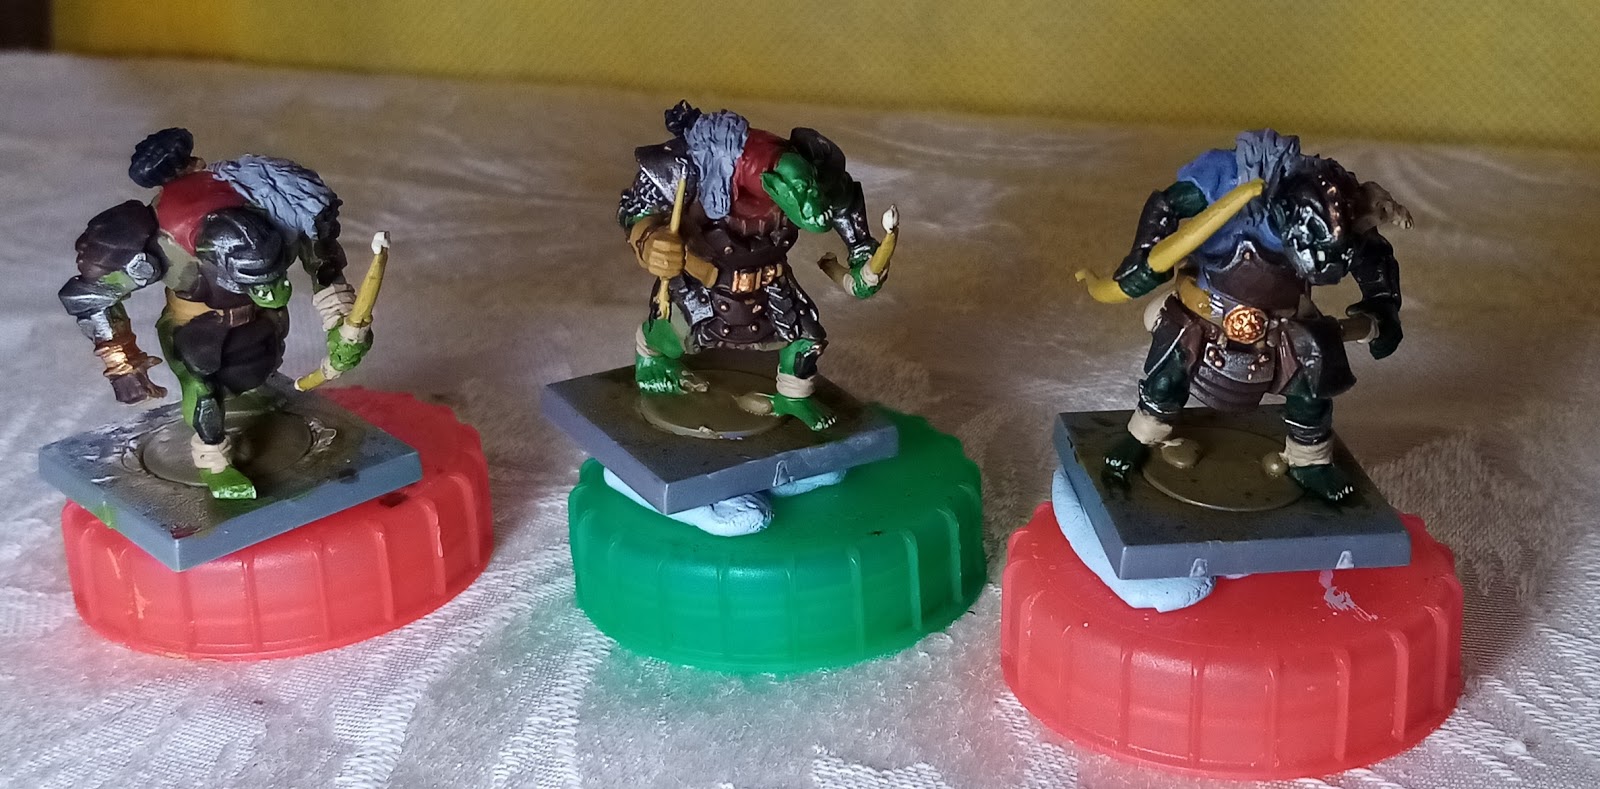
The final stage just adds some details and sorts any tidying up that is required. For the Skulks, I painted in the eyes using VGC Hot Orange and added some highlights to some of the teeth. The face is the focus for a model, so it's worth paying a bit more attention to this.
I also gave the fur an extra drybrush, again with VGC Stonewall Grey.


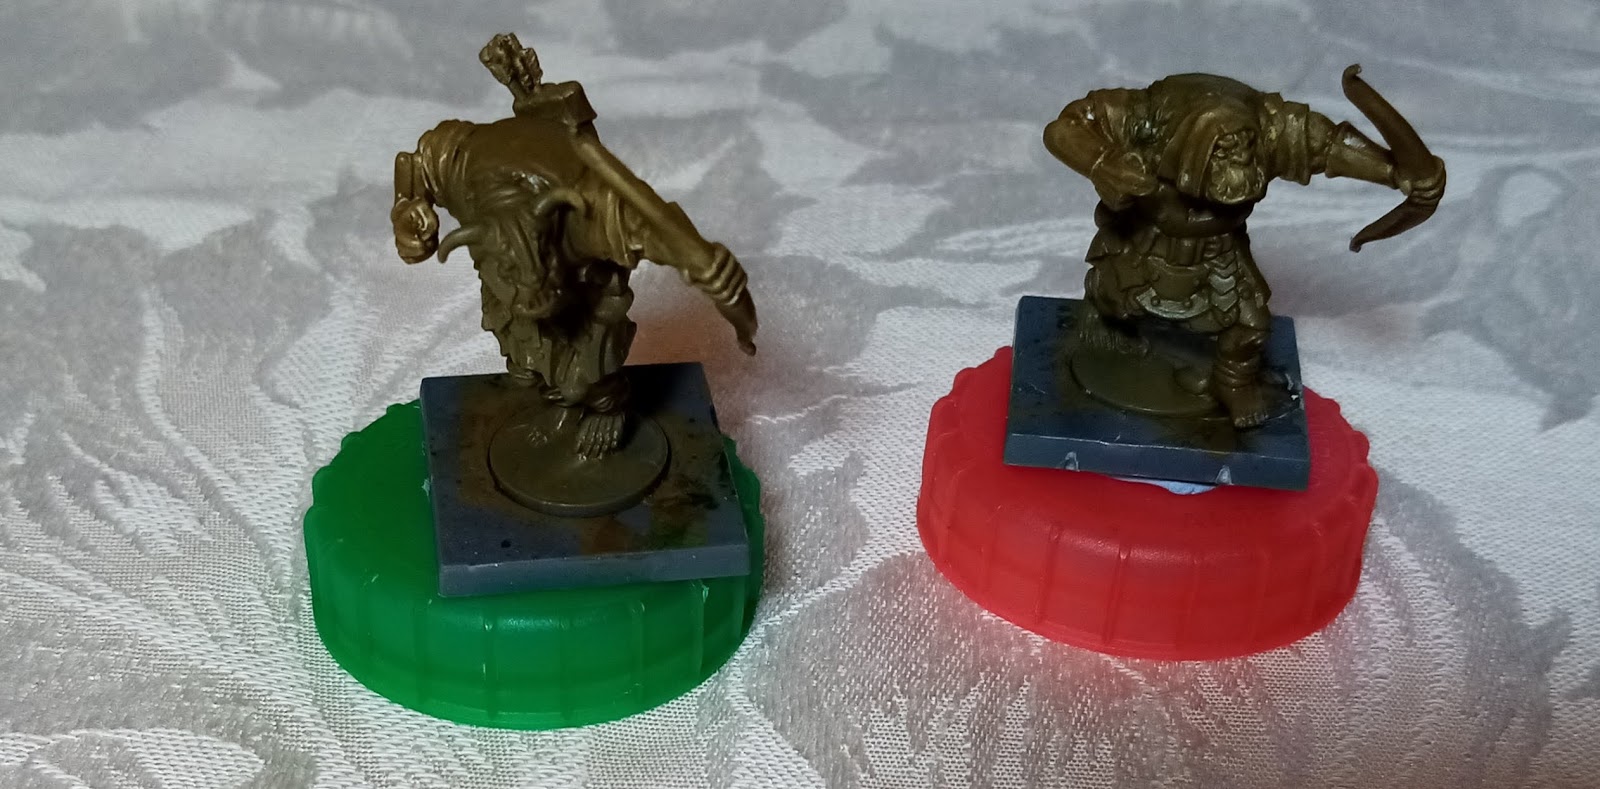
Once everything is dry it's simply a case of varnishing (if you feel it's necessary) and then basing as required.

I've seen too many paint jobs get worn and chipped to not varnish. Back when I used Army Painter dips they solved that problem, but did need something to matt down the gloss finish. Nowadays I use Wilkinson's Clear Gloss Yacht Varnish, which gives a very tough finish. Keep the coat thin, if applied too liberally it can give a slightly yellow tint. The stuff takes at least 24 hours to fully dry. Then I brush on Windsor and Newton Galeria Matt Varnish. I used to use Army Painter Antishine, or even Games Workshop Purity Seal, but I find the W&N stuff gives a much better matt finish. It usually takes a couple of coats though, it's virtually impossible to completely cover the mini in one coat.

If a mini has a shield I paint any emblems on top of the gloss varnish. The smooth surface makes it easier and it gets a protective coat from the matt varnish.

I hope this has been a useful series.  Please leave a comment about how you paint wargming units.

This is pretty much how I paint most things now apart from heroes and RPG character minis. I used to just do a basecoat, albeit much lighter, and dip, but I like the effect of the highlight stage, and they are just ordinary troops after all.

Using the shade washes does somewhat limit the colour choice. Light greys, white and blues can end up looking dirty. I tend to choose colour schemes with this in mind though. If necessary, washes can be applied to individual areas to mitigate this. White, for instance, can be washed with VGC Light Grey Wash, as I did on the Star Saga lab technicians.

I can't think there is a need to do a post on the varnishing (just imagine them all shiny, then all matt), but the basing will be the same as the orc demo army I painted under 'Fighting Apathy' which gets a post all about basing (once it's done).


Thursday 16 July 2020

How I Paint Mantic Kings of War Orcs - Part 4, Shading/Washing

Continuing my step-by-step guide to painting orcs.  You can find part 1, assembly, here, part 2, basecoats, here, and part 3, highlights, here.

Last time the orcs were looking a bit garish, with bold, bright highlights. The shading wash tones down these extreme highlights and adds additional shading.

When I first started painting Kings of War armies I was also first using Army Painter Quickshade dip. I found the results good enough to get an army done pretty quickly, and used it on my old orc army, the few units of goblins I have done, and my previous demo armies of undead and dwarves.  It does need some care not to flood detail, and I soon decided that brushing it on gave more control than just dipping.

When Army Painter released Quickshade washes I tried those, and preferred them as they were easier to control and even permitted different shades to be used on different parts of a mini. I still wanted to varnish, though.

Experimenting with 15mm minis (see my League of Rhordia, my Greeks and my Ogres) led me to try lightening the shade, eventually I settled on a 50:50 mix of Strongtone and Softtone.  This smooths out the harsh highlights, adds depth and avoids the dark, dirty look that some of my minis are guilty of.

Anyway, here are the orcs with their shade wash done.  The VEO Heavy Grey hasn't quite worked as well as I would have liked this time, I will admit to rushing the highlighting stage a bit, but I'm pleased overall.


Now there are just a few details to paint in that would have been obscured by the shade wash, then varnishing, basing etc.

Wednesday 15 July 2020

How I Paint Mantic Kings of War Orcs - Part 3, Highlights

Continuing my step-by-step guide to painting orcs.  You can find part 1, assembly, here, and part 2, basecoats, here.

Once everything is dry I add the highlights.  Because we are going to add a shading wash afterwards, they don't have to be too subtle, they need to stand out.  In fact, after this stage they should look a bit garish.

I add the highlights in pretty much the same order that I painted the basecoat. So starting with the flesh, the VEO Blackgreen is highlighted with VGC Sick Green.  Where Sick Green is the basecoat, I highlight with VGC Goblin Green with a touch of VGC Escorpena Green (Livery Green is a good substitute).  The Goblin green gets a highlight of pure Escorpena Green.
The Gunmetal Metal is highlighted with VGC Chainmail Silver.  As the armour etc has already been given a black wash this is more of an edge highlight on armour plates and blade edges.

Gory Red is highlighted with VGC Bloody Red, Sombre Grey with VGC Steel Grey, Heavy Siena with VGC Beasty Brown and Heavy Grey with VGC Dead Flesh.

Leather armour plates are edge highlighted with VGC Earth, and the various leather straps etc with VGC Plague Brown.  Khaki cloth items are highlighted with VGC Bonewhite, and horns, large armour skulls etc in VGC Off White.  Wooden items are given some streaks of VGC Khaki to represent wood grain, but I'll admit to not being very good at this.  Any large bronze items are highlighted with VGC Glorious Gold, but I don't bother with small stuff like the studs.

Last time I forgot to add some dark shade to the furs.  A line of Army Painter Dark Tone (or other similar wash) gives the fur a more realistic look, as many animals have darker fur down their spines.
The fur was then drybrushed with VGC Stonewall Grey.


Once everything is dry, it probably looks a bit of a mess.  The wash will bring everything together, trust me, part 4 is here.

Tuesday 14 July 2020

How I Paint Mantic Kings of War Orcs - Part 2, Basecoats

I'm working my way step by step through another unit of orc Skulks to demonstrate how I go about painting them.  Part 1 showing assembly can be found here.

Once the undercoat was dry, I got the orcs basecoated.  I have an order in which I do things, sort of sub processes I suppose, I've found it helps to organise myself like this.

First I paint the skin tones.  I use three different base colours, Vallejo Game Extra Opaque Heavy Blackgreen, Vallejo Game Color Sick Green and VGC Goblin Green.
Then the armour and other metal items in VGC Gunmetal Metal.  After this stage is an excellent time for a cuppa.

Then I paint the cloth in a combination of four colours, either VGC Gory Red, VGC Sombre Grey, VEO Heavy Siena or VEO Heavy Grey. I pretty much randomly assign colours to different bits of different models, though I try to avoid having similar posed models having too similar colour schemes. Another short rest for a cuppa and a biscuit, then on with the details.

As these were skulks and I wanted them to look less well armoured that other orcs I painted some of the armour plates in VGC Charred Brown.  I also painted the fur capes VGC Cold Grey.  All belts, straps etc were painted VGC Leather Brown and wooden items were painted VGC Desert Yellow.
Cloth items such as bags, pouches and the wraps around the orcs' ankles were painted in VGC Khaki, horns, teeth and nails and some of the skulls decorating the armour were painted VGC Bonewhite.
I painted the feathers and knife handles Vallejo Model Color German Grey and added some details such as metal studs in VGC Bright Bronze.  I often paint random armour plates or decorative detail in bronze for my other orc units, but I wanted to emphasise the lightly armoured nature of the Skulks.


Once everything has been given a good amount of drying time I wash the metals with VGC Black Wash, and since I wanted the leather armour to look dark, I gave those bits the black wash as well.


Then it's drying time, and on to the next stage, highlights.

Monday 13 July 2020

How I Paint Mantic Kings of War Orcs - Part 1, Assembly

At T'other One's suggestion, here's a step by step guide to how I paint my orcs. Since he requested it I chose his favourite unit, a troop of skulks.
I'll split the process over several posts, beginning with assembly and undercoating.

I built the eight orcs using two of the Ax sprues and one Greatax sprue.  I used some of the metal components left over from the previous skulks (as seen here) and added more bows from Mantic's plastic goblin sniffs sprue.  When I built the last troop, and when I did the Morax, I struggled to find sufficient left arms that weren't holding a shield, but I remembered I have a lot (and I mean a lot) of the Warpath orcs, I was sure they wouldn't have shields, and a quick check revealed that they included a left arm with a rather impressive knife and another that just ended in a stump (designed to have any one of several SciFi type bits attached).  Ideal to add a bit of variety to the skulks.
As before I have added greenstuff fur 'capes' to conceal some of the joins and also to cover up some of the bulky armour shoulder pads.  I trimmed some of the armour plates down a bit as well, especially if they had extravagant ornamentation, and shaved off the fancy decoration on the breastplates of the Greatax orcs so they would look better as leather armour.  Just like the last troop, I added an arrow made from wire to the right hand of one of the orcs.
Note that the orcs are just pushed into the square bases to make it easier to handle them, and when it comes to painting, I'll add some bigger temporary bases to hold on to.


Once the greenstuff was cured I gave them all an undercoat of Vallejo German Green Brown surface primer (RAL 8000).  This stuff is designed to be sprayed through an airbrush, but for small numbers of minis it works just fine brushed on.


Next up, part 2, basecoats, is here.


Tuesday 7 July 2020

Fighting Apathy 7- Mantic Kings of War Orcs Morax

The final unit for the orc demo army is a troop of Morax. As I'm not using full model count (10) I can get away with 8 orcs, which nicely fits into how I have been chunking the project.
Mantic do a Morax set, indeed I have one somewhere, but for this I felt I could manage with just the ordinary plastic orcs, as I have done previously when building my original orc army.

The orc Greatax sprue has some empty left arms, though these are mostly designed to hold a pole weapon across the body. The Ax sprue has no separate empty left arms, but one of the bodies has an attached left arm with an open hand. I used a few of these bodies, but also cut the left arm off to use on other bodies (the donor bodies will come in useful when I next build some Skulks). I have enough Mantic orcs that I don't lack for spare axes, though I did cut down a greataxe for a bit of variety on one of the models.

Once built the painting was just like the rest of the infantry. I suppose I should do a step by step guide on this sometime, leave a comment if you are interested.

The whole troop

The front rank


The rear rank

So that's all the orcs painted.  They still need basing of course; I'll show off the whole army once I've done that.

Wednesday 1 July 2020

Fighting Apathy 6 - Mantic Kings of War Orcs - Gore Riders

I planned to split this unit into two halves, the gores then the riders, to keep it manageable.  In practice, I painted each up to the highlight stage separately, then glued the riders in place ready to wash them and varnish them as one piece.  This gave better shading from the wash, and the all-over coat of varnish helps keep everything in one place.

Again the painting process was pretty straight-forward.  I pondered what colours and design to do on the shields, in the end taking the skull from the standard top as the design, as it ties in thematically with the ax regiment too.  To mix things up a bit I went for a black skull on a red field. These days I tend to paint shield designs over the gloss varnish as I find the smooth surface helps with any details, not that I'm claiming any great freehand skills. Everything is then sealed by the final coat of matt varnish.

The whole regiment 

The command orcs, the leader has a plastic head from the orc ax sprue to make him stand out a bit more.


As with other units I used varnish drying time to begin the preparation, so while the trolls and krudger were drying, these were being assembled and primed. 

Now I only have the morax to finish, they are already undercoated and if I can keep the same pace up, should be done by the end of the week.

After that, basing, and I have a few experiments to carry out before I start on that.

And there's always the dwarf opponents to paint.  Do I start afresh, as I have done with these orcs, or simply add to my previous dwarf army?

EDIT: You can see them finally based here.