The lack of any face-to-face gaming beyond February meant I didn't have target games to paint towards. I know many hobbyists have taken the opportunity to paint a brand new army, or finish some awesome terrain. Unfortunately I found the lack of targets to be paralysing, so I've probably painted less this year than in any previous year.
I have managed to keep an online D&D game going. It's set in Teramarr, like my normal Thursday night game was, but in a very different area. The players are three of the Thursday night group, and its good to still get some gaming in.
Also my son is running a D&D game for me, just two characters, a paladin and a cleric, both Dragonkin. It's been great fun, and quite an eyeopener, as I had always thought I was a GM not a player. This has been a valuable experience for me.
I've also blogged a lot less, partly because I've had less to say since I've done less, but also because I now have to use either my phone (and I really don't get on well with the Blogger app) or on an old, slow tablet, occasionally borrowing a laptop where possible. I've started many posts that have been abandoned. I still post, but it has to seem really important to me at the time to get a post finished.
One bit of good tech news is my new phone. It's nothing special, but the photos seem better than most of my earlier efforts. At some point I'd like to update some of the photos on early posts where possible.
Still, I have managed some painting, so lets look back at how well I managed the targets set in January (spoiler: not well) and what unforeseen projects sprung up.


 This was another idea shared with Merlin, and we both got some minis painted, mostly Copplestone Castings. However, the lack of opportunity to playtest meant that my enthusiasm died. I will get back to it though, the idea of mass battles in Middle Earth has always appealed to me. If we can't get our stripped down version of War of the Ring to work, we will have some minis for the Battle of Five Armies (itself a variant of Warmaster).
 In June I decided to try 8 orc skulks for Kings of War. This worked well enough that I set to and painted a demo orc army over the next few weeks. Unfortunately, I haven't yet based them, so they don't count as finished. I'm going to get on with basing them early next year.


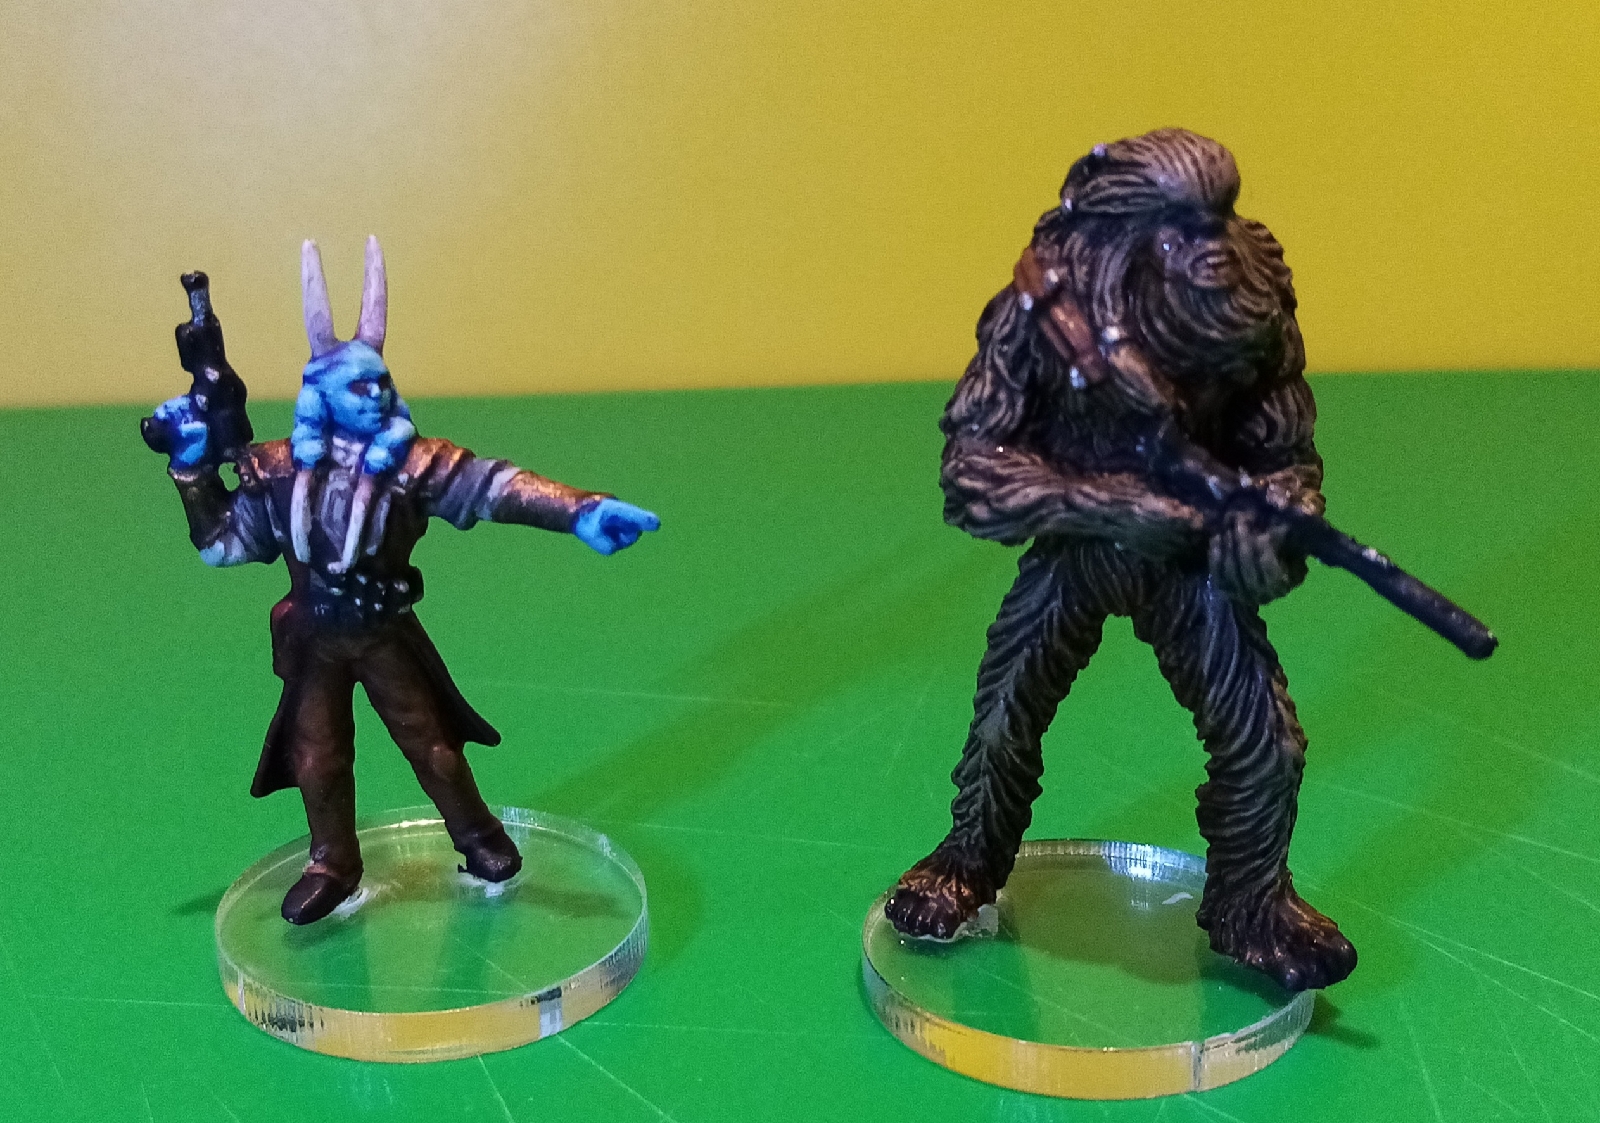
 Sticking with the idea of small projects I finished a Dreadball team, and most recently a crew of Star Wars aliens for Galactic Heroes, the Sci Fi version of Fistful of Lead.

For Christmas I got Armada, Mantic Games' latest offering; fantasy naval combat in the world of Mantica. I like naval combat games (I still have loads of GWs Man o War) and I'm interested to see what Mantic make of it. Actually, the rules are based on Black Seas, Warlord Games' set of historical rules, which seem well received, but the minis are pure Mantic. I got the starter set including 4 orc ships and 4 Basilean ships, plus an extra big ship for each fleet.
Briefly my targets were;
Finish Star Saga minis and terrain. I finished the minis, but not the terrain. We got several more games in before lockdown 1, but the lack of more Star Saga games on the horizon meant I wasn't motivated to finish the scenery items.
Paint more 15mm ogres. Yes, I got a couple more regiments of ogres done, along with some more heroes. I have plenty more to paint in the future, but I have enough ogres (and red goblins) painted to give me some choices when putting together an army for the size battles Merlin and I usually play. We were going to play an Ogre vs Goblin campaign, but of course lockdown got in the way of that, and since then we have always lived in different tiers, so no mixing.
15mm Ratkin. No, I have collected them together, but I made the decision to leave them for a while and concentrate on other armies long before lockdowns and tiers etc. I may get them out and do something with them, but they are not high priority. I haven't rebased my Greeks for sale yet either.
15mm and or 28mm League of Rhordia. I haven't touched these, partly because I am not entirely happy with the changes Uncharted Empires brought to the lists (I know Merlin feels the same about his Herd), and partly because I was painting ogres rather than halflings. Still, I have seen pictures of the forthcoming Wargames Atlantic Halfling Cavalry, and they make the idea of using my old Empire as a 28mm League of Rhordia more appealing. Besides, its time I sorted through my rather large collection of unpainted Empire and decided what to keep.
28mm Varangur. No, I found a different use for my Frostgrave Barbarians, as you will see later.
28mm Trident Realm. No, once again I've failed on this. I have various excuses for this, but regardless, they remain mostly unpainted or part painted.
28mm Lord of the Rings. Yes, I got quite a bit more added to my Mordor force. I've got plenty to choose from now, (though I've got plenty more to go at) and even got some Nazgul done. I suppose I should get another force done at sometime, perhaps I should have a look at my old Rohan minis?
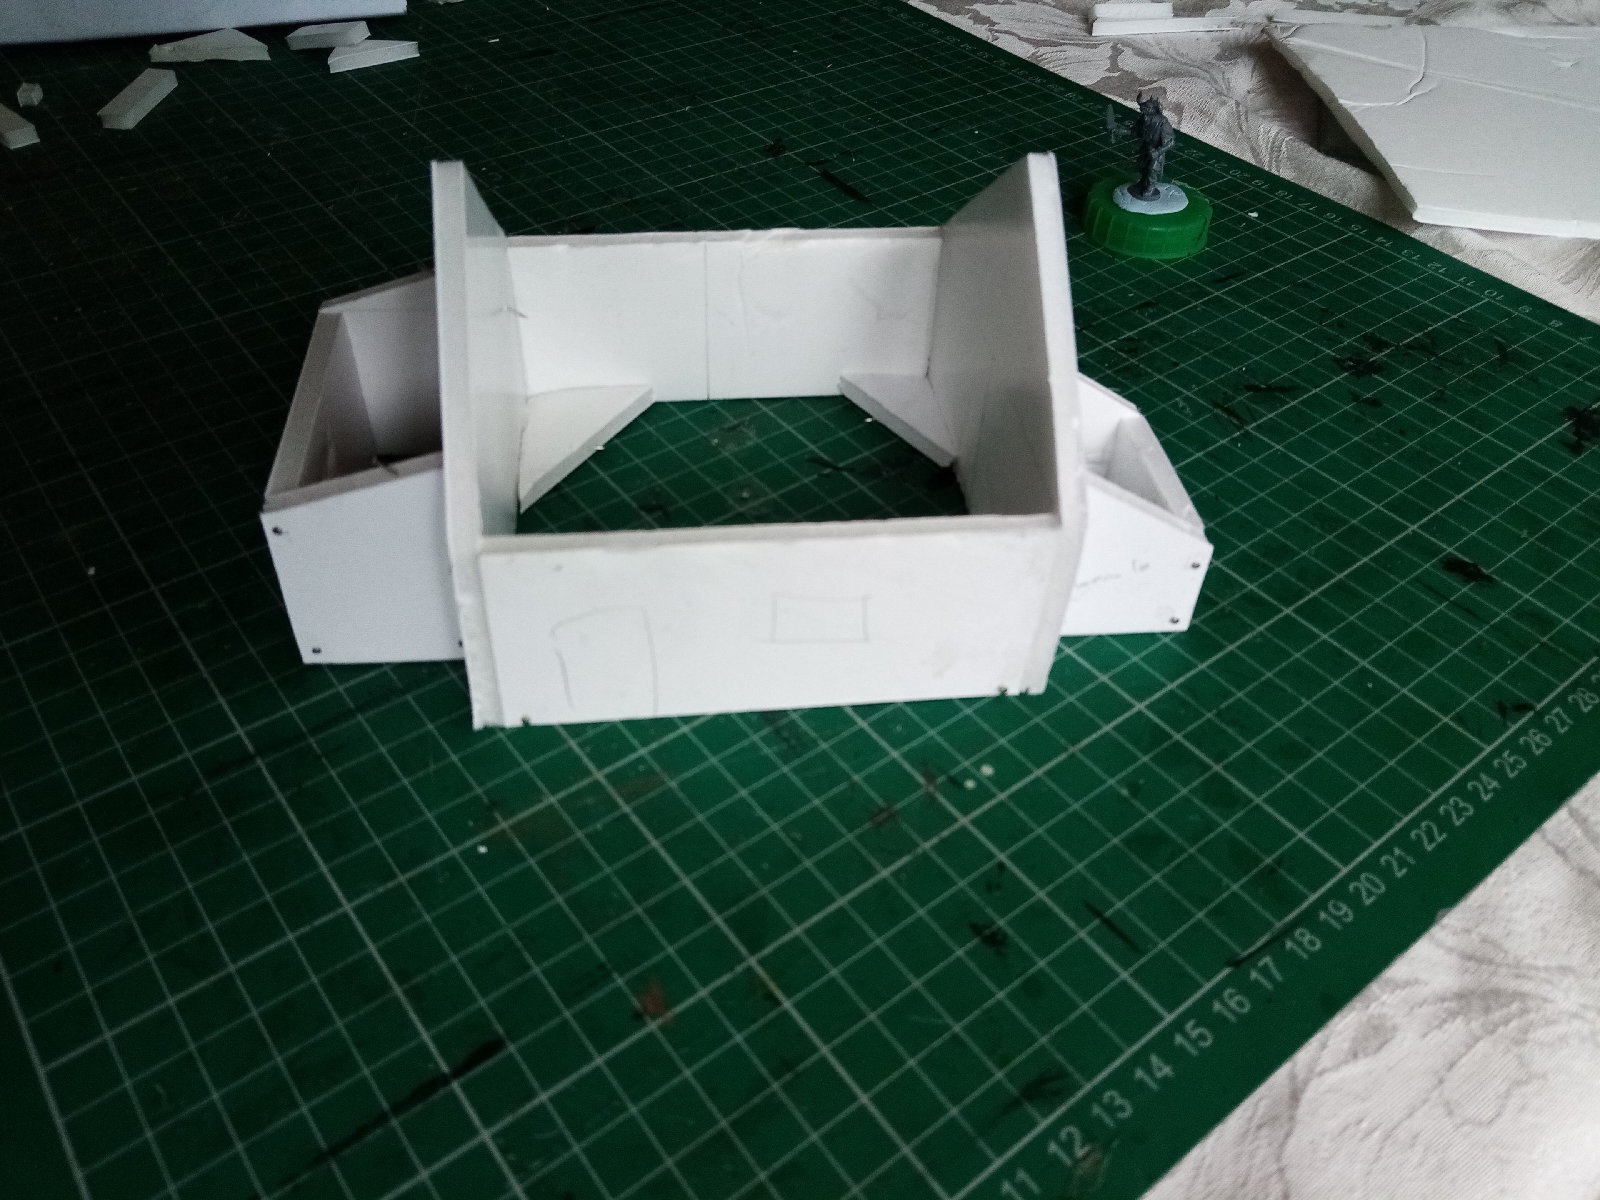
I even got some scatter terrain done, though not enough to class as the box of Middle Earth terrain I ambitiously suggested.
D&D minis and terrain. Finally, I had the continual demand for stuff for role-playing to satisfy. Well I finished the cultists, but then that campaign went on hold. The online game needs lots of maps, using Dundjinni mostly, but painting is no longer a requirement.
So those were the goals, what about the extras?
In April I started a new project, GWs War of the Ring reimagined for 10mm minis.
By May I had pretty much given up on painting anything. I was busy trying to sort through and thin out over 30 years worth of collecting minis. I needed something short and sweet to do so I tried some ruined walls This got me painting again, but I realised without a game in the offing to paint towards, I'd have to choose something that was quick to finish to give me the 'reward buzz' I needed to continue with more painting before apathy set in. This also meant that I had to abandon, for the time being, the five box system. Normally the five boxes work very well for me, but now each box was already full of unfinished stuff that had the effect of demoralising me rather than inspiring me.
Not much happened painting wise until the end of September. I got a copy of Never Mind the Billhooks, a set of rules designed to play Wars of the Roses games of up to 100 minis a side. Whilst I have no interest in historical gaming any more, I thought these would be great to try for games set in Westeros of the Song of Ice and Fire series. There are plenty of people over on the Lead Adventure forum creating their own ASoIaF minis from various bits of historical minis and I've tried this sort of 'kit bashing' before when I made a skald for my Vikings. I've collected a fair few sprues of suitable minis over the years and a wide variety of single sprues are available on eBay, so I had a go, starting with one of the Stone Crows. I've since built a handful of Night's Watch and some Wildlings, mostly using Frostgrave sprues.
Night's Watch
Wildlings
Another motivation for this was buying Wiley Games' A Fistful of Lead, a skirmish game that needs just a handful of minis per side. Ideal for these short projects I'm looking for at the moment, and also great for using some of the many miscellaneous minis I have in my collection.
I also built a 28mm cottage based on one of the old Warhammer card buildings, and challenged Merlin to a 'build off''. You can see mine here, and you can see Merlin's cottage here. I tried another building, but that is unfinished.
In summary, a lot of missed goals but a few new projects. I have learned a few valuable lessons though. I paint for pleasure, but I now realise that I need a purpose for my painting. At the moment this needs to be something fairly short term, I can't just paint in the hopes that I will get to use the minis at some vague point in the future, I have to have an actual goal.
I've also realised that I have far too much stuff. I'll continue to sort through and thin out the collection, If nothing else, any sales can be used to fund further purchases.
Despite the uncertain times, I'll set myself some targets for next year in my next post. Hopefully I'll do a bit better with those.