Showing posts with label MESBG. Show all posts

Sunday, 1 March 2026

Paint What You Got Challenge 25/26 Roundup

Well that's Dave Stone's Paint What You Got Challenge over with until December. 
I set myself a couple of goals: paint the minis for the second Rangers of Shadow Deep mission and paint the minis for the Middle Earth Strategy Battle Game storybook Fellowship of the Ring,  or at least the first half. I did a breakdown of the requirements in December if you're interested. 

How Did it Go?
I'll confess that I didn't manage everything, but I did manage a lot of it. Let's have a look at what I did manage. 

Rangers of Shadow Deep Mission Two 
I assembled (taking advantage of Anne's 2026 Miniature  Assembly Challenge for extra impetus) and painted 15 plastic gnolls, 1 metal gnoll Shaman and a kitbashed Ranger and a Reaper Bones Vulture. 

Teh gnolls all have a red hood or at least a red eyepatch.  skin/fur is a light tan, with dark brown 'mane'.  clothing is a mish-mash of different colours, although the shaman has a black robe. he also has lots of skulls (though no where near GW standard)
Gnoll sergeants, shaman and vulture

Rear view of same. The red wing tips on the vulture are visible
The gnoll 'staff'

Six gnolls with hnd weapons and shields. Again, multi coloured clothing. Fur/skin tones as before
The Warriors
Rear view of same
Six gnolls running away?

four gnolls with bows and two with crossbows.  Equipment and fur etc as standard
Gnoll archers
Another rear view of some gnolls
'Dum-de-dum-de-dum-de-dum'

The gnolls go together pretty well, and bits from other Frostgrave kits can be used, as I did with the great axe for one of the sergeants.  If/when I build the remaining sprue, there's a two handed hammer on the Barbarians sprue that I think I'll use.  
While they were fun to paint, I regret making the decision early on to use as many different colours on the cloth as I could.  

Kitbashed ranger with long green cloak, leather jerkin over dark yellow shirt and grey fur 'skirt' and dark grey trousers.  He has a helmet and is holding a sword raised in his right hand and a bow in his left.
Another Ranger (of the Shadow Deep)
Rear view of same
Kitbashed from many sources
The ranger is made up from bits from the Frostgrave Barbarians sprue and the Oathmark Human Infantry sprue, with the scabbard from the Light Infantry set.

I also painted a couple of resin tents and a resin piece with fallen lög, shields, backpacks etc. for the gnolls' camp. These are from Scotia Grendel; nice models, if, perhaps, not quite 'gnollish'.

The campsite

Nine homemade bushes for the first scenario in Mission two.  These were a quick build, there's a full description coming sometime soon.

Nine bushes, roundish shapes ranging from around chest height on a mini, to considerably taller than a mini.  They are basically 'fuzzy' green blobs
Ranger and gnoll hide and seek among the shrubbery

The second scenario requires a lot of scatter terrain for the inside of the tower.  Here's a start, but I'll need a lot more.

The crates and the board use Crooked Staff Print and Paste textures; the Build Along Dungeon for the floor textures and 19; Chests and Crates for the crates.  There are many similar products available; I like the Crooked Staff stuff as its cheap (Build Along dungeon 1 is, I believe, free, and the rest are pay what you want) easy to make and generally relatively low on ink use and I like the art style. 
I may print off some more floor texture and base the crates in small groups once I've built some more. 

Fellowship of the Ring Journeybook 
This was the big disappointment.  I managed two Rangers of the North, that's all. These took a lot longer to convert than I anticipated, it's my own fault for being too fussy (or too tight to buy the actual minis). 
I enjoyed building and painting them, and I'll continue with them, but possibly with a more realistic timescale. Once I have enough finished, I'll do a post discussing how I make them, and possibly why I bother. 
And yes, I know the bases are untextured; I'll do all nine at once when they are finished.

Two cloaked, bow armed rangers.
Two Rangers of the North

Each ranger has a backpack
"Shadow Deep? What's that?"


Hints and Mysteries
In my last post I suggested that I had a unit painted for my undead that I was keeping secret.  Well, on closer inspection, I haven't finished the shields, so you can rest easy on that front Dave.

Challenging Fun 
Once again I really enjoyed taking part in the challenge and thanks to Dave Stone for all the work he puts in to organising this and the Season of Scenery challenges every year.
If I didn't finish everything I wanted to, it's my own fault for either being too ambitious or too distracted, especially as I've had a lot of rehearsals to fit in as well for April concerts.

What's Next?
I'll continue to prepare stuff for Mission Two, and I want to get more MESBG stuff done, but I promised something new for March, so expect some Deep Space action soon.

Tuesday, 3 February 2026

January Update: Anne's Miniature Assembly Challenge Results

I joined Anne's 2026 Miniature Assembly Challenge near the beginning of January with the aim of building enough Frostgrave gnolls for the second mission, converting some MESBG Rangers of Gondor into Dunedain, and possibly building a couple more minis. 

How did I do?

The back two ranks are ten more gnolls plus a RoSD ranger, at the front are two converted Dunedain.  Everything unpainted of course
Assemble miniatures, gnolls, a ranger, and two different rangers

Well I managed ten more gnolls, more than enough, but it finished off the sprues. 
I also built an extra Ranger, nominally for T'Other One to use when we tackle the second mission.

Dunedain
The Dunedain were less successful; I finished two, but they were more work than I anticipated. 
Two converted Dunedain

both with backpacks
I wanted them to look sufficiently different to the Rangers of Gondor, so I decided to do away with any masks, shift the quiver to the hip, remove the sort of tabard thing and add extra equipment.  This was inspired by the official miniatures from GW. 
Alas I didn't take any pictures of them prior to converting them, but you can find plenty of pictures online if you're interested. 
The masked head on the firing ranger was removed with a razor saw and replaced with a bare head from (I think) the Frostgrave Soldiers sprue. I used quivers from the Oathmark Human Infantry sprue and concealed the mess made by removing the back quivers with Frostgrave backpacks etc.
I filled in the gaps with a 50-50 greenstuff and milliput mix, and made some attempt at showing the straps, but it's not perfect. 

I didn't complete the required nine Dunedain, and never started on the Dark Emissary I'll need for Boðvoc's Dark Shadows campaign, but even so I'm pleased.  I've got plenty to paint in February for Dave Stone's Paint What You Got Challenge. 

I missed the target for several reasons.  The Rangers were far trickier than anticipated (and I realised that I was short of four minis anyway). I've also been busy playing a lot of music, which has been glorious (Renaissance town bands and verse anthems among others), but hasn't helped assemble anything. 

If Anne runs the challenge again next year,  I certainly want to take part. 

And a Show
I did manage to get to York Wargames Society's Vapnatak on 1st February.  
My haul was modest, but useful. 
Five more Rangers of Gondor undercoated black, a skeleton, seven skaven and an Ugnaught, a a Twi'lek, a Dark Hellion, a Dug and an elite militia (surely a contradiction in terms?)
Vapnatak haul

I picked up five more Rangers of Gondor, so that's one excuse gone (see above). Seven monotone Skaven,  in case I ever get around to Vengeance of the Lichemaster (the seller threw in a skeleton missing it's slotta base,  but that's not a problem. 
I also got a selection of the old WotC prepainted Star Wars minis. 

Apart from the second hand stuff I got some more d10 dice for games of Warlords of Erehwon. 


Friday, 26 December 2025

PWYG 25/26 Planning

A little while ago I ran through a few options for Dave Stone's latest Paint What You Got Challenge. 
If you've been pondering what I've been pondering, (I think so Brain), you'll see that some of them build nicely on games I'm enjoying at the moment, or have recently; some are more for systems that I rarely play. 
It makes sense to go for the former, but then, I'm not always sensible.

So here's a look at what I'd actually need for a couple of the projects. 

The Tower, Rangers of Shadow Deep
Miniatures 
This mission mostly involves gnolls.  Looking at all three scenarios, and allowing for the event cards, I'd need 1 Shadow Knight, 1 Flesh Golem, 1 Gnoll Shaman, 2 Gnoll Sergeants, 4 Gnoll Archers, 6 Gnoll Fighters, 1 Giant Vulture and a Soldier (Man-at-Arms). If I factor in the Challenge Level additions I'll need another Shadow Knight, another Sergeant and an Ogre.
Now I already have a painted Shadow Knight, a FleshGolem and an Ogre, and a few Men-at Arms too. after picking up the gnoll herbalist at RECON I've got the rest of the required minis, they just need assembling and painting. 

Terrain 
The first scenario is outside, so it might be time to finally make a proper gaming mat with reasonable colours and textures. I'm looking at it as practice for something larger. 
I'd also need a river, a bridge and various rocks and shrubs. All useful terrain items for future gaming. 
The remaining scenarios are set indoors, for which I'll simply print off some dungeon style flooring.  I've got plenty of PDFs to choose from. 
Furnishings will probably come from the Mantic Terrain Crate, which I might finally get around to painting,  well some of it anyway. 

Fellowship of the Ring Journey Book
This is a project that I've long wanted to do, and now seems a good opportunity,  especially as 2026 is the 25th anniversary of the Fellowship of the Ring film release.  Don't you feel old now knowing that*.
To keep things manageable I think I'll stick to the first book of The Fellowship of the Ring, up to Rivendell.
For this I'd need 9 Nazgul (foot and mounted), 9 Dunedain, the 4 Hobbits, Gildor, 4 Barrow Wights,  Tom Bombadil and Goldberry, Aragorn, Gandalf and Glorfindal. I could add Farmer Cotton and his dogs if I include one of the additional scenarios from an old White Dwarf.
And there's terrain of course.  I'm not sure if I should stick to the builds in the book,  which do a great job of making thing as multipurpose as possible,  or do some more specific pieces.  I'll probably end up doing a bit of both.

A Cunning Plan
So that's the plan.  I do have some Undead that I'm part way through painting, so I'll try and finish those as well, but it'll be nice to do some living creatures for a change. 
I've started on building five of the gnolls using the Frostgrave gnolls kit.

And finally, the Christmas Haul
I was gifted four hobby related presents; a GM's mug, a deck of 7TV profile cards, a light pad (great for copying maps etc) and a lovely 3D printed Beholder.  So many thanks to my amazing family,  and T'Other One as well.
I'll be squeezing the Beholder into the challenge,  after all, I got it before the 26th.

* Don't worry,  I still remember the excitement over the imminent release of The Silmarillion.


Monday, 26 June 2023

Secure The Area - MESBG Battle Companies Game

We got another game in in our ongoing Battle Companies campaign. This time we replayed the  Secure the Area scenario (see the first play of this here).
Apologies for the briefer report, various family commitments means this took several weeks to finish writing up.

Set Up
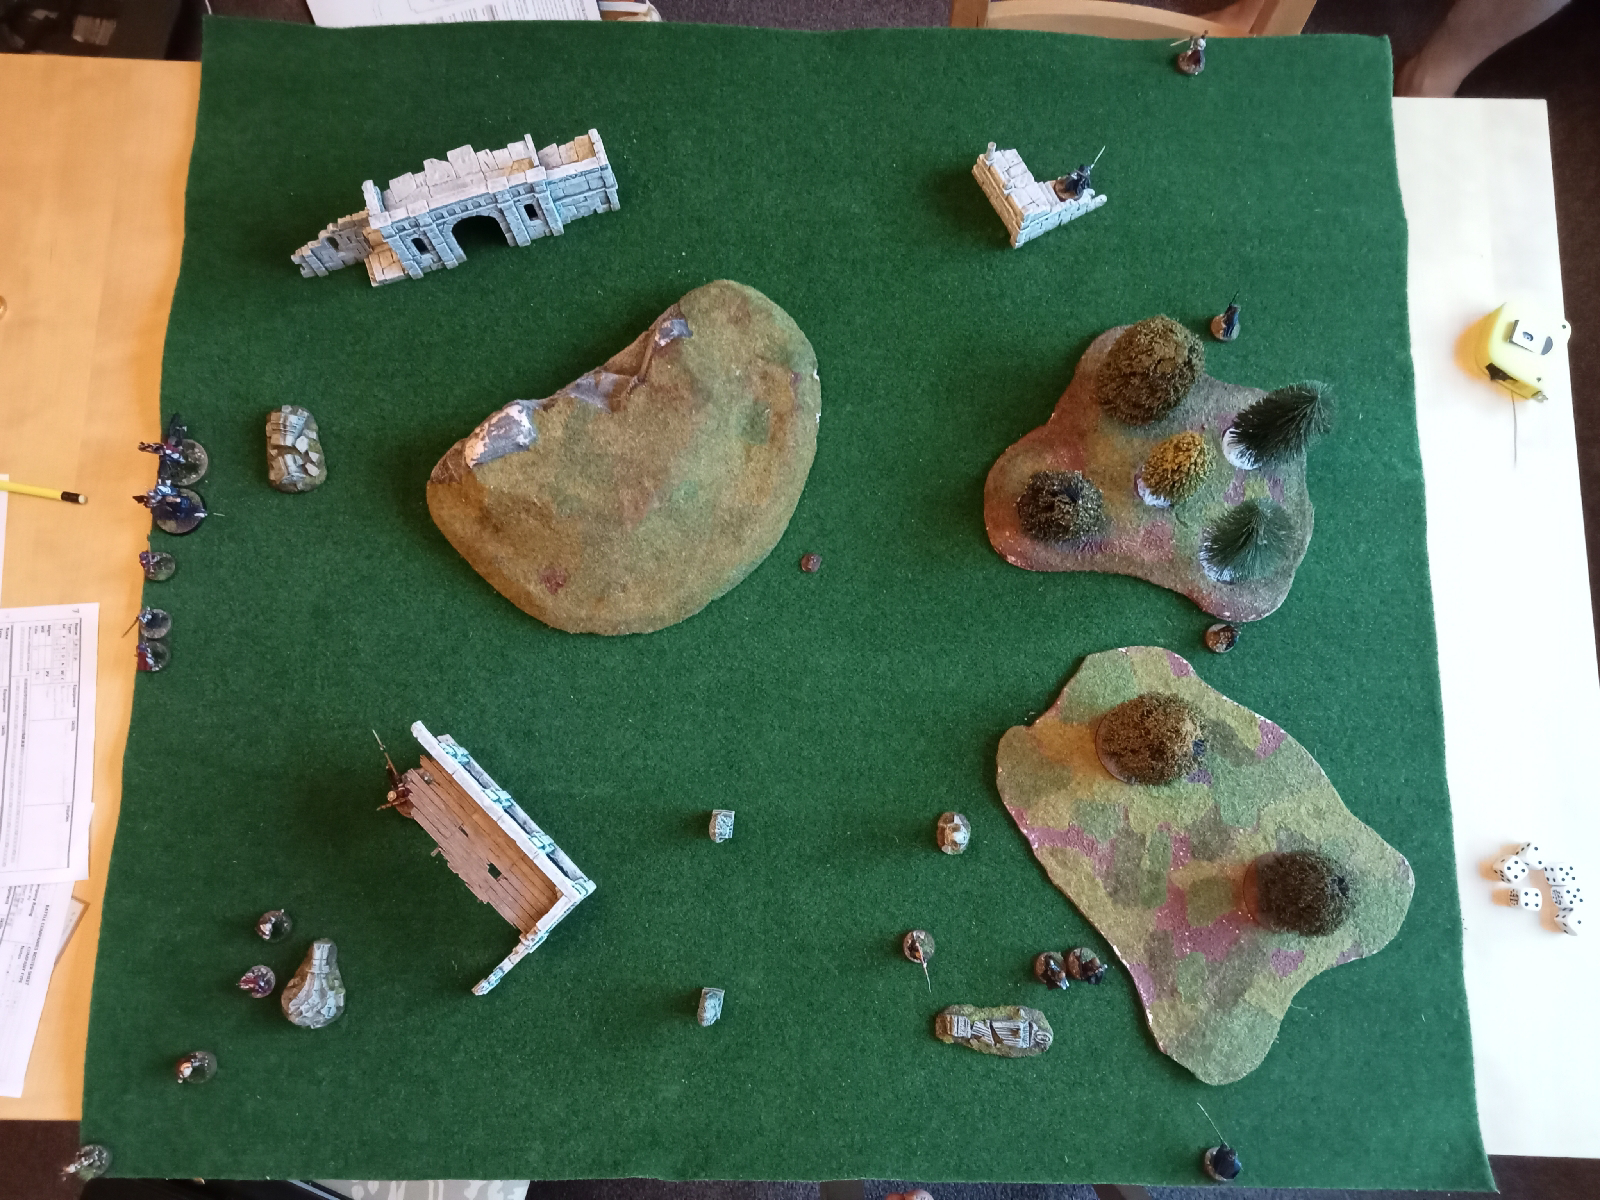
We used the gauntlet as the objective again (another Gauntlet? There must be an Infinity of them).  We set the objective just at the edge of a hill, though on reflection, placing it in terrain that was hard for cavalry to access would have made for a more exciting end game.
All troops suffering from Old Battle Wounds were, as always, fine to fight; one day that's going to hit me hard, but "today is not that day".


Opening Moves
The Fiefdoms had Priority, which worked against them as the Harad troops entered the field very much in response to the Fiefdoms deployment.  Most of both sides appeared in the first turn, with the remainder arriving next turn.  Archery was pretty much a non-event for the first few turns.

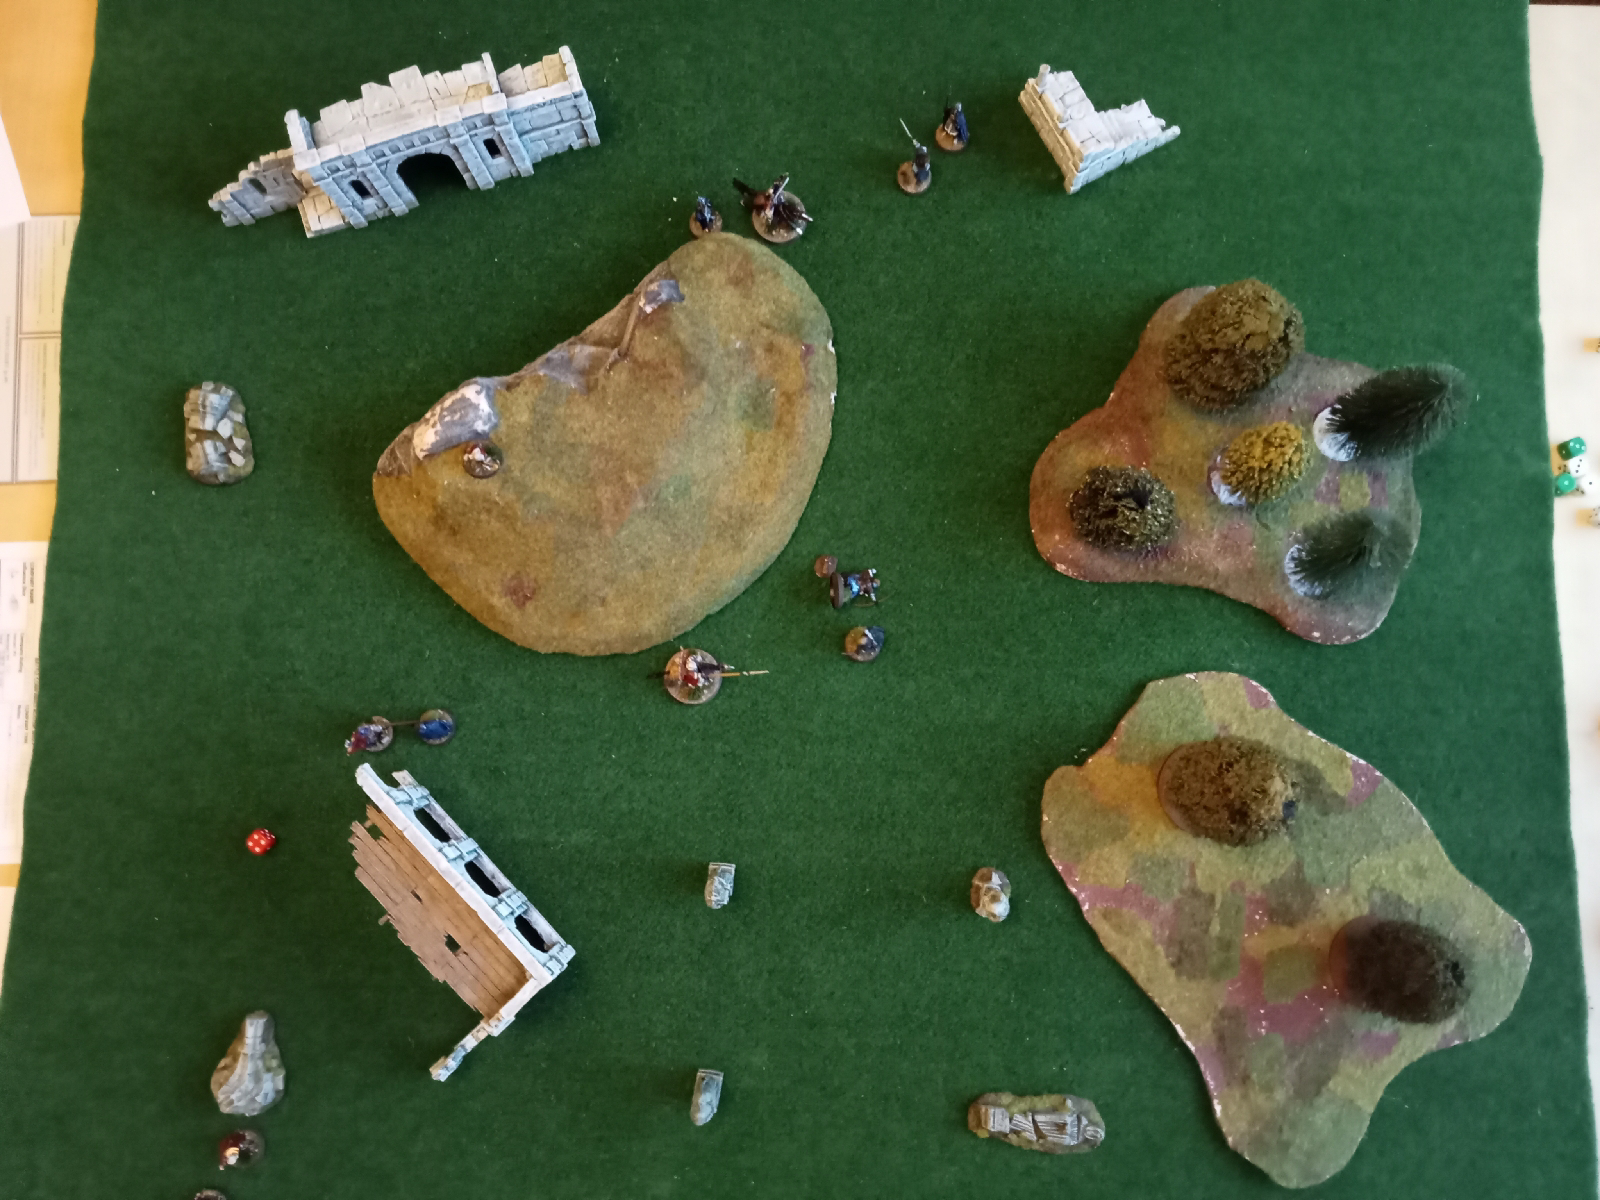
Both sides' vanguards arrive

 
Action close to the edge as the two leaders spot each other and charge as soon as possible

Arbea clashes with a Blackroot Vale Archer and a Man-at-Arms

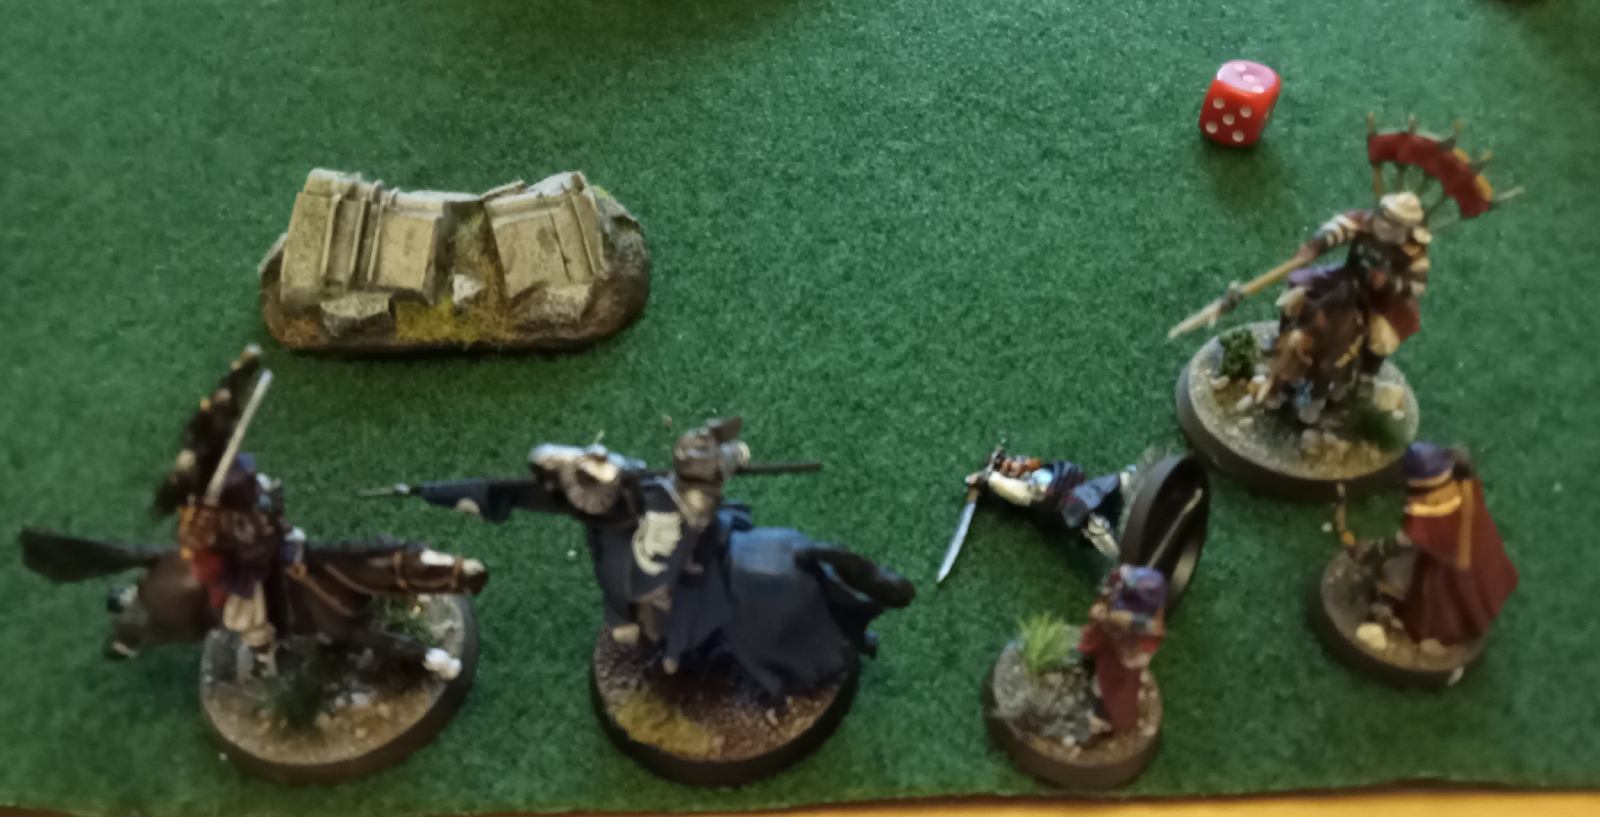
Clash of the leaders!

Khamsa's charge sees to the Clansman

Going for the Objective
As the battle hots up around Qayid and the Knight, the Fiefdoms' troops make for the objective.
(I must admit that I often forget this sort of game winning detail (I play orcs!), as was the case here.  My son was out-thinking me again.)


Khamsa, his work done on the flank, heads for more targets near the arcade

After some ferocious sparring, Qayid fells the Knight and Khamsa downs the Axeman of Lossarnarch.  
Elsewhere the Fiefdoms troops steal ever closer to the objective.

The End Phase
Realising that although I'd taken out the Fiefdoms' leader, their troops controlled the objective, I sent my best troops, Qayid and Khamsa, as I'd lost Shawish earlier, to try an take it from them.

The Harad hose race for the objective

Khamsa thins out the Men-at-Arms while Sabea tries and fails to remove the Blackroot Vale Archer claiming the objective

Qayid and Khamsa close in on the Fiefdoms defenders

Qayid rides up to the gauntlet while Khamsa removes the Ranger, is it enough for Harad?

With the Fiefdoms' broken, and Harad not far behind, the battle ended.  Had Qayid's desperate charge been enough or had he been distracted long enough?
When we checked the battlefield and the victory conditions, both sides had two models within 3" of the objective, so it was a draw! 

Aftermath
Despite causing more casualties to the Fiefdoms, they scraped a draw.  Curses!  I definitely had the stronger Battle Company, being some 120 points ahead.  That's a slightly misleading value, as two of my strongest heroes, Sayaad and Eashra both have arm wounds and can't use to bows that their skills are set up to take advantage of.  I was too confident, and my son's tactics once again proved superior.

The scenario is greatly influenced by the random set-up.  Priority pretty much allows the player going second to place a good number of troops either nicely close to vulnerable enemy, or far enough away from tough opponents.  This really helped me (as it did last time we played this scenario) and put the Fiefdoms on the back foot from the start.  My son's focus worked very well, taking control of the objective by the middle game and only being challenged for it in the last turn.

Qayid ended up with yet another point of Might, Sabea now has Lethal Shot, a very nice ability that grants a free point of Might each turn to be used on Shoot, In The Way or Shooting related Strike rolls.
All injured parties survived, but interestingly Shawish rolled Lost in Battle, so our next game will be the Rescue scenario.
All the Fiefdoms troops survived too;  I believe the Knight gained yet another point of Fight, but his fight is so far above any of my troops that this is irrelevant.
I'm keeping my company the same for now, as I want to get some more minis painted up, and I have a few other projects to complete (including, possibly, camps for the two scenarios requiring them).  The Fiefdoms went on a recruitment drive and now have three more members, equalling my ten.  The include another knight, and after a bit more spending of Influence, he is also mounted.

This was a great fun game to play.  I'm looking forward to the Rescue scenario, though I suspect it will be difficult for me, Shawish starting out just outside the Fiefdoms' deployment area.  He'll be relying on his Parry a lot.  
We are taking a mini break as we paint up more minis and I want to work on some more terrain.  We'll be back before long thouhg.

Monday, 12 June 2023

Siezing More Ground MESBG Battle Companies

We had another go at the Sieze Ground scenario with the most minis we've had on the table so far. The Fiefdoms had nine troops, and Harad had ten. All of our troops were available, despite the increasing number with Old Battle Wounds. 
By now my Battle Company was nearly one hundred points ahead, which gave the Fiefdoms six rerolls and six extra Influence Dice after the game. I suspect those extra Influence Dice are going to cause me problems next game. 

Set Up
The Fiefdoms set up in a line, spread pretty much along their deployment zone. Look out for that knight out on the flank!
Harad bunched up in a bow contingent and a melee group. We both had an objective within easy reach.
The oncoming Fiefdoms. The Knight is off to the left, and one of the Blackroot Vale Archers off to the right 
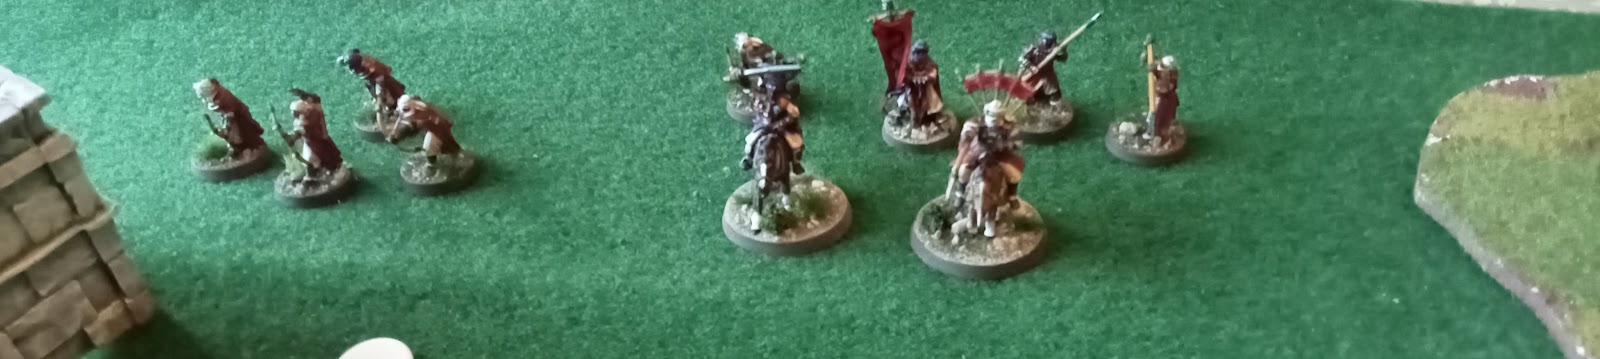
Harad grouped according to battlefield role 

Opening Moves
Both forces move forwards while allowing the bulk of the missile troops to fire. We both have one archer who suffers no penalty for Moving and Shooting, so these led the way. Archery was disappointing, with arrows hitting obstacles (by the end of the battle, the hedge was full of arrows) or glancing off armour.

The advance continues. I decided at this point to place Ahad, one of my Bowmen, on the top of the ruined gatehouse, but he failed his Climb roll. Twice!
I also split off a couple of troops (Shawish and Tise) to take the objective on the hill.
The Knight continues his flank move, I was hoping to have everything wrapped up in the centre in time to deal with him. 
Blackroot Vale Archers move up to the hedge and control the objective behind it.
Archery was, again, a complete loss for both sides.


Middle Phase - First Blood 
I cautiously advanced my mounted troops as the Fiefdoms were too far away for a Charge and I didn't want to risk being charged. It's clear that the central objective is going to be the focus of the battle.

The Fiefdoms troops move to hold the gap 

While Khamsa cautiously approaches the gap in the hedge 

Khamsa the Raider charges the Men-at-arms and Qayid charges the Highlander. One of the Men-at-arms peels off to tackle Qayid, but the mighty Harad leader (after taking inspiration from the banner fluttering nearby*)  knocks his opponents to the ground and takes both of them out of the fight. Khamsa is less fortunate, and is pulled to the ground and dispatched by his opponents.

The first combats of the battle prove particularly bloody

The Fiefdoms finally gain priority and Harad troops gain the hill top, avoiding the Knight's attention. He is more interested in charging Arbaea (the Banner Bearer), accompanied by one of the Men-at-arms. Despite this Arbaea fights them off, even managing to drop the Man-at-arms. Other combats are inconclusive (I forgot to declare a Heroic Move, allowing Qayid to be charged.)
Archery finally took its toll, with the Blackroot Vale Archers taking out two of the Harad Bowmen on the other side of the hedge.

Shawish leaves Tise on the hill top, his skills are better used in the melees around the gap. Accurate shooting from a Blackroot Vale Archer takes out Tise on the hill top, denying Harad the objective there.
Various Duels are bloodless, but now that Harad is Broken the Fates decide the engagement is over.  Each side has one troop on an objective.

But the central objective is controlled by the Fiefdoms, giving them the win.


Aftermath
Well, another great fun game, and a well deserved win for the Fiefdoms.  My son was a lot more focused on the objectives and aware of which ones were close enough to be claimed.  Careful positioning of his troops meant that he had the middle objective, much to my surprise.
One of the Fiefdoms troops will be missing the next game, all of mine scraped through, but my current favourite Bowman, Eashra (he's got the extra shot, just like Sayaad) picked up an arm wound (just like Sayaad). Sabea ended up with an Old Battle Wound, that's three now across the company.
Khamsa got promoted to a Hero, so I now have seven heroes out of a total of ten troops.

The Blackroot Vale Archer sergeant can now call a free Heroic Shoot each turn, good enough in its own right, but the Archers have a nice synchronicity with Heroic Shoots.

Given the number of injuries I used Arbaea's pouch of Healing Herbs, so I replaced them. Otherwise I'm not sure what to spend the remaining eight Influence Dice on. I had planned not to add any more troops until I caught up with the painting, which I have now done. (Another post soon showing the most recent painting, though you can see them on the pictures above). I may well buy a horse for Shawish, which will entail painting another mini for that. It's never ending.

*Company Banners in Battle Companies games don't work the same as the Banners in the MESBG, they give a bonus to Courage rather than a reroll to one nearby duel.
However, Arbaea gained an ability that gives him the reroll that Banners normally do, so he is effectively both kinds of banner in one.

Monday, 29 May 2023

Stand Your Ground: MESBG Battle Companies Campaign

Yet another game in our MSEBG Battle Companies campaign. This time the aim was to end up in control of the central hill.
We rolled off to see who was defending the hill and Harad won.  Given that we both had cavalry we decided that the hill would be shallow enough to be easily traversable; apart from the western cliff side of course.

Opening Moves
As the Harad forces look around, the Fiefdoms cluster around the ruined arcade, apart from the knight who rides in from the north

Qayid and the knight clash.  The Fiefdoms had priority, but  Qayid declared a Heroic Move in order to Charge.  The Knight did the same, but Harad won the roll-off.  The Knight won the duel, but was unable to pierce Qayid's armour.
The bulk of the Fiefdoms troops move towards the hill, but leave themselves open to charges from the Harad force.  They manage to unseat Khamsa the Raider

Qayid and the knight continue their attacks, but neither side can unhorse the other.
The Harad Bowmen and the Blackroot Vale Archers engage in an archery duel, but neither side can hurt the other.  The Clansman falls to a combined attack.

Middle Phase
The Harad force tries ganging up on the Knight, but they are unsuccessful.
Both sides' archers continue their shooting, but hit nothing, and a scrappy fight develops around the base of the hill.
At this point there are only two troops on the all important hill.

Disaster for the Fiefdoms!  Qayid finally hits home (with a little help from one of his spearmen) and downs the Knight.  Not Fate nor his lucky talisman can save him.
The Blackroot Vale Archers avenge their captain, downing both the Harad Bowmen on the hill.  With their fall, the hill is unoccupied.

End Turns
The triumphant Qayid rides towards the Archers and the rest of the Harad force pull back to the hill.
They are pursued by the Fiefdoms troops, who now engage all the remaining Bowmen, shutting down Harad's archery.

Qayid survives a hail of arrows, but on the hill one of his Bowmen is pulled down.

By this point Harad was Broken, but only Qayid was at risk as the rest of the troops were on the hill. The Blackroot Vale Archers decide to tackle the oncoming horseman, but his charge knocks both of them down.  One of them is out of action. 
On the hill one of the Men-at-Arms also falls,  Breaking the Fiefdoms as well.

The remaining Archer breaks and runs, bringing the Fiefdoms below one quarter strength (a Man-at-Arms and the Axeman on the hill).  The forces of Harad take the day.

Aftermath
I'd like to say that I deliberately abandoned the hill to draw the Fiefdoms out, then strategically withdrew to safety, but in truth I got carried away with charging, completely forgetting the objective, and was lucky to get the win.
My Battle Company is quite some way ahead of the Fiefdoms, consequently they had four re-rolls for this game* (a balancing factor for less powerful companies).  These were very well used, in one instance to re-roll a failed Fate roll. 
Neither of or Companies suffered much from injuries, though Eashra, one of my Bowmen recently promoted to a Hero now has an Old Battle Wound.  
Arbaea, the Battle Company Banner Bearer now has Bane of Kings (this is a re-roll on all failed Strike rolls, exactly the same as the Harad Master of Poisons ability - I may simply call it this).  Eashra has gained an extra shot per turn, making him a very handy archer.  Lets hope he doesn't end up with an arm wound like Sayaad.

This was a great fun game, and much closer than the report makes it appear.  There were a few frustrating dice rolls.  The Knight needed to roll 4+ to Strike Qayid, but failed to roll better than a 2.  Better luck next time.
We've now played most of the scenarios.  There are a couple more that require a camp, so some terrain building required I think, and the one based around rescuing a lost Hero, which we are saving for when that happens.

*And four bonus Influence Dice, which will allow for some serious spending before next battle.

October 26 The Last Gasp (Ogtober and Orctober)

As October hurtles towards a close, here's the final batch of minis from both the month's projects.  There's only a bit to show,...