Apologies for the briefer report, various family commitments means this took several weeks to finish writing up.
Set Up

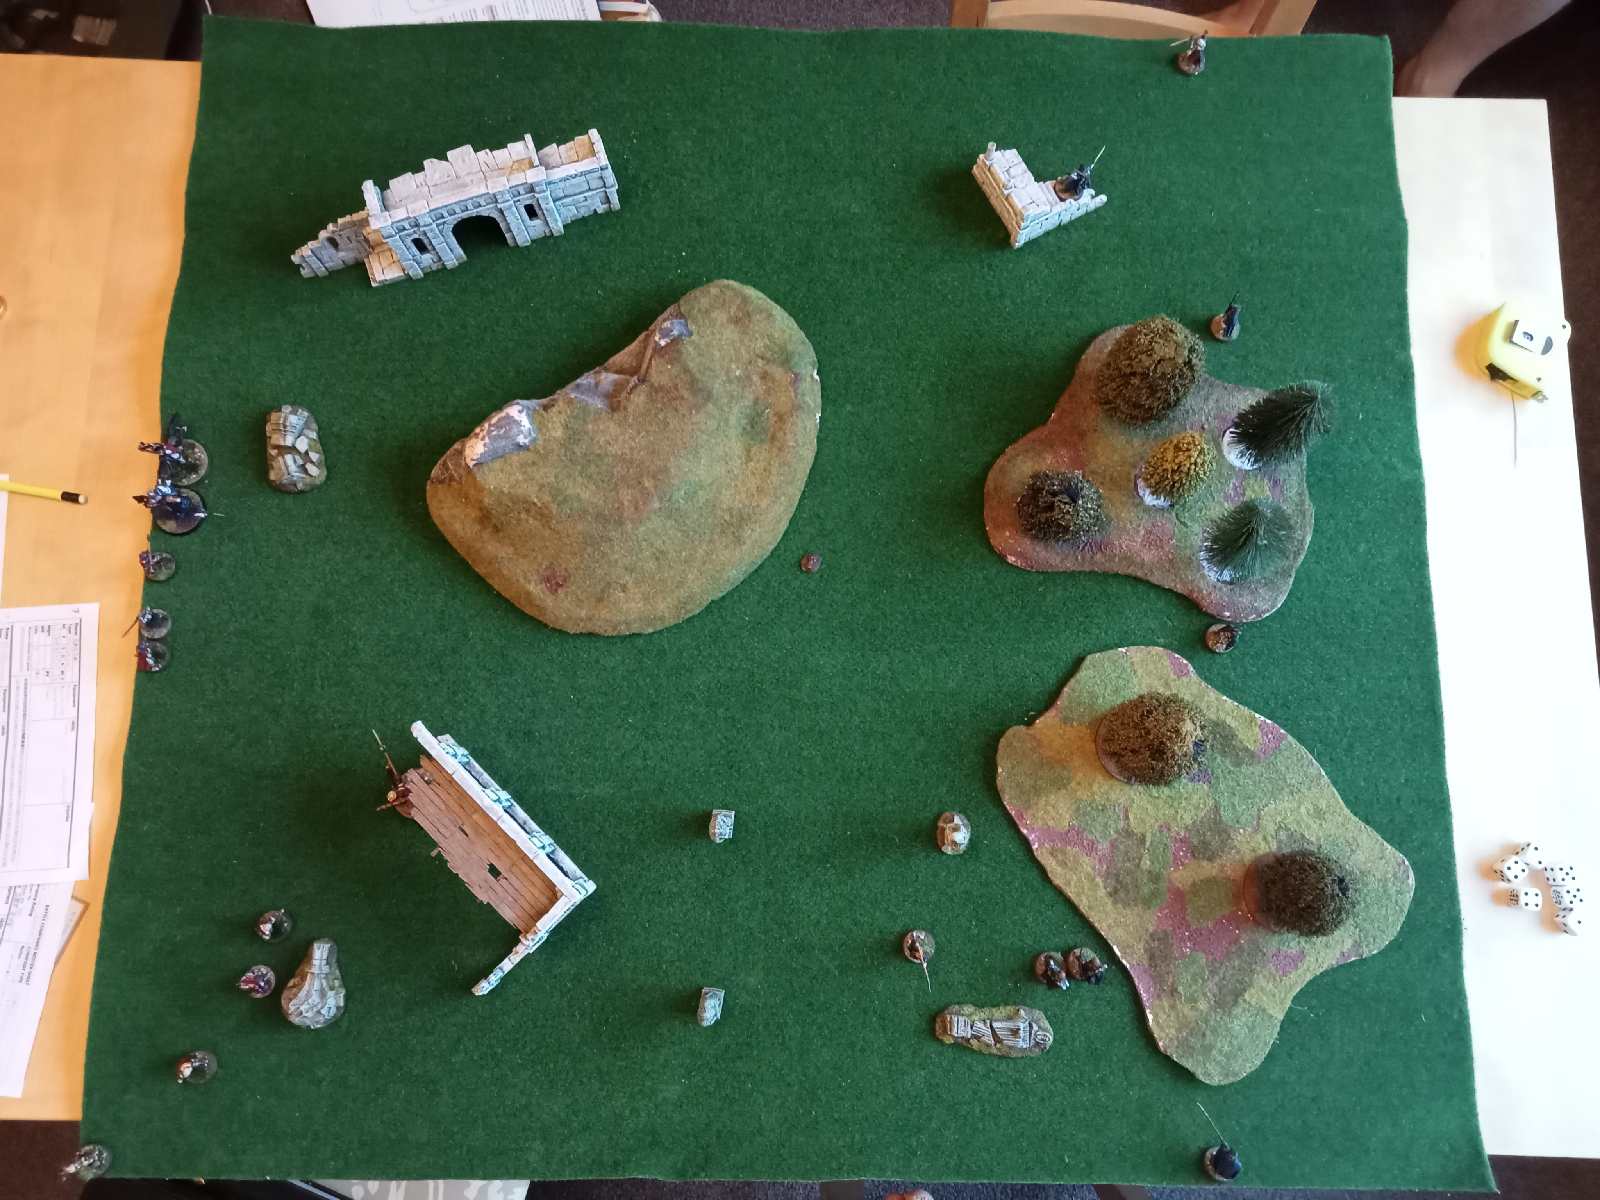


We used the gauntlet as the objective again (another Gauntlet? There must be an Infinity of them). We set the objective just at the edge of a hill, though on reflection, placing it in terrain that was hard for cavalry to access would have made for a more exciting end game.
All troops suffering from Old Battle Wounds were, as always, fine to fight; one day that's going to hit me hard, but "today is not that day".
Opening Moves
The Fiefdoms had Priority, which worked against them as the Harad troops entered the field very much in response to the Fiefdoms deployment. Most of both sides appeared in the first turn, with the remainder arriving next turn. Archery was pretty much a non-event for the first few turns.
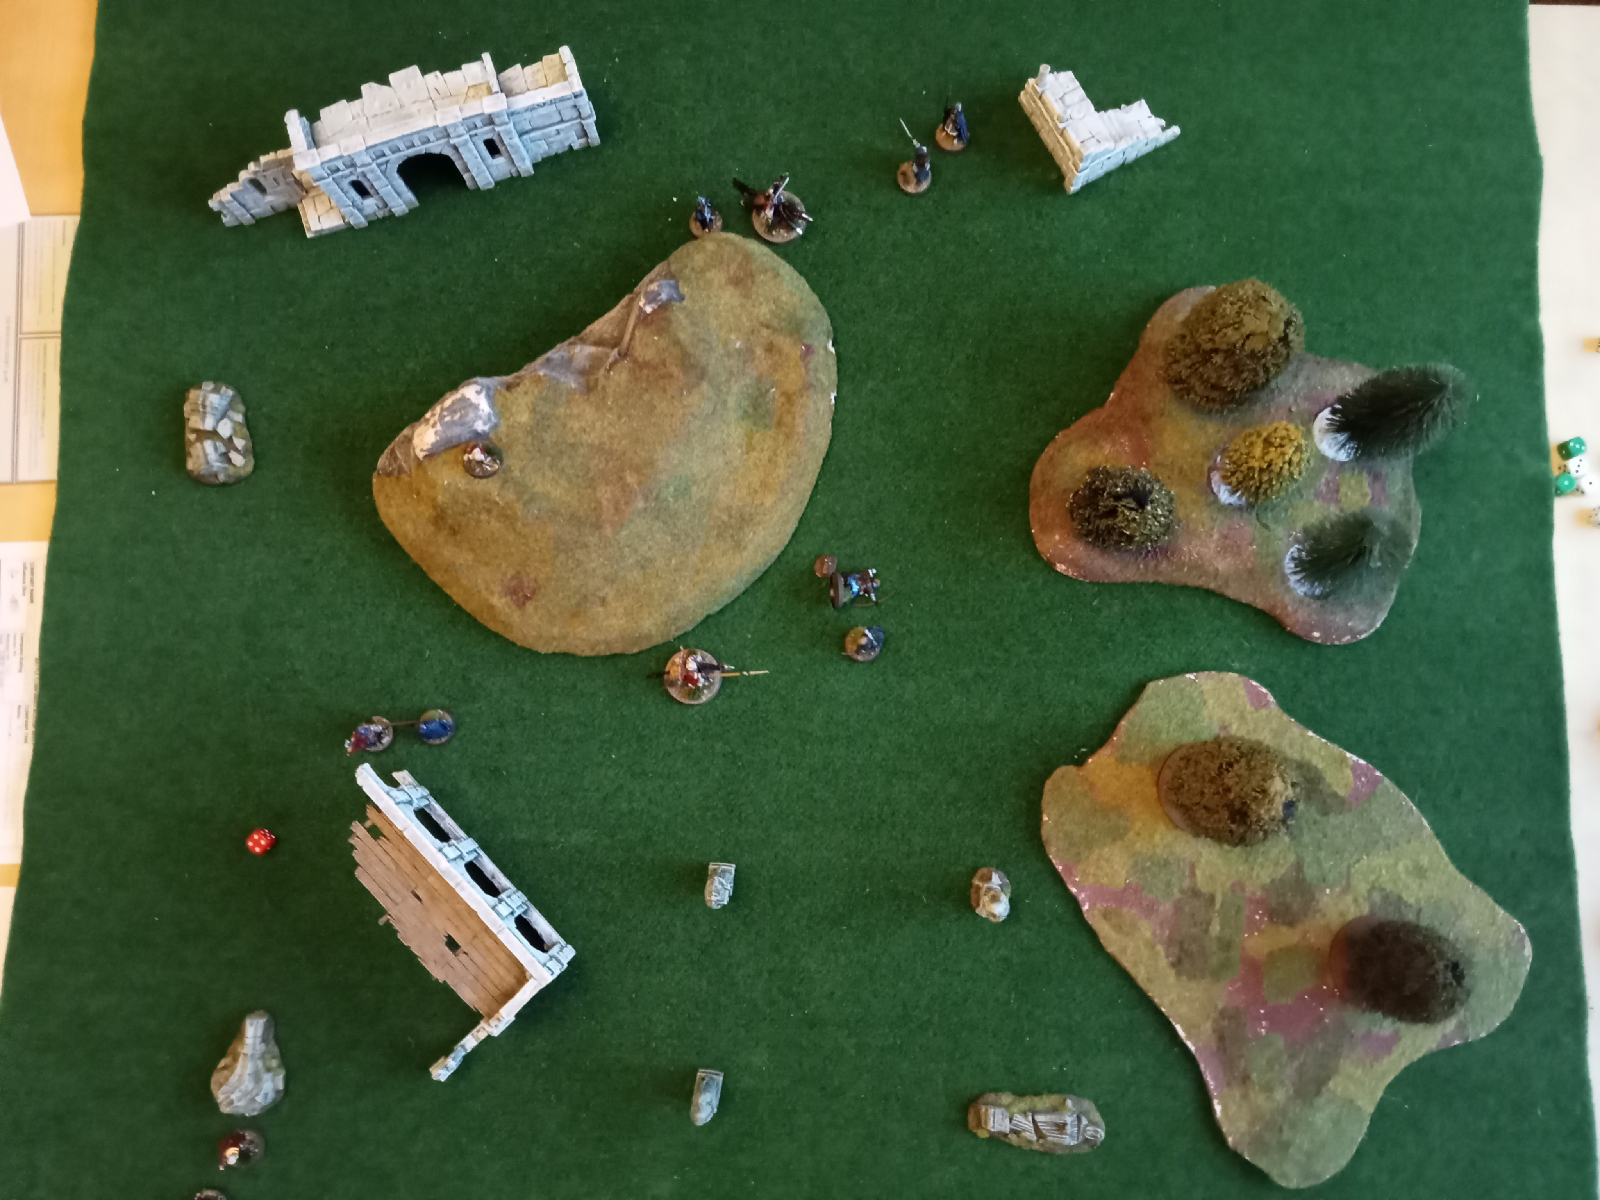
Both sides' vanguards arrive
Action close to the edge as the two leaders spot each other and charge as soon as possible
Arbea clashes with a Blackroot Vale Archer and a Man-at-Arms
Clash of the leaders!
Khamsa's charge sees to the Clansman
Going for the Objective
As the battle hots up around Qayid and the Knight, the Fiefdoms' troops make for the objective.
(I must admit that I often forget this sort of game winning detail (I play orcs!), as was the case here. My son was out-thinking me again.)
Khamsa, his work done on the flank, heads for more targets near the arcade
After some ferocious sparring, Qayid fells the Knight and Khamsa downs the Axeman of Lossarnarch.
Elsewhere the Fiefdoms troops steal ever closer to the objective.
The End Phase
Realising that although I'd taken out the Fiefdoms' leader, their troops controlled the objective, I sent my best troops, Qayid and Khamsa, as I'd lost Shawish earlier, to try an take it from them.
The Harad hose race for the objective
Khamsa thins out the Men-at-Arms while Sabea tries and fails to remove the Blackroot Vale Archer claiming the objective
Qayid and Khamsa close in on the Fiefdoms defenders
Qayid rides up to the gauntlet while Khamsa removes the Ranger, is it enough for Harad?
With the Fiefdoms' broken, and Harad not far behind, the battle ended. Had Qayid's desperate charge been enough or had he been distracted long enough?
When we checked the battlefield and the victory conditions, both sides had two models within 3" of the objective, so it was a draw!
Aftermath
Despite causing more casualties to the Fiefdoms, they scraped a draw. Curses! I definitely had the stronger Battle Company, being some 120 points ahead. That's a slightly misleading value, as two of my strongest heroes, Sayaad and Eashra both have arm wounds and can't use to bows that their skills are set up to take advantage of. I was too confident, and my son's tactics once again proved superior.
The scenario is greatly influenced by the random set-up. Priority pretty much allows the player going second to place a good number of troops either nicely close to vulnerable enemy, or far enough away from tough opponents. This really helped me (as it did last time we played this scenario) and put the Fiefdoms on the back foot from the start. My son's focus worked very well, taking control of the objective by the middle game and only being challenged for it in the last turn.
Qayid ended up with yet another point of Might, Sabea now has Lethal Shot, a very nice ability that grants a free point of Might each turn to be used on Shoot, In The Way or Shooting related Strike rolls.
All injured parties survived, but interestingly Shawish rolled Lost in Battle, so our next game will be the Rescue scenario.
All the Fiefdoms troops survived too; I believe the Knight gained yet another point of Fight, but his fight is so far above any of my troops that this is irrelevant.
I'm keeping my company the same for now, as I want to get some more minis painted up, and I have a few other projects to complete (including, possibly, camps for the two scenarios requiring them). The Fiefdoms went on a recruitment drive and now have three more members, equalling my ten. The include another knight, and after a bit more spending of Influence, he is also mounted.
This was a great fun game to play. I'm looking forward to the Rescue scenario, though I suspect it will be difficult for me, Shawish starting out just outside the Fiefdoms' deployment area. He'll be relying on his Parry a lot.
We are taking a mini break as we paint up more minis and I want to work on some more terrain. We'll be back before long thouhg.


Good write up and it sounds like a fun and close game.
ReplyDeleteThanks, it was.
Delete