Like many hobbyists I've been struggling to motivate myself these last few weeks. I know that some people have really grasped the current situation and got on with some great painting and building, but many others have found that the lack of structure to the days, and the lack of concrete goals or targets for finishing a project have killed the desire to get stuff done. There are other issues involving anxiety and depression, which the current times certainly don't help with.
I usually have a project (one of the five boxes) which is geared towards getting stuff on the table for the next battle with Merlin. Now we have no idea when this is going to be, so that deadline has vanished.
I've tried several times to get one of my ongoing five projects finished, or even just a bit further along, but I've really struggled (I've not been idle - I've been playing a lot of music, but that's not what this blog is about).
Anyway, working on the theory that we will eventually be able to do some face to face gaming, I found a quick and easy project that I hope will get me back in the groove.
I've pretty much ignored the five boxes I try and stick to. I appreciate the system is designed to help keep me on track, but I've been so far off track that anything, especially something that gives a quick result that I can be happy with, is what I'm aiming for.
So, walls. Ruined walls with lots of different applications. I've made ruined walls before, but this time I wanted something maybe a little more substantial. I was inspired by the following build from Black Magic Craft, but with a few alterations.
I chose a smaller block size, partly as I had in mind that these might work for both 28mm and 15mm, and partly as I think a lot of these sort of terrain pieces can look too large scale. Fine for ogres, but if you look at the blocks next to a human mini they are pretty huge. Fine for grand fortifications or temples, but I wanted to use these for smaller buildings.
I didn't stick to the 3 inch units as I'm not looking to use them as walls for dungeon tiles as the video does. My blocks are (approximately) half an inch long by a quarter of an inch high and wide. I cut lots of quarter inch square strips of XPS on my Proxxon, then cut bunches of them into half inch lengths. The wall sections are half an inch or two blocks wide.
Rather than follow the BMC method for texturing the blocks I used the 'stones and can' approach. This is simply to put the foam blocks in a can or box, add some sharp stones and shake. This provides a great texture for a lot less effort, and rounds the block edges suitably as well.
I also used crafting glue rather than hot glue, as my hot glue gun is on the hot side of hot, so easily melts the XPS. I was worried that the walls would take ages to dry, and that they wouldn't be very strong. Fortunately its warm at the moment, and they dried nicely over night.

Four ruined wall sections awaiting painting etc.
The next stage was to trim the bases and then cover everything, including the underside of the bases to combat warping, with the BMC black paint and Mod Podge undercoat.
Once that was dry I used thinned PVA glue to stick a coarse mix of grit and sand to the base, then sealed that with more PVA watered down and with burnt umber craft paint added.
The walls themselves were given a base coat of a dark grey (actually a test pot for emulsion paint - it's what I had at the time, but coverage isn't great), then I picked out a few stones in light grey, tan and an even darker grey.
Once that was dry it was given an all over heavy drybrush with a sand colour, including the base.
A thin black wash helped darken everything, and then I sponged on some dark green, especially lower down the walls, for moss.

Finished ruins

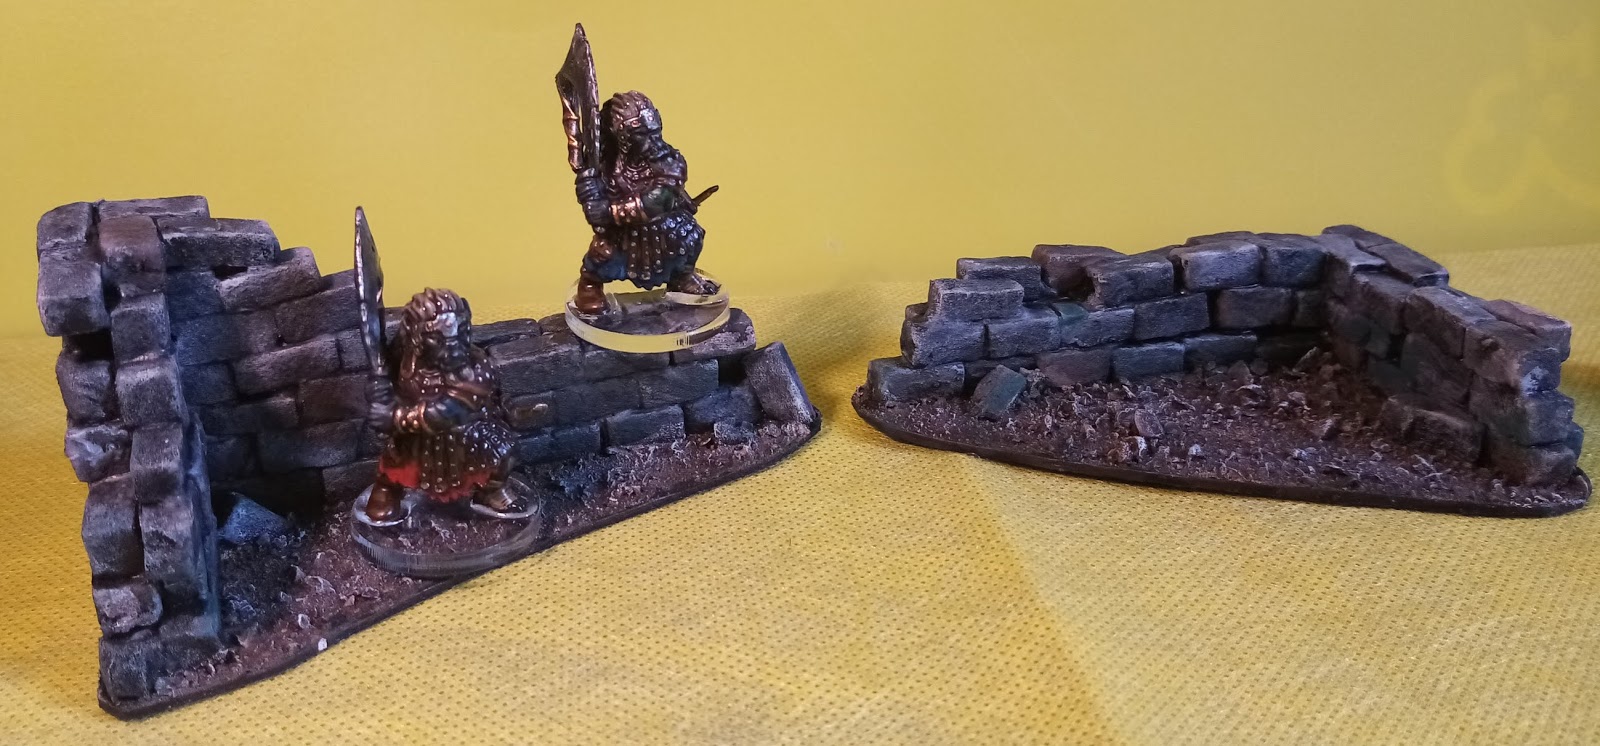
Orc's exploring the ruins
I could add some vegetation to the bases, and even in the cracks in the walls, but they'll do for now.
I'm pleased with these. The project was short (a few hours over two days) and I've produced something useful. They will work for many battle games, especially skirmish games such as Frostgrave and Lord of the Rings Strategy Battle Game. One main factor in making them was the need for something to show ruins in my next face to face Dungeons and Dragons game. A ruined fort features in the game, and I wanted something to indicate the outer walls. These should do nicely.
I'll see how well 15mm minis work next to them, they may look good as the ruins of some impressive castle or something.


