Showing posts with label Battle Companies. Show all posts

Monday, 26 June 2023

Secure The Area - MESBG Battle Companies Game

We got another game in in our ongoing Battle Companies campaign. This time we replayed the  Secure the Area scenario (see the first play of this here).
Apologies for the briefer report, various family commitments means this took several weeks to finish writing up.

Set Up
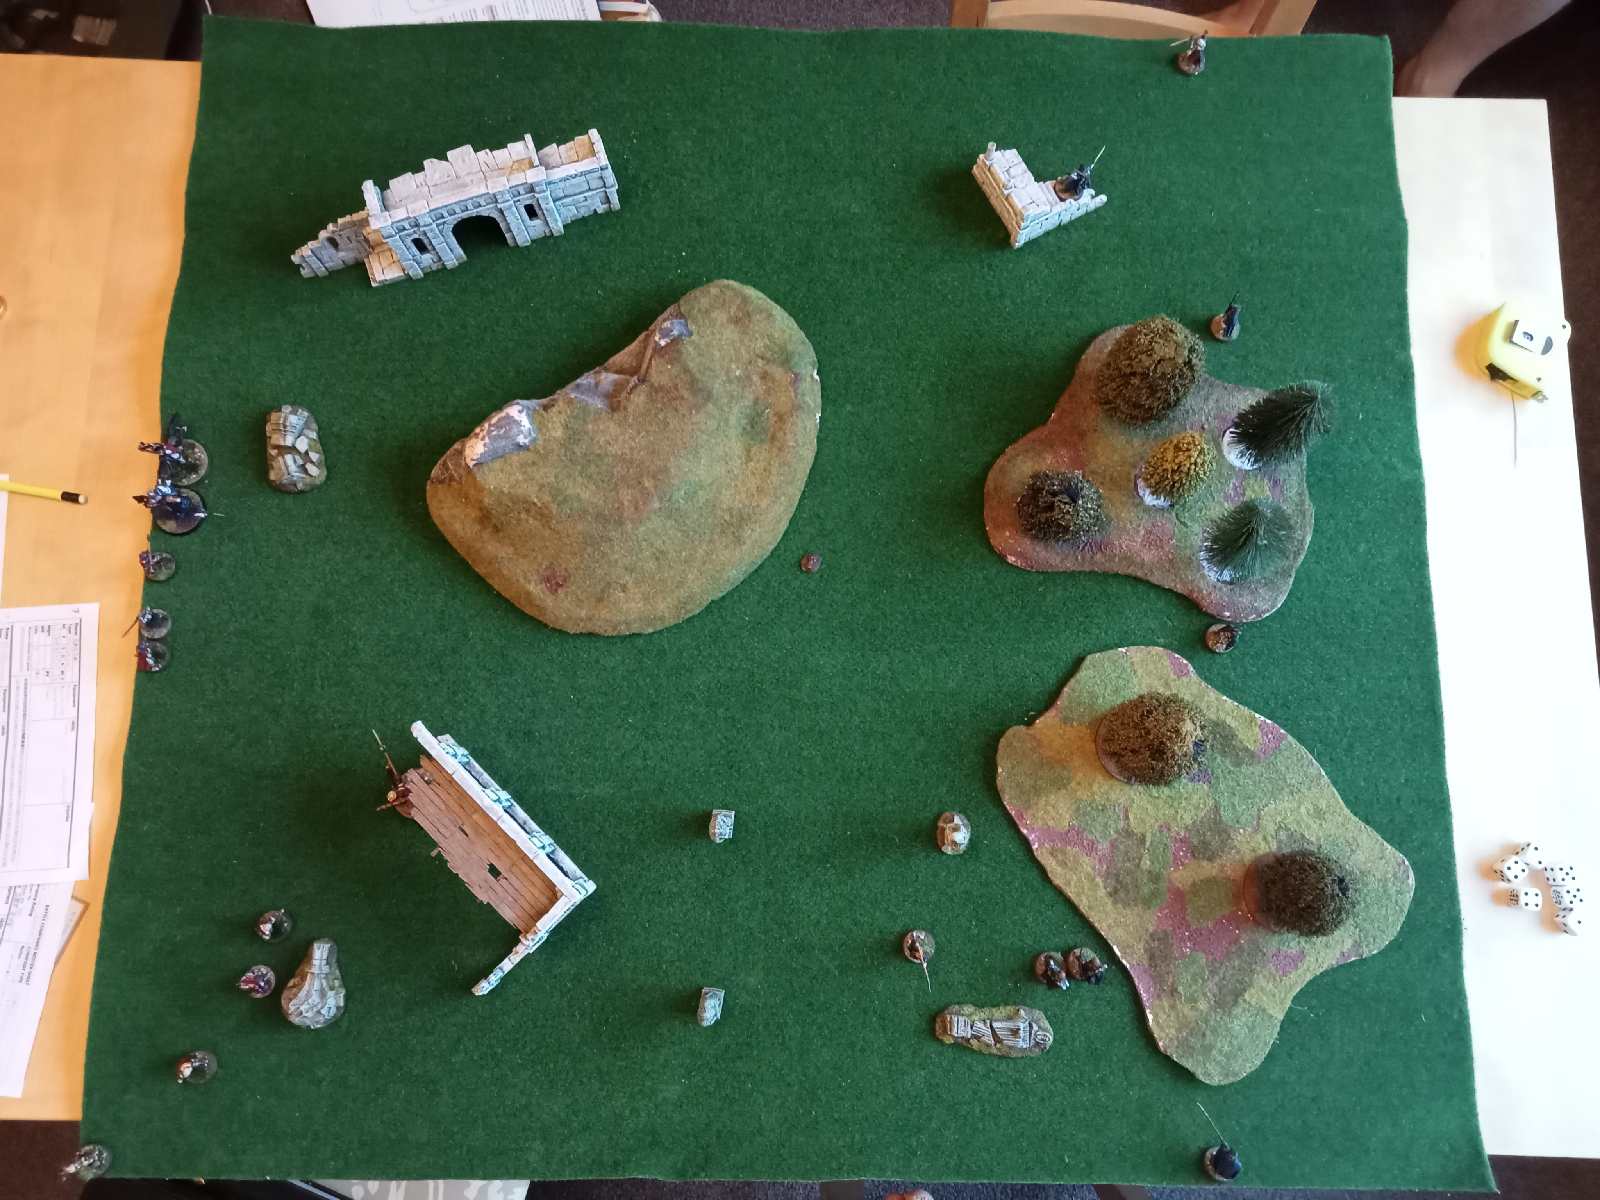
We used the gauntlet as the objective again (another Gauntlet? There must be an Infinity of them).  We set the objective just at the edge of a hill, though on reflection, placing it in terrain that was hard for cavalry to access would have made for a more exciting end game.
All troops suffering from Old Battle Wounds were, as always, fine to fight; one day that's going to hit me hard, but "today is not that day".


Opening Moves
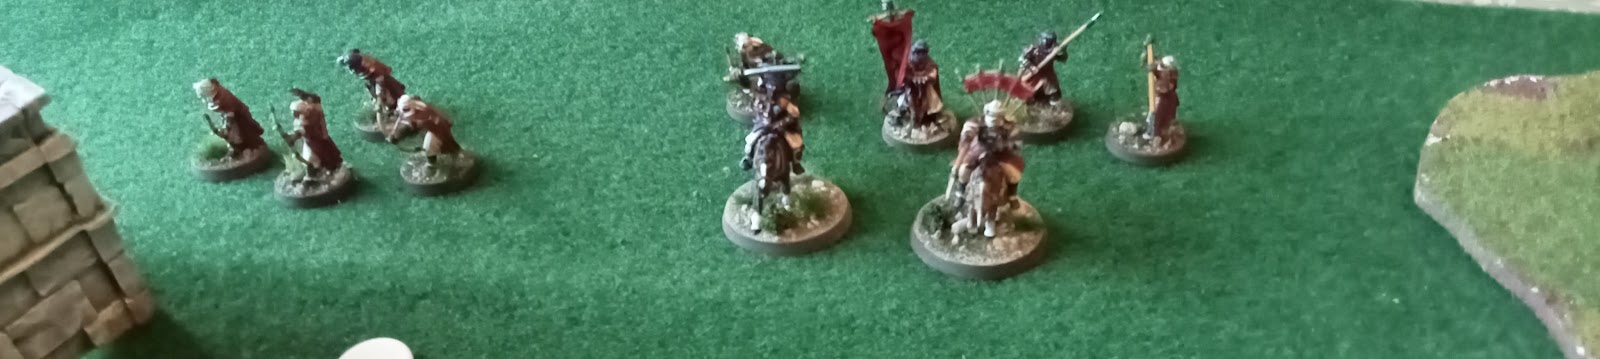
The Fiefdoms had Priority, which worked against them as the Harad troops entered the field very much in response to the Fiefdoms deployment.  Most of both sides appeared in the first turn, with the remainder arriving next turn.  Archery was pretty much a non-event for the first few turns.

Both sides' vanguards arrive

 
Action close to the edge as the two leaders spot each other and charge as soon as possible

Arbea clashes with a Blackroot Vale Archer and a Man-at-Arms

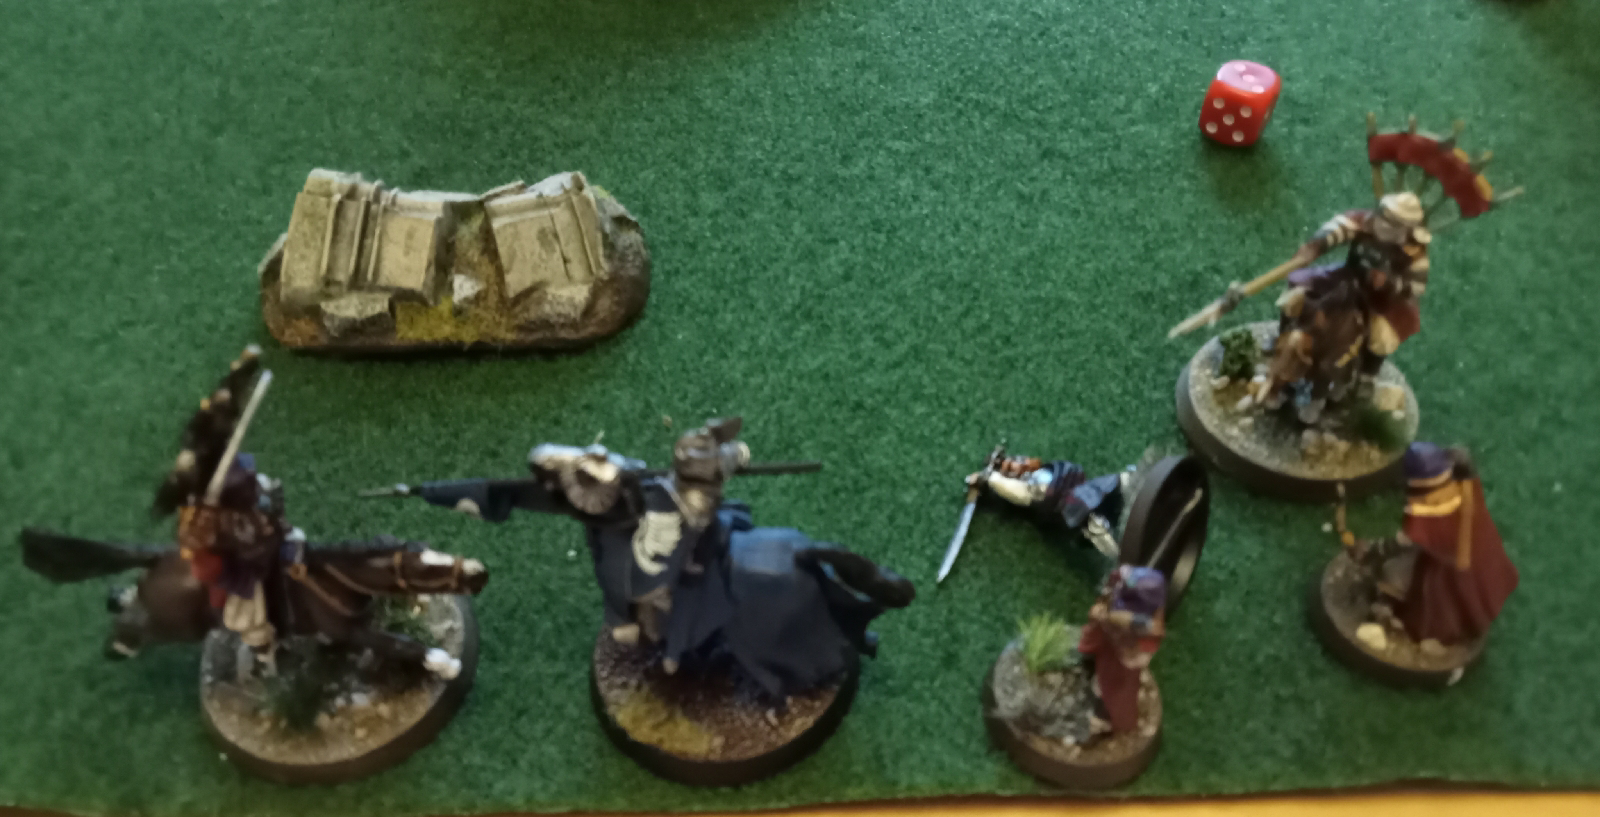
Clash of the leaders!

Khamsa's charge sees to the Clansman

Going for the Objective
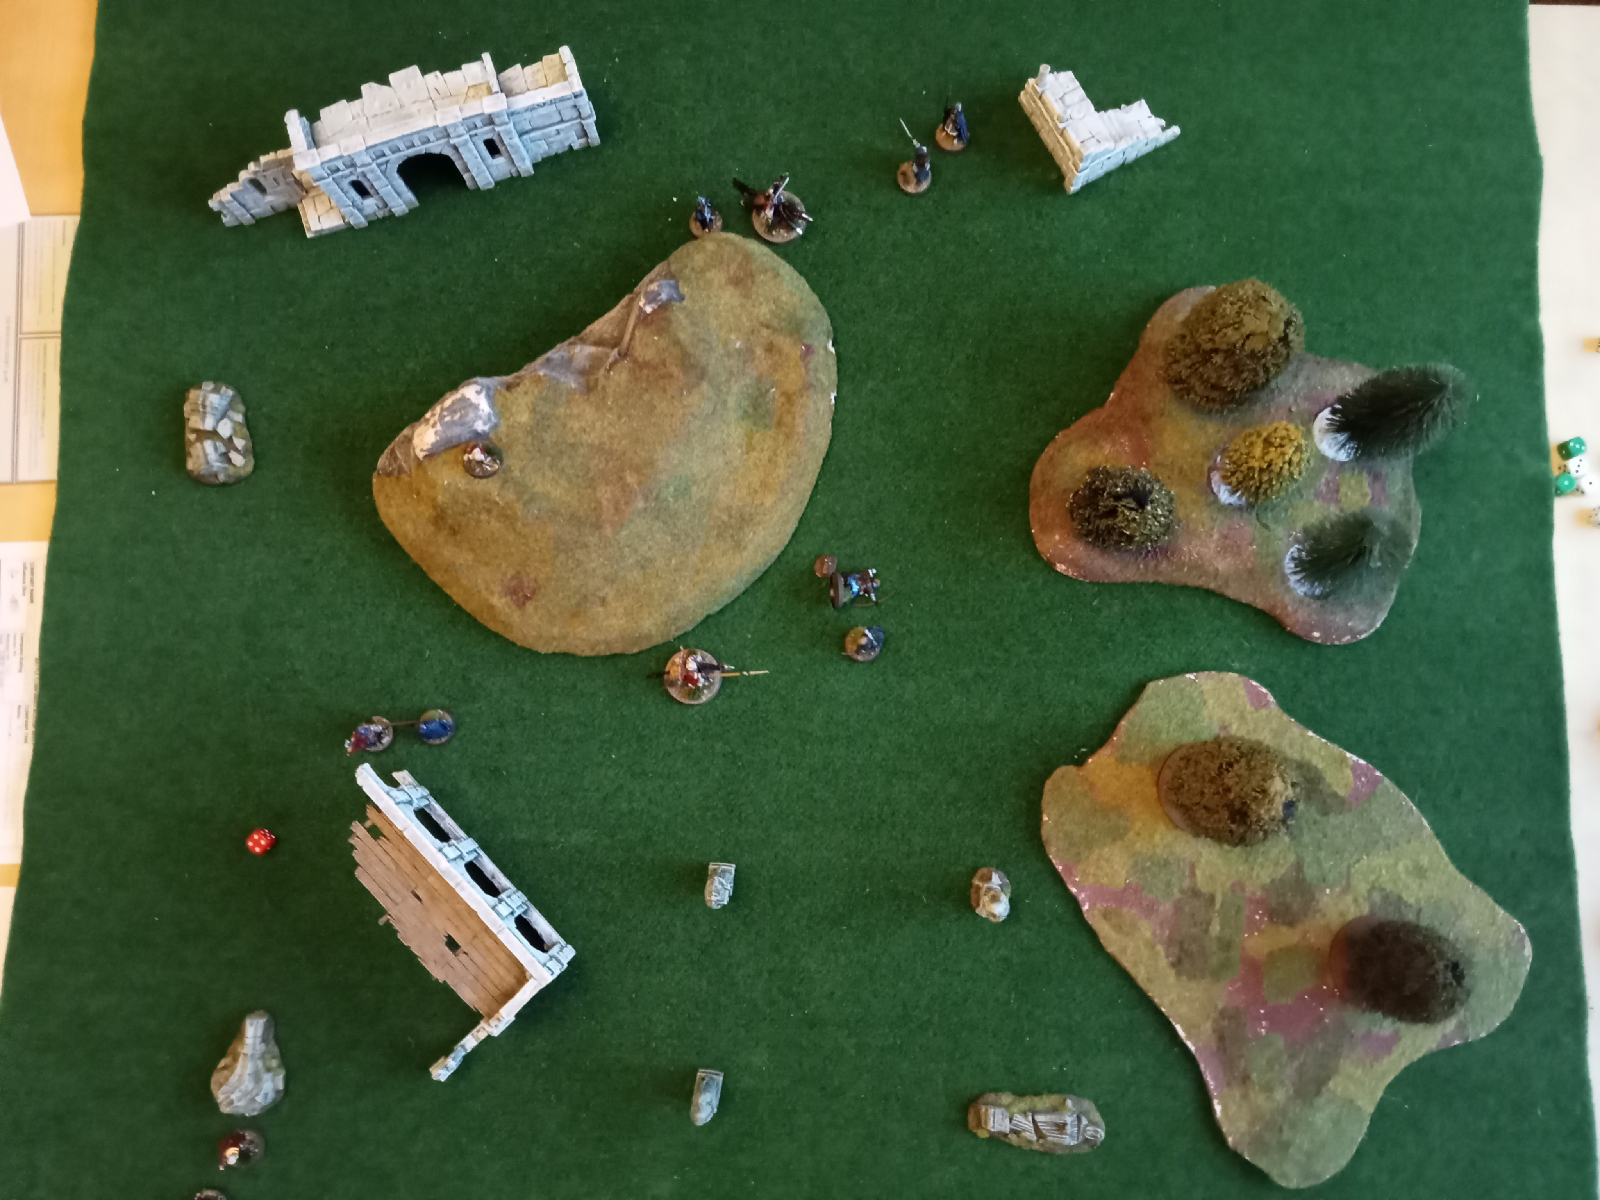
As the battle hots up around Qayid and the Knight, the Fiefdoms' troops make for the objective.
(I must admit that I often forget this sort of game winning detail (I play orcs!), as was the case here.  My son was out-thinking me again.)


Khamsa, his work done on the flank, heads for more targets near the arcade

After some ferocious sparring, Qayid fells the Knight and Khamsa downs the Axeman of Lossarnarch.  
Elsewhere the Fiefdoms troops steal ever closer to the objective.

The End Phase
Realising that although I'd taken out the Fiefdoms' leader, their troops controlled the objective, I sent my best troops, Qayid and Khamsa, as I'd lost Shawish earlier, to try an take it from them.

The Harad hose race for the objective

Khamsa thins out the Men-at-Arms while Sabea tries and fails to remove the Blackroot Vale Archer claiming the objective

Qayid and Khamsa close in on the Fiefdoms defenders

Qayid rides up to the gauntlet while Khamsa removes the Ranger, is it enough for Harad?

With the Fiefdoms' broken, and Harad not far behind, the battle ended.  Had Qayid's desperate charge been enough or had he been distracted long enough?
When we checked the battlefield and the victory conditions, both sides had two models within 3" of the objective, so it was a draw! 

Aftermath
Despite causing more casualties to the Fiefdoms, they scraped a draw.  Curses!  I definitely had the stronger Battle Company, being some 120 points ahead.  That's a slightly misleading value, as two of my strongest heroes, Sayaad and Eashra both have arm wounds and can't use to bows that their skills are set up to take advantage of.  I was too confident, and my son's tactics once again proved superior.

The scenario is greatly influenced by the random set-up.  Priority pretty much allows the player going second to place a good number of troops either nicely close to vulnerable enemy, or far enough away from tough opponents.  This really helped me (as it did last time we played this scenario) and put the Fiefdoms on the back foot from the start.  My son's focus worked very well, taking control of the objective by the middle game and only being challenged for it in the last turn.

Qayid ended up with yet another point of Might, Sabea now has Lethal Shot, a very nice ability that grants a free point of Might each turn to be used on Shoot, In The Way or Shooting related Strike rolls.
All injured parties survived, but interestingly Shawish rolled Lost in Battle, so our next game will be the Rescue scenario.
All the Fiefdoms troops survived too;  I believe the Knight gained yet another point of Fight, but his fight is so far above any of my troops that this is irrelevant.
I'm keeping my company the same for now, as I want to get some more minis painted up, and I have a few other projects to complete (including, possibly, camps for the two scenarios requiring them).  The Fiefdoms went on a recruitment drive and now have three more members, equalling my ten.  The include another knight, and after a bit more spending of Influence, he is also mounted.

This was a great fun game to play.  I'm looking forward to the Rescue scenario, though I suspect it will be difficult for me, Shawish starting out just outside the Fiefdoms' deployment area.  He'll be relying on his Parry a lot.  
We are taking a mini break as we paint up more minis and I want to work on some more terrain.  We'll be back before long thouhg.

Monday, 19 June 2023

A Fiefdoms Battle Company

Since I posted my Harad Battle Company I thought it only fair to show my son's Fiefdoms Company.

The full company

Blackroot Vale Archer, Knight and Man-at-Arms


Another Man-at-Arms and an Axeman of Lossenarch

Archer and Man-at-Arms


There are fewer of them, as they are generally better troops, and there is a lot more variety in troop type.  Most of the relevant minis are available at the moment, and in metal too (with the exception of the Men-at-arms), as part of GWs rolling program of reissues.  My son decided to use some of the Citadel Guard as the Dol Amroth Men-at-Arms, partly as he already had some, and partly as we have read poor reviews of the official minis.  They are Failcast, and the pikes just don't hold up well in this material ('pool-noodles' is the kindest description I've heard). I think his choice of colours makes it clear that they are not from Minas Tirith. 

I really like the painting on them, despite the different style to my Haradrim, the use of the same basing material (Geek Gaming's Plains of New Zealand with some added tufts) they all look right together.

We weren't sure about how to name them. Presumably they would use similar naming conventions as Minas Tirith?  He'll get round to some names soon, now that the bulk of the painting is done; for now at least.

Note that since taking the photographs one of the Men-at-Arms has died, but more troops have been added, particularly a Clansman.  I'll do a reinforcements post soon combining the various additions we have both made.


Monday, 12 June 2023

Siezing More Ground MESBG Battle Companies

We had another go at the Sieze Ground scenario with the most minis we've had on the table so far. The Fiefdoms had nine troops, and Harad had ten. All of our troops were available, despite the increasing number with Old Battle Wounds. 
By now my Battle Company was nearly one hundred points ahead, which gave the Fiefdoms six rerolls and six extra Influence Dice after the game. I suspect those extra Influence Dice are going to cause me problems next game. 

Set Up
The Fiefdoms set up in a line, spread pretty much along their deployment zone. Look out for that knight out on the flank!
Harad bunched up in a bow contingent and a melee group. We both had an objective within easy reach.
The oncoming Fiefdoms. The Knight is off to the left, and one of the Blackroot Vale Archers off to the right 
Harad grouped according to battlefield role 

Opening Moves
Both forces move forwards while allowing the bulk of the missile troops to fire. We both have one archer who suffers no penalty for Moving and Shooting, so these led the way. Archery was disappointing, with arrows hitting obstacles (by the end of the battle, the hedge was full of arrows) or glancing off armour.

The advance continues. I decided at this point to place Ahad, one of my Bowmen, on the top of the ruined gatehouse, but he failed his Climb roll. Twice!
I also split off a couple of troops (Shawish and Tise) to take the objective on the hill.
The Knight continues his flank move, I was hoping to have everything wrapped up in the centre in time to deal with him. 
Blackroot Vale Archers move up to the hedge and control the objective behind it.
Archery was, again, a complete loss for both sides.


Middle Phase - First Blood 
I cautiously advanced my mounted troops as the Fiefdoms were too far away for a Charge and I didn't want to risk being charged. It's clear that the central objective is going to be the focus of the battle.

The Fiefdoms troops move to hold the gap 

While Khamsa cautiously approaches the gap in the hedge 

Khamsa the Raider charges the Men-at-arms and Qayid charges the Highlander. One of the Men-at-arms peels off to tackle Qayid, but the mighty Harad leader (after taking inspiration from the banner fluttering nearby*)  knocks his opponents to the ground and takes both of them out of the fight. Khamsa is less fortunate, and is pulled to the ground and dispatched by his opponents.

The first combats of the battle prove particularly bloody

The Fiefdoms finally gain priority and Harad troops gain the hill top, avoiding the Knight's attention. He is more interested in charging Arbaea (the Banner Bearer), accompanied by one of the Men-at-arms. Despite this Arbaea fights them off, even managing to drop the Man-at-arms. Other combats are inconclusive (I forgot to declare a Heroic Move, allowing Qayid to be charged.)
Archery finally took its toll, with the Blackroot Vale Archers taking out two of the Harad Bowmen on the other side of the hedge.

Shawish leaves Tise on the hill top, his skills are better used in the melees around the gap. Accurate shooting from a Blackroot Vale Archer takes out Tise on the hill top, denying Harad the objective there.
Various Duels are bloodless, but now that Harad is Broken the Fates decide the engagement is over.  Each side has one troop on an objective.

But the central objective is controlled by the Fiefdoms, giving them the win.


Aftermath
Well, another great fun game, and a well deserved win for the Fiefdoms.  My son was a lot more focused on the objectives and aware of which ones were close enough to be claimed.  Careful positioning of his troops meant that he had the middle objective, much to my surprise.
One of the Fiefdoms troops will be missing the next game, all of mine scraped through, but my current favourite Bowman, Eashra (he's got the extra shot, just like Sayaad) picked up an arm wound (just like Sayaad). Sabea ended up with an Old Battle Wound, that's three now across the company.
Khamsa got promoted to a Hero, so I now have seven heroes out of a total of ten troops.

The Blackroot Vale Archer sergeant can now call a free Heroic Shoot each turn, good enough in its own right, but the Archers have a nice synchronicity with Heroic Shoots.

Given the number of injuries I used Arbaea's pouch of Healing Herbs, so I replaced them. Otherwise I'm not sure what to spend the remaining eight Influence Dice on. I had planned not to add any more troops until I caught up with the painting, which I have now done. (Another post soon showing the most recent painting, though you can see them on the pictures above). I may well buy a horse for Shawish, which will entail painting another mini for that. It's never ending.

*Company Banners in Battle Companies games don't work the same as the Banners in the MESBG, they give a bonus to Courage rather than a reroll to one nearby duel.
However, Arbaea gained an ability that gives him the reroll that Banners normally do, so he is effectively both kinds of banner in one.

Monday, 29 May 2023

Stand Your Ground: MESBG Battle Companies Campaign

Yet another game in our MSEBG Battle Companies campaign. This time the aim was to end up in control of the central hill.
We rolled off to see who was defending the hill and Harad won.  Given that we both had cavalry we decided that the hill would be shallow enough to be easily traversable; apart from the western cliff side of course.

Opening Moves
As the Harad forces look around, the Fiefdoms cluster around the ruined arcade, apart from the knight who rides in from the north

Qayid and the knight clash.  The Fiefdoms had priority, but  Qayid declared a Heroic Move in order to Charge.  The Knight did the same, but Harad won the roll-off.  The Knight won the duel, but was unable to pierce Qayid's armour.
The bulk of the Fiefdoms troops move towards the hill, but leave themselves open to charges from the Harad force.  They manage to unseat Khamsa the Raider

Qayid and the knight continue their attacks, but neither side can unhorse the other.
The Harad Bowmen and the Blackroot Vale Archers engage in an archery duel, but neither side can hurt the other.  The Clansman falls to a combined attack.

Middle Phase
The Harad force tries ganging up on the Knight, but they are unsuccessful.
Both sides' archers continue their shooting, but hit nothing, and a scrappy fight develops around the base of the hill.
At this point there are only two troops on the all important hill.

Disaster for the Fiefdoms!  Qayid finally hits home (with a little help from one of his spearmen) and downs the Knight.  Not Fate nor his lucky talisman can save him.
The Blackroot Vale Archers avenge their captain, downing both the Harad Bowmen on the hill.  With their fall, the hill is unoccupied.

End Turns
The triumphant Qayid rides towards the Archers and the rest of the Harad force pull back to the hill.
They are pursued by the Fiefdoms troops, who now engage all the remaining Bowmen, shutting down Harad's archery.

Qayid survives a hail of arrows, but on the hill one of his Bowmen is pulled down.

By this point Harad was Broken, but only Qayid was at risk as the rest of the troops were on the hill. The Blackroot Vale Archers decide to tackle the oncoming horseman, but his charge knocks both of them down.  One of them is out of action. 
On the hill one of the Men-at-Arms also falls,  Breaking the Fiefdoms as well.

The remaining Archer breaks and runs, bringing the Fiefdoms below one quarter strength (a Man-at-Arms and the Axeman on the hill).  The forces of Harad take the day.

Aftermath
I'd like to say that I deliberately abandoned the hill to draw the Fiefdoms out, then strategically withdrew to safety, but in truth I got carried away with charging, completely forgetting the objective, and was lucky to get the win.
My Battle Company is quite some way ahead of the Fiefdoms, consequently they had four re-rolls for this game* (a balancing factor for less powerful companies).  These were very well used, in one instance to re-roll a failed Fate roll. 
Neither of or Companies suffered much from injuries, though Eashra, one of my Bowmen recently promoted to a Hero now has an Old Battle Wound.  
Arbaea, the Battle Company Banner Bearer now has Bane of Kings (this is a re-roll on all failed Strike rolls, exactly the same as the Harad Master of Poisons ability - I may simply call it this).  Eashra has gained an extra shot per turn, making him a very handy archer.  Lets hope he doesn't end up with an arm wound like Sayaad.

This was a great fun game, and much closer than the report makes it appear.  There were a few frustrating dice rolls.  The Knight needed to roll 4+ to Strike Qayid, but failed to roll better than a 2.  Better luck next time.
We've now played most of the scenarios.  There are a couple more that require a camp, so some terrain building required I think, and the one based around rescuing a lost Hero, which we are saving for when that happens.

*And four bonus Influence Dice, which will allow for some serious spending before next battle.

Monday, 15 May 2023

Seize Ground: MESBG Battle Companies Campaign

Yet another game in our Battle Companies campaign. This was the Seize Ground scenario, where the object was to be in control of as many as possible of five key points on the battlefield (white counters).
I was missing one of my warriors, still recovering from an injury last time, and the Axeman of Lossenarch was likewise absent.

The deployment.  A couple of the objectives are just off the photograph (doh!), just below the hill at the bottom, and above the ruin at the top.

Opening Moves
Qayid sent a warrior out to control the objective near the hill, while he himself rode off towards the one near the ruin.
The Fiefdoms advanced, spitting their forces into two wings.

The Knight moves towards the gateway, no doubt issuing challenges to the Harad troops.
The Raider claims an objective, as does Qayid.

Middle Phase
Both mounted Haradrim charge opponents.  Despite the advantages, the initial melees are disappointing.  Either I failed to Strike after a successful Duel, or the wound was saved by Fate (in the knight's case after spending two points of Might!)

But a second run knocks the Fiefdoms troops to the ground and the knight is out of action.
The Fiefdom's other wing threatens the Harad flank. 

The End Phase
A Man-at-Arms falls, and the Harad cavalry move to secure a couple of objectives.  The remaining Fiefdoms troops decide that discretion is the better part of valour, and depart the field, taking their casualties with them.

Aftermath
So a disastrous day for the Fiefdoms.  To add insult to injury the new man-at-arms succumbed to his wounds, so the Fiefdoms are struggling with numbers.  The knight has another point of Might, making three, and the Blackroot Vale Archer gained the ability to shoot at targets otherwise concealed.  Since this is most likely from an Elven Cloak, which Harad can't take, it's not that useful a skill for him.
Harad fared better, having no losses to injury.  Experience-wise several of the heroes got interesting boosts.

Another fun game, but one in which luck seemed to play a huge part.  There were several instances of successful duels where both sides failed to capitalise, even with the double bonus of mounted and warspear or lance.  One bow shot I took with a 6 to hit and a further 6 for the in-the-way roll followed by a strike roll of 2 just about summed it up.
Still, I was able to knock the Fiefdoms troops out of contention by the end, and their bad luck trying to take out the Hradrim meant that I suffered very little.


Sunday, 30 April 2023

A Chance Encounter MESBG Battle Companies Campaign

We played the latest in our MSEBG Battle Companies campaign, and if the previous game was oddly bloodless and lacking in excitement, this one was very different.
The aim of the game is to inflict as many casualties on the enemy, while remaining above one quarter strength.

Set Up
The table was set up to make the most of the newly painted Ruins of Middle Earth.  These ruins would provide important shooting platforms for the game.
Neither of us suffered with troops missing due to Old Battle Wounds, but the Fiefdoms were missing one warrior, injured last game.

Surprise! The two Companies meet each other.

Opening Moves
Both sides place archers in the nearest ruins (there is a Blackroot Vale Archer under the arcade as well as one on the steps).
The melee troops advance, but the Harad cavalry stays in cover behind the wood.
Early missile fire has no effect.


The Harad troops move up, hoping that the fallen column will provide some cover.  The Knight and his retinue also advance.
Lucky bowfire takes out the Archer in the arcade.


The Middle Phase
The two forces finally clash, Harad being able to charge the Fiefdoms.  On declaring a Charge, the Knight responds with a Heroic Move, hoping to seize the initiative.  However, Qayid's Mastery of Battle allowed him to do the same, and the dice favoured him.
Despite their Charge, the Harad troops are all beaten back, and, worse, Khamsa is a casualty.


The Blackroot Vale Archer shoots true, and one of the Bowmen in the ruin opposite falls to the ground.
The action around the column hots up.  The Fiefdoms attempt a charge this time, and Qyaid tries to use his Heroic Move to foil them.  The Fiefdoms respond in kind, and this time the dice favour them.
However, the bold men of Harad slay the Knight!

But wait, his lucky charm saves him.  


The Battle's Ending
The Blackroot Vale Archer realises he is needed and begins moving towards the melee.
The Harad Bowman on the Gatehouse tries several times to shoot him, but fails.
By the fallen statue the fight continues, costing Harad another warrior.  In an attempt to bring the Fiefdoms down, even Arbea with the Company Banner and the nearby Bowmen (including Sayaad One-hand) pile in.


Weight of numbers finally defeats the Knight, and the Fiefdoms are broken.

More Fiefdoms troops fall.

Seeing how things are going, the Blackroot Vale Archer flees.  
Before the rest of the Fiefdoms can follow, the Harad troops charge them (Heroic Move) and they are pulled down.

Aftermath
Ahad, one of the Harad Bowmen is injured and will miss the next game.  The rest of the company survived OK.
Qayid gained another point of Might, but two warriors failed to gain any promotion.  Shawish managed to find some Healing Herbs.
Sadly, the Man-At-Arms sergeant succumbed to his injuries.  He was a valiant opponent.  Still, one of his companions is now a hero.
The Fiefdoms have recruited another two men, a further Man-at-Arms and a fierce Clansman of Lamedon.

This was a great fun game.  Despite all the Fiefdoms being taken out of action it was exceptionally close.  several fights were won by virtue of Shawish's Parry ability, and I think we saw more Heroic Actions this game than in the whole of the campaign previously.  They certainly help make the game more, well, Heroic.
There were several instances of me completely failing to capitalise on winning Duels.  In one instance a cavalry charge resulted in Qayid rolling 4 dice, getting nothing higher than a 2, then rerolling thanks to his Master of Poisons ability, and doing no better!  Still, he got there in the end.

My Company is now rather powerful, but there is the Clansman to face next time, and the Knight has bought himself a lance and Warhorse.  
I'm happy with the size of my Warband for now, and I'm not planning to increase it until I've caught up painting.  I'd better find a pouch for those healing herbs as well, I'm sure the Frostgrave sprues will have something suitable.


Minis for the Master Forge

If you've read the earlier D&DF2F posts, you'll know that I had to change the focus of the in person session. What was going to ...