Monday, 29 May 2023

Stand Your Ground: MESBG Battle Companies Campaign

Yet another game in our MSEBG Battle Companies campaign. This time the aim was to end up in control of the central hill.
We rolled off to see who was defending the hill and Harad won.  Given that we both had cavalry we decided that the hill would be shallow enough to be easily traversable; apart from the western cliff side of course.

Opening Moves
As the Harad forces look around, the Fiefdoms cluster around the ruined arcade, apart from the knight who rides in from the north

Qayid and the knight clash.  The Fiefdoms had priority, but  Qayid declared a Heroic Move in order to Charge.  The Knight did the same, but Harad won the roll-off.  The Knight won the duel, but was unable to pierce Qayid's armour.
The bulk of the Fiefdoms troops move towards the hill, but leave themselves open to charges from the Harad force.  They manage to unseat Khamsa the Raider

Qayid and the knight continue their attacks, but neither side can unhorse the other.
The Harad Bowmen and the Blackroot Vale Archers engage in an archery duel, but neither side can hurt the other.  The Clansman falls to a combined attack.

Middle Phase
The Harad force tries ganging up on the Knight, but they are unsuccessful.
Both sides' archers continue their shooting, but hit nothing, and a scrappy fight develops around the base of the hill.
At this point there are only two troops on the all important hill.

Disaster for the Fiefdoms!  Qayid finally hits home (with a little help from one of his spearmen) and downs the Knight.  Not Fate nor his lucky talisman can save him.
The Blackroot Vale Archers avenge their captain, downing both the Harad Bowmen on the hill.  With their fall, the hill is unoccupied.

End Turns
The triumphant Qayid rides towards the Archers and the rest of the Harad force pull back to the hill.
They are pursued by the Fiefdoms troops, who now engage all the remaining Bowmen, shutting down Harad's archery.

Qayid survives a hail of arrows, but on the hill one of his Bowmen is pulled down.

By this point Harad was Broken, but only Qayid was at risk as the rest of the troops were on the hill. The Blackroot Vale Archers decide to tackle the oncoming horseman, but his charge knocks both of them down.  One of them is out of action. 
On the hill one of the Men-at-Arms also falls,  Breaking the Fiefdoms as well.

The remaining Archer breaks and runs, bringing the Fiefdoms below one quarter strength (a Man-at-Arms and the Axeman on the hill).  The forces of Harad take the day.

Aftermath
I'd like to say that I deliberately abandoned the hill to draw the Fiefdoms out, then strategically withdrew to safety, but in truth I got carried away with charging, completely forgetting the objective, and was lucky to get the win.
My Battle Company is quite some way ahead of the Fiefdoms, consequently they had four re-rolls for this game* (a balancing factor for less powerful companies).  These were very well used, in one instance to re-roll a failed Fate roll. 
Neither of or Companies suffered much from injuries, though Eashra, one of my Bowmen recently promoted to a Hero now has an Old Battle Wound.  
Arbaea, the Battle Company Banner Bearer now has Bane of Kings (this is a re-roll on all failed Strike rolls, exactly the same as the Harad Master of Poisons ability - I may simply call it this).  Eashra has gained an extra shot per turn, making him a very handy archer.  Lets hope he doesn't end up with an arm wound like Sayaad.

This was a great fun game, and much closer than the report makes it appear.  There were a few frustrating dice rolls.  The Knight needed to roll 4+ to Strike Qayid, but failed to roll better than a 2.  Better luck next time.
We've now played most of the scenarios.  There are a couple more that require a camp, so some terrain building required I think, and the one based around rescuing a lost Hero, which we are saving for when that happens.

*And four bonus Influence Dice, which will allow for some serious spending before next battle.

Tuesday, 23 May 2023

Organising Oldhammer

If you've been reading my blog for a while, you'll know that I've been slowly painting my few remaining Oldhammer minis, especially dwarves. I can use them in Fistful of Lead, but that only needs around a half dozen minis a side, so I don't really have any larger goal.

You may also know that I paint much more effectively if I have a vague hobby goal to work towards, but I've been struggling to find one for my Oldhammer collection. After chatting with Ben (of The Quest for Stillmania) I realised that I can assemble a couple of Dragon Rampant forces harking back to the early days of fantasy wargaming.  In these early games, armies tended to be a mixed bag of Good vs a mixed bag of Evil; I particularly remember a Warhammer scenario from Tortured Souls magazine based around an evil Runesword. The Good side had captured it and had to keep it out of Evil hands while it was purified. Both sides were a mix of the appropriate races, and the story background made it great fun.
I'm unlikely to ever collect enough Oldhammer style minis to field, say, a purely dwarven army, but a unit or two in a Dragon Rampant Good army is definitely achievable - especially with reduced model units. I'll begin with units of four (unless they are obviously heroes, wizards, war machines or monsters). If I get enough of anything I can expand to six, then maybe even twelve (I like to keep the unit size even numbers so it's easy to tell if the unit is Battered).

So now I have a rough plan, and I have enough to make a start with a unit of elf archers (Light Missiles with Sharpshooter), an elven repeating crossbow (Heavy Missiles) and some dwarf warriors (Offensive Light or Heavy Foot).  I'm sure I also have a few old Empire minis that might just squeeze in as Oldhammer, and I know I have an old Bretonnian cannon that will be fine.  That's plenty to start with for the Good army.
For Evil I have a few goblins and orcs, though I'm not sure how many (how I regret selling off my collection years ago!).  I've also got a smattering of Undead, Chaos and Dark Elves, certainly enough for reduced model units.  I've also got some of the original Golfag's Ogres Regiment of Renown, which I'll probably use as a group of mercenaries available to either side.
Here are some examples of what might be coming up.

Classic elves

More nice stuff. The Skeleton knight can lead the zombies. The Necromancer is a unit in his own right. 
The lovely old Empire Flagellants will make a unit of Bellicose Foot 

This is going to be a long term project, and I'm certainly not rushing it.  I will keep an eye out for any interesting minis to add to the collection; I would eventually like to have full model units, which is usually twelve in Dragon Rampant, but that seems unlikely, especially with the way prices are going on evilbay at the moment, and initially I'll probably want two Reduced Model Units of six rather than one of twelve.

Monday, 15 May 2023

Seize Ground: MESBG Battle Companies Campaign

Yet another game in our Battle Companies campaign. This was the Seize Ground scenario, where the object was to be in control of as many as possible of five key points on the battlefield (white counters).
I was missing one of my warriors, still recovering from an injury last time, and the Axeman of Lossenarch was likewise absent.

The deployment.  A couple of the objectives are just off the photograph (doh!), just below the hill at the bottom, and above the ruin at the top.

Opening Moves
Qayid sent a warrior out to control the objective near the hill, while he himself rode off towards the one near the ruin.
The Fiefdoms advanced, spitting their forces into two wings.

The Knight moves towards the gateway, no doubt issuing challenges to the Harad troops.
The Raider claims an objective, as does Qayid.

Middle Phase
Both mounted Haradrim charge opponents.  Despite the advantages, the initial melees are disappointing.  Either I failed to Strike after a successful Duel, or the wound was saved by Fate (in the knight's case after spending two points of Might!)

But a second run knocks the Fiefdoms troops to the ground and the knight is out of action.
The Fiefdom's other wing threatens the Harad flank. 

The End Phase
A Man-at-Arms falls, and the Harad cavalry move to secure a couple of objectives.  The remaining Fiefdoms troops decide that discretion is the better part of valour, and depart the field, taking their casualties with them.

Aftermath
So a disastrous day for the Fiefdoms.  To add insult to injury the new man-at-arms succumbed to his wounds, so the Fiefdoms are struggling with numbers.  The knight has another point of Might, making three, and the Blackroot Vale Archer gained the ability to shoot at targets otherwise concealed.  Since this is most likely from an Elven Cloak, which Harad can't take, it's not that useful a skill for him.
Harad fared better, having no losses to injury.  Experience-wise several of the heroes got interesting boosts.

Another fun game, but one in which luck seemed to play a huge part.  There were several instances of successful duels where both sides failed to capitalise, even with the double bonus of mounted and warspear or lance.  One bow shot I took with a 6 to hit and a further 6 for the in-the-way roll followed by a strike roll of 2 just about summed it up.
Still, I was able to knock the Fiefdoms troops out of contention by the end, and their bad luck trying to take out the Hradrim meant that I suffered very little.


Sunday, 14 May 2023

Kitbashing an Abrakhan Guard for my Harad Battle Company

I've mentioned before that I've been stuck for what to use for an Abrakhan Guard, should I roll one, in our Battle Companies campaign.

The GW official model is no longer available, and I not really a fan of it anyway, it is a cliché 'Fantasy Arabian Harem Guard ' and is a complete invention of the GW designers.  It is, however, the only way to get two handed weapons in the Harad Battle Company, so from a a gaming perspective it would be nice to have one.

I looked for alternatives, including a Reaper mini and one of the Crooked Dice henchmen (as I painted here, the chap with the two handed scimitar), but nothing quite worked.  Then I took a while to think; this isn't anything from the books, not even from the films, so as long as I like the look, that's fine.
I still wanted the same sort of look as the rest of the Haradrim, he should clearly belong to the same culture.  I was looking through some of my Frostgrave sprues and realised that the cultists were wearing fairly loose fitting clothes.  I found a suitable head with keffiyeh on the Ghost Archipelago Crewman sprue, and a suitably impressive two handed sword on the Frostgrave Gnolls sprue.  The official mini is unarmoured, but the profile is still Defence 4+, so I went with the torso that I could paint in fancy armour.  Ideally I'd have used different arms, but I couldn't find any others with the relevant sword, so Gnolls it was.  There isn't anything to show that they are non-human.

The guard has the 'Bulky' special rule, represented in the official mini by him being, well, 'chubby'.  The Frostgrave stuff is fractionally larger than most of the MESBG minis, especially if I leave him on his 'broccoli base', so this will have to do.

Now that I've built him I'm thinking about using more of the Cultist sprues to try some of the Watchers of Karna.  Initially I was going to use one of the Assassins, but it might be nice to do something of my own, and, as with the Guard, it doesn't have to be a copy of the GW mini.

Sunday, 30 April 2023

A Chance Encounter MESBG Battle Companies Campaign

We played the latest in our MSEBG Battle Companies campaign, and if the previous game was oddly bloodless and lacking in excitement, this one was very different.
The aim of the game is to inflict as many casualties on the enemy, while remaining above one quarter strength.

Set Up
The table was set up to make the most of the newly painted Ruins of Middle Earth.  These ruins would provide important shooting platforms for the game.
Neither of us suffered with troops missing due to Old Battle Wounds, but the Fiefdoms were missing one warrior, injured last game.

Surprise! The two Companies meet each other.

Opening Moves
Both sides place archers in the nearest ruins (there is a Blackroot Vale Archer under the arcade as well as one on the steps).
The melee troops advance, but the Harad cavalry stays in cover behind the wood.
Early missile fire has no effect.


The Harad troops move up, hoping that the fallen column will provide some cover.  The Knight and his retinue also advance.
Lucky bowfire takes out the Archer in the arcade.


The Middle Phase
The two forces finally clash, Harad being able to charge the Fiefdoms.  On declaring a Charge, the Knight responds with a Heroic Move, hoping to seize the initiative.  However, Qayid's Mastery of Battle allowed him to do the same, and the dice favoured him.
Despite their Charge, the Harad troops are all beaten back, and, worse, Khamsa is a casualty.


The Blackroot Vale Archer shoots true, and one of the Bowmen in the ruin opposite falls to the ground.
The action around the column hots up.  The Fiefdoms attempt a charge this time, and Qyaid tries to use his Heroic Move to foil them.  The Fiefdoms respond in kind, and this time the dice favour them.
However, the bold men of Harad slay the Knight!

But wait, his lucky charm saves him.  


The Battle's Ending
The Blackroot Vale Archer realises he is needed and begins moving towards the melee.
The Harad Bowman on the Gatehouse tries several times to shoot him, but fails.
By the fallen statue the fight continues, costing Harad another warrior.  In an attempt to bring the Fiefdoms down, even Arbea with the Company Banner and the nearby Bowmen (including Sayaad One-hand) pile in.


Weight of numbers finally defeats the Knight, and the Fiefdoms are broken.

More Fiefdoms troops fall.

Seeing how things are going, the Blackroot Vale Archer flees.  
Before the rest of the Fiefdoms can follow, the Harad troops charge them (Heroic Move) and they are pulled down.

Aftermath
Ahad, one of the Harad Bowmen is injured and will miss the next game.  The rest of the company survived OK.
Qayid gained another point of Might, but two warriors failed to gain any promotion.  Shawish managed to find some Healing Herbs.
Sadly, the Man-At-Arms sergeant succumbed to his injuries.  He was a valiant opponent.  Still, one of his companions is now a hero.
The Fiefdoms have recruited another two men, a further Man-at-Arms and a fierce Clansman of Lamedon.

This was a great fun game.  Despite all the Fiefdoms being taken out of action it was exceptionally close.  several fights were won by virtue of Shawish's Parry ability, and I think we saw more Heroic Actions this game than in the whole of the campaign previously.  They certainly help make the game more, well, Heroic.
There were several instances of me completely failing to capitalise on winning Duels.  In one instance a cavalry charge resulted in Qayid rolling 4 dice, getting nothing higher than a 2, then rerolling thanks to his Master of Poisons ability, and doing no better!  Still, he got there in the end.

My Company is now rather powerful, but there is the Clansman to face next time, and the Knight has bought himself a lance and Warhorse.  
I'm happy with the size of my Warband for now, and I'm not planning to increase it until I've caught up painting.  I'd better find a pouch for those healing herbs as well, I'm sure the Frostgrave sprues will have something suitable.


The Sons of the Serpent - A Harad Battle Company

You've probably seen my Haradrim in the MESBG Battle Companies campaign I'm playing with my son.  I showed the main paint scheme here, but since then there have been some additions, and one loss. So it's time for another look.
I've given them all names; since the films lean heavily on Arabic culture for the look of the Haradrim, I used numbers or titles, or altered them slightly to make them sound more harmonious.  Apologies to any Arabic speakers.
These minis use essentially the same palette as the test mini, the keffiyah on the original heroes is purple, but I haven't altered those where the warrior has been promoted to hero.

The Sons of the Serpent*

L to R; Shawish, Qayid and Sayaad (befoer suffering his arm injury)
Shawish has a pouch of Healing Herbs, taken from the ever useful Frostgrave Soldiers sprue

L to R; Arbaea, Khamsa, Sita and Sabea

L to R; Ahad, Thamania (an early casualty), Tise and Eashra


Such is the nature of the campaign game that I'm regularly adding to the Company.  I've got three minis in the process of being painted to represent upgrades for Qayid, Arbaea and Khamsa.  You've probably seen them in part painted states in recent games, but I'll get proper pictures up in a post of their own when they are finished.

I haven't (yet) rolled any Serpent Guard, Watchers of Karna or Abrakhan Guard for The Sons of the Serpent.  If/when I do, I have both foot and mounted Serpent Guard.  I'll probably use my one Hasharin model for a Watcher, and I've kit-bashed a suitable Abrakhan Guard, you can see him here.

*I did think about calling them The Sons of the Desert, but that gives a very different feel to The Sons of the Serpent.  

Saturday, 22 April 2023

Painting the Ruins of Middle Earth

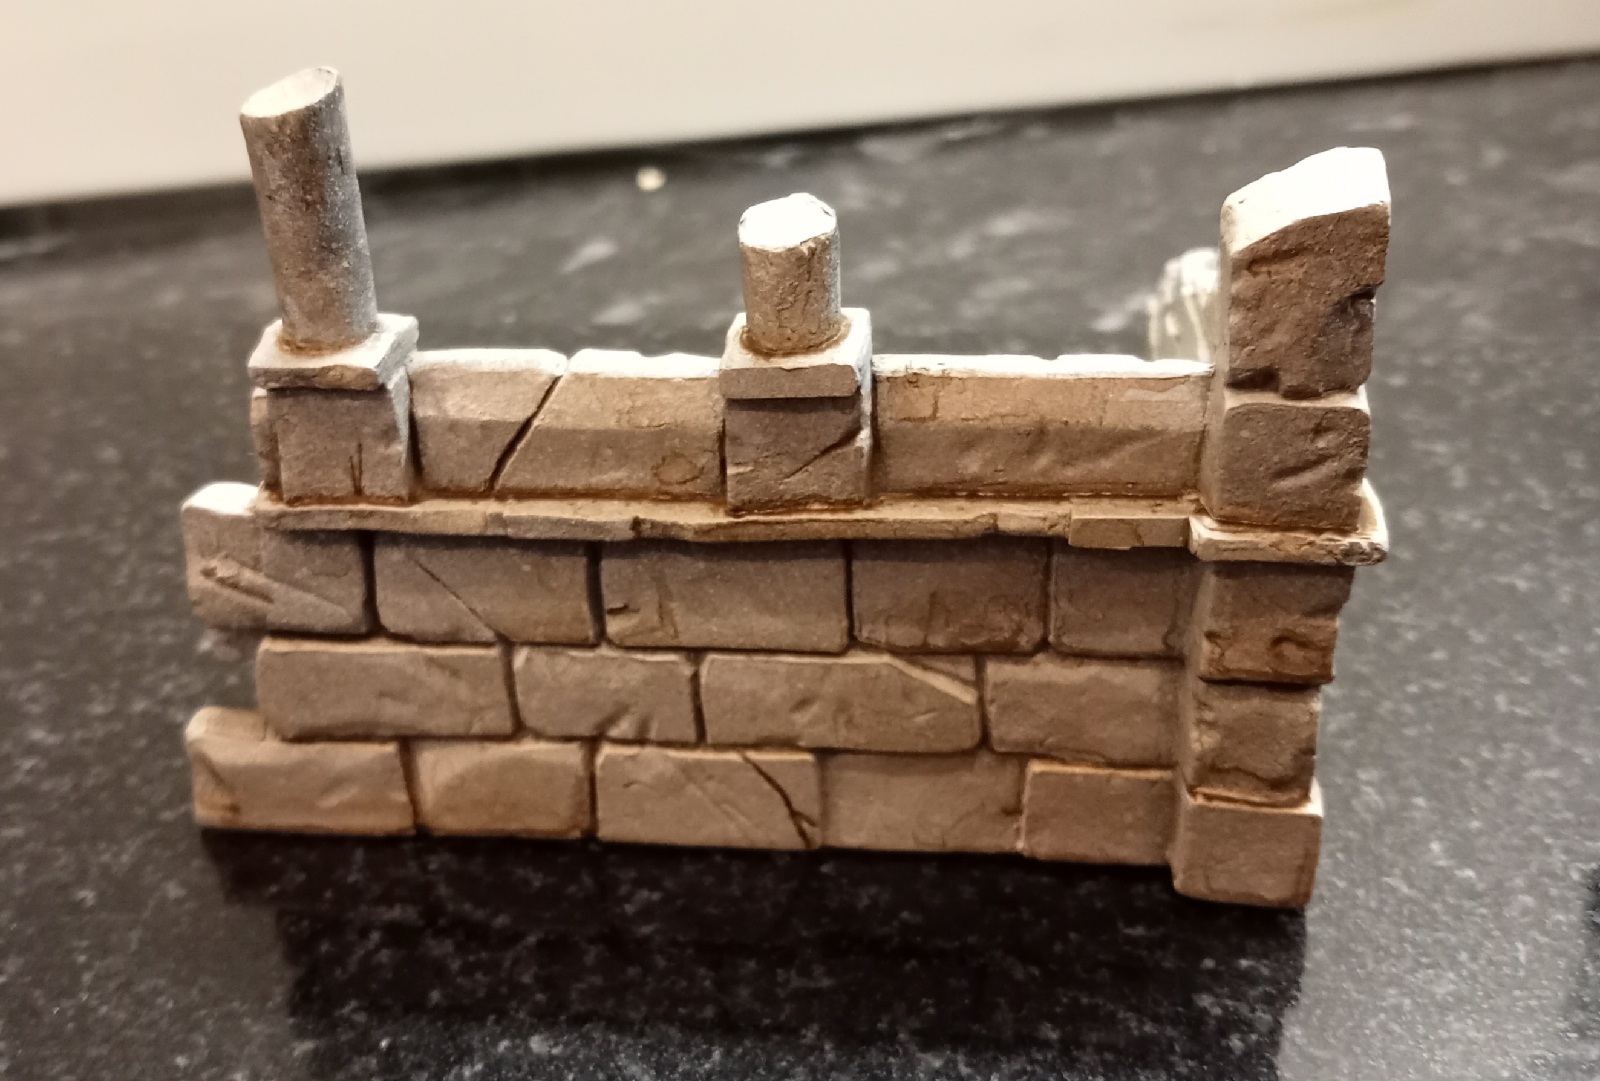
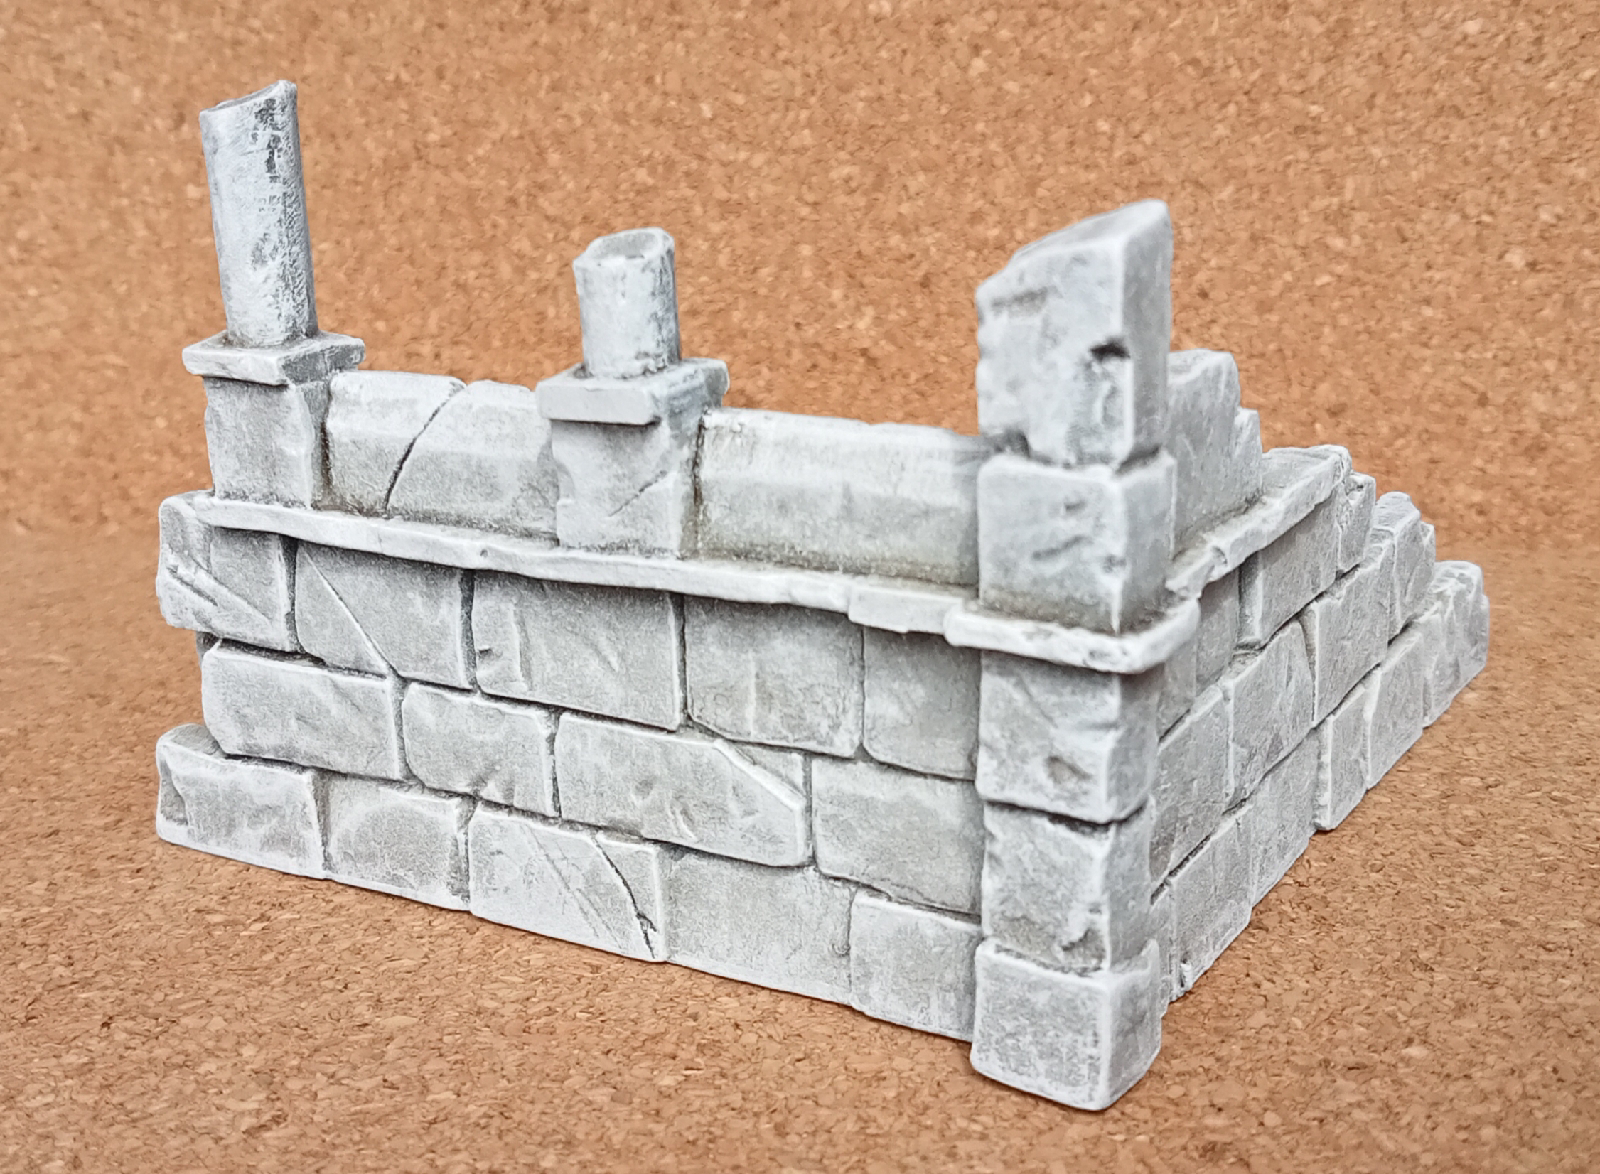
Keen eyed viewers may have noticed me using my battered and unpainted Ruins of Middle Earth in the last Battle Companies game. I've always liked this set, but it seems to be no longer available now that there's a new set of modular Osgiliath terrain. I've never got round to painting it though, but the proliferation of YouTube videos about the new stuff inspired me.


Preparation and Basecoat
I managed to find all the missing components and assembled everything. Then I took advantage of fine weather to get my airbrush out and got on with the undercoat and base coat.
I primed using a 1:2:3 mix of thinner, black primer and white primer. This gave a good dark grey not unlike the bare plastic, but it covers up the white filler I used years ago and gives a great surface.
I then used white primer, but I sprayed from above so there would still be some dark shadows.

The Gatehouse after the white primer

Wash and Highlight
I felt it still needed more definition, so I experimented on the small stairs section with a wash of (roughly) 50:50 black and sepia wash, with a good amount of water added.

After the wash (a bit yellowed due to lighting conditions)

This looks good, and would make a decent light sandstone colour, but I wanted to go for that true White City look, so I gave it a good drybrushing with pure white.


After Drybrushing

This is better, just the colour I want.  Now it just remains to add some algae staining and mud splashes to give it that 'lived in' look.
For the Arcade ruin I painted the wooden floor with Vallejo Leather Brown, washed with Army Painter Dark Tone and drybrushed with VGC Khaki, then Stonewall Grey.

Finishing Details
The algae is watered down Vallejo Game Ink Black Green, applied where water might collect and algae would grow.  I used thinned Sepia Wash for the mud along the base, but this was a bit faint, so I drybrushed Vallejo Game Color Earth over this.


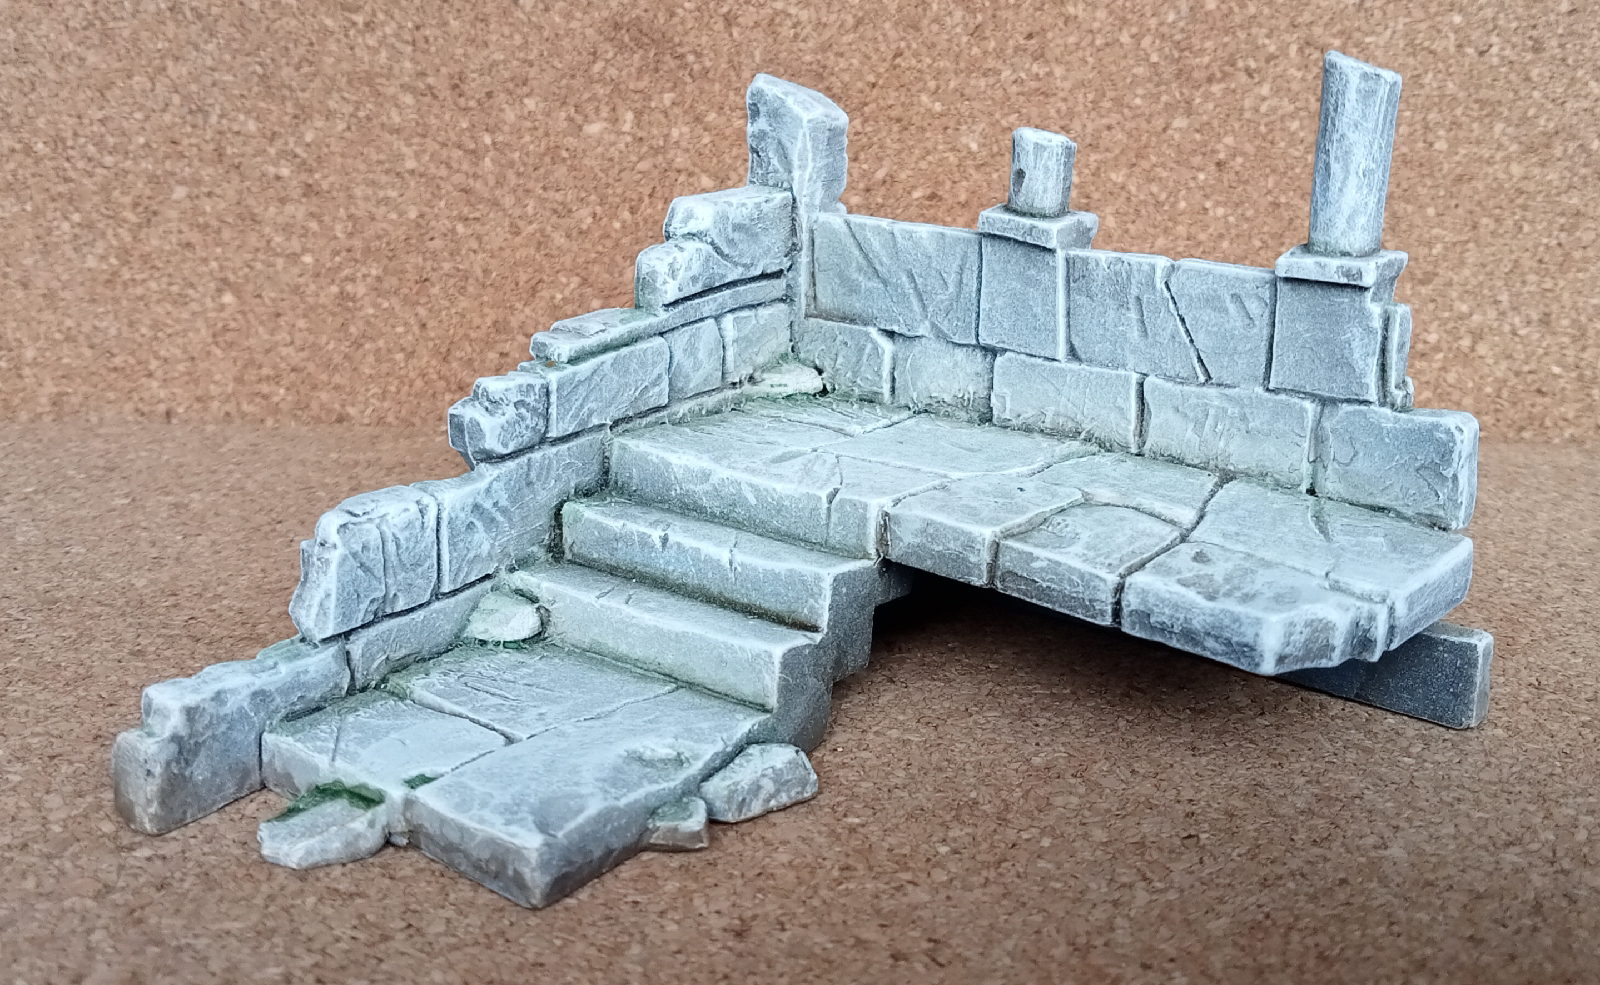
The Steps


The Gatehouse


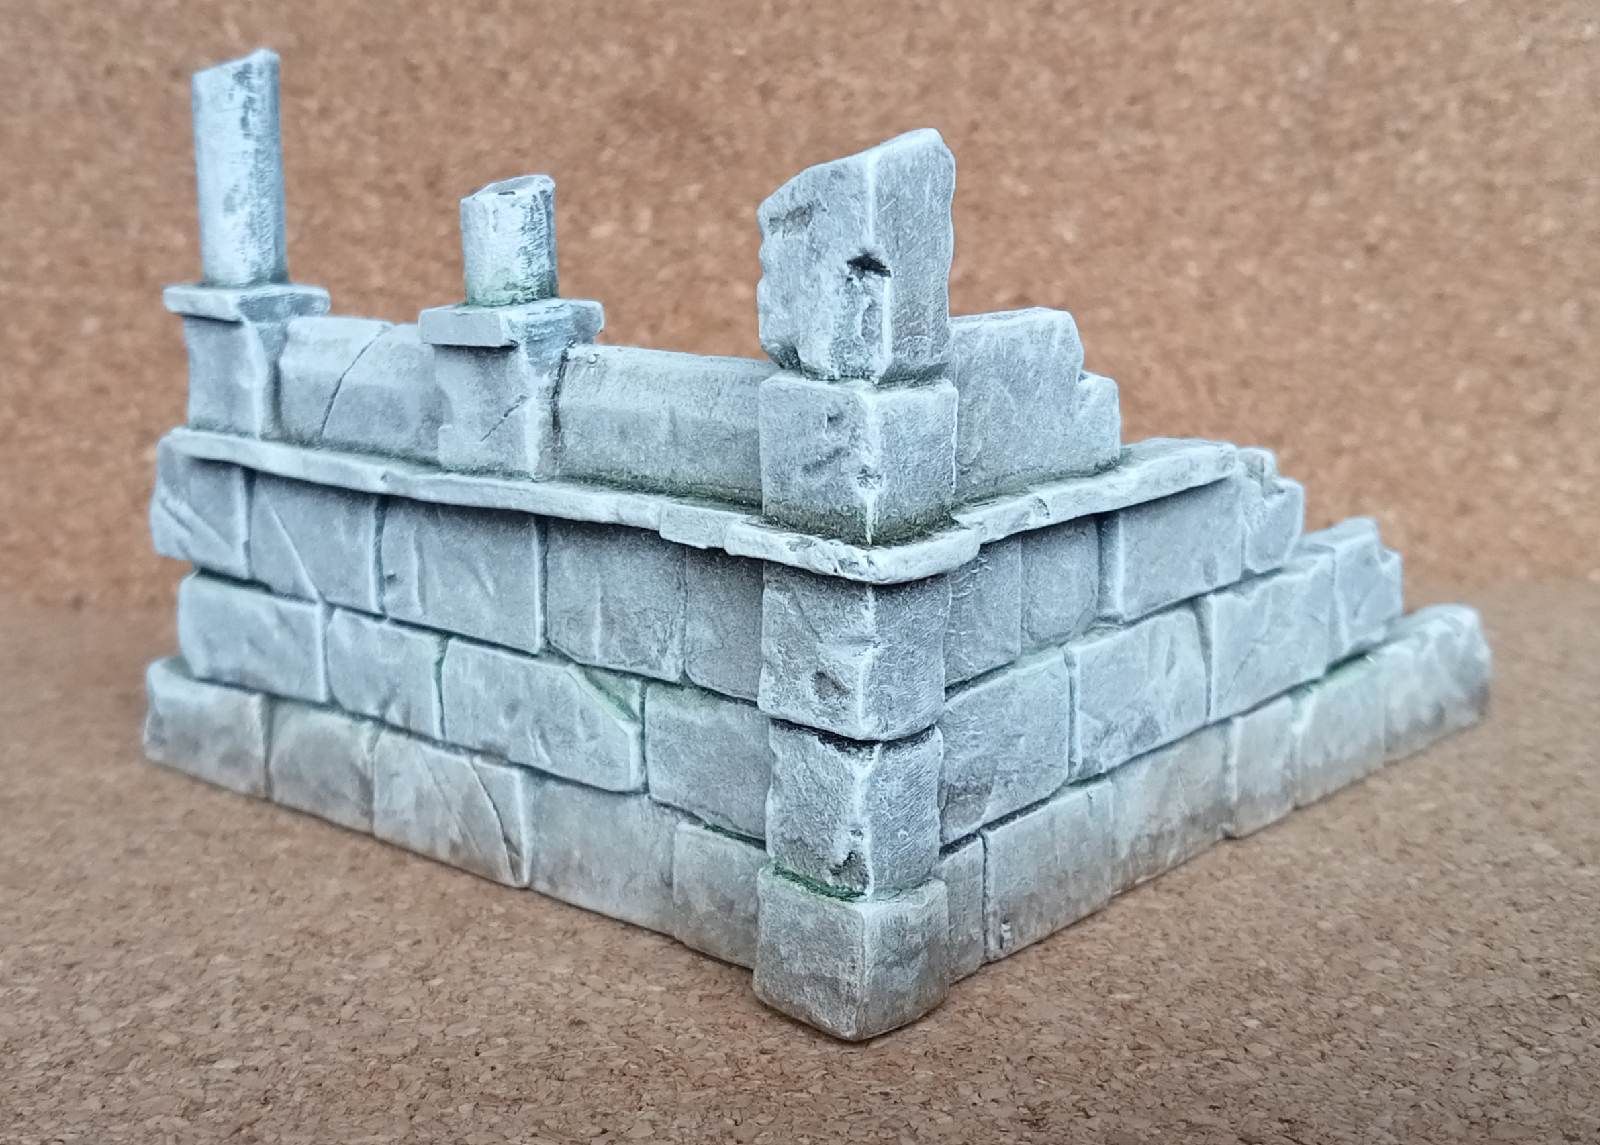
The Arcade

All three ruins

I'm really pleased with these.  I've got close to what I think of as the 'Classic Gondor' look, as seen in a certain film trilogy, and they give an unmistakable 'Middle Earth' look to a battlefield.  They will be very useful for our Battle companies campaign, and are designed to provide cover and height on the battlefield.  They'll also make a good backdrop for photos of the Battle Companies.

I have another two sets squirreled away, and I have thoughts as to how to alter one set to make some different buildings.  More on that some time in the future.

Wildspire Miniatures: Bugbears, Mummies and Dire Wolves Painted

In my last post I mentioned that I recently got a set of Wildspire miniatures , specifically the Classic Creatures Expansion 1.  I've be...