Monday, 17 April 2023

A Show of Strength: MESBG Battle Companies Campaign

The latest game in our Battle Companies campaign was A Show of Strength. Victory would go to the Leader who kills the most.
Both our heroes with wounds were well enough to fight, and I got to use a Raider for the first time. I can't find my box of Raiders, so I used a metal Serpent Raider as a stand in.


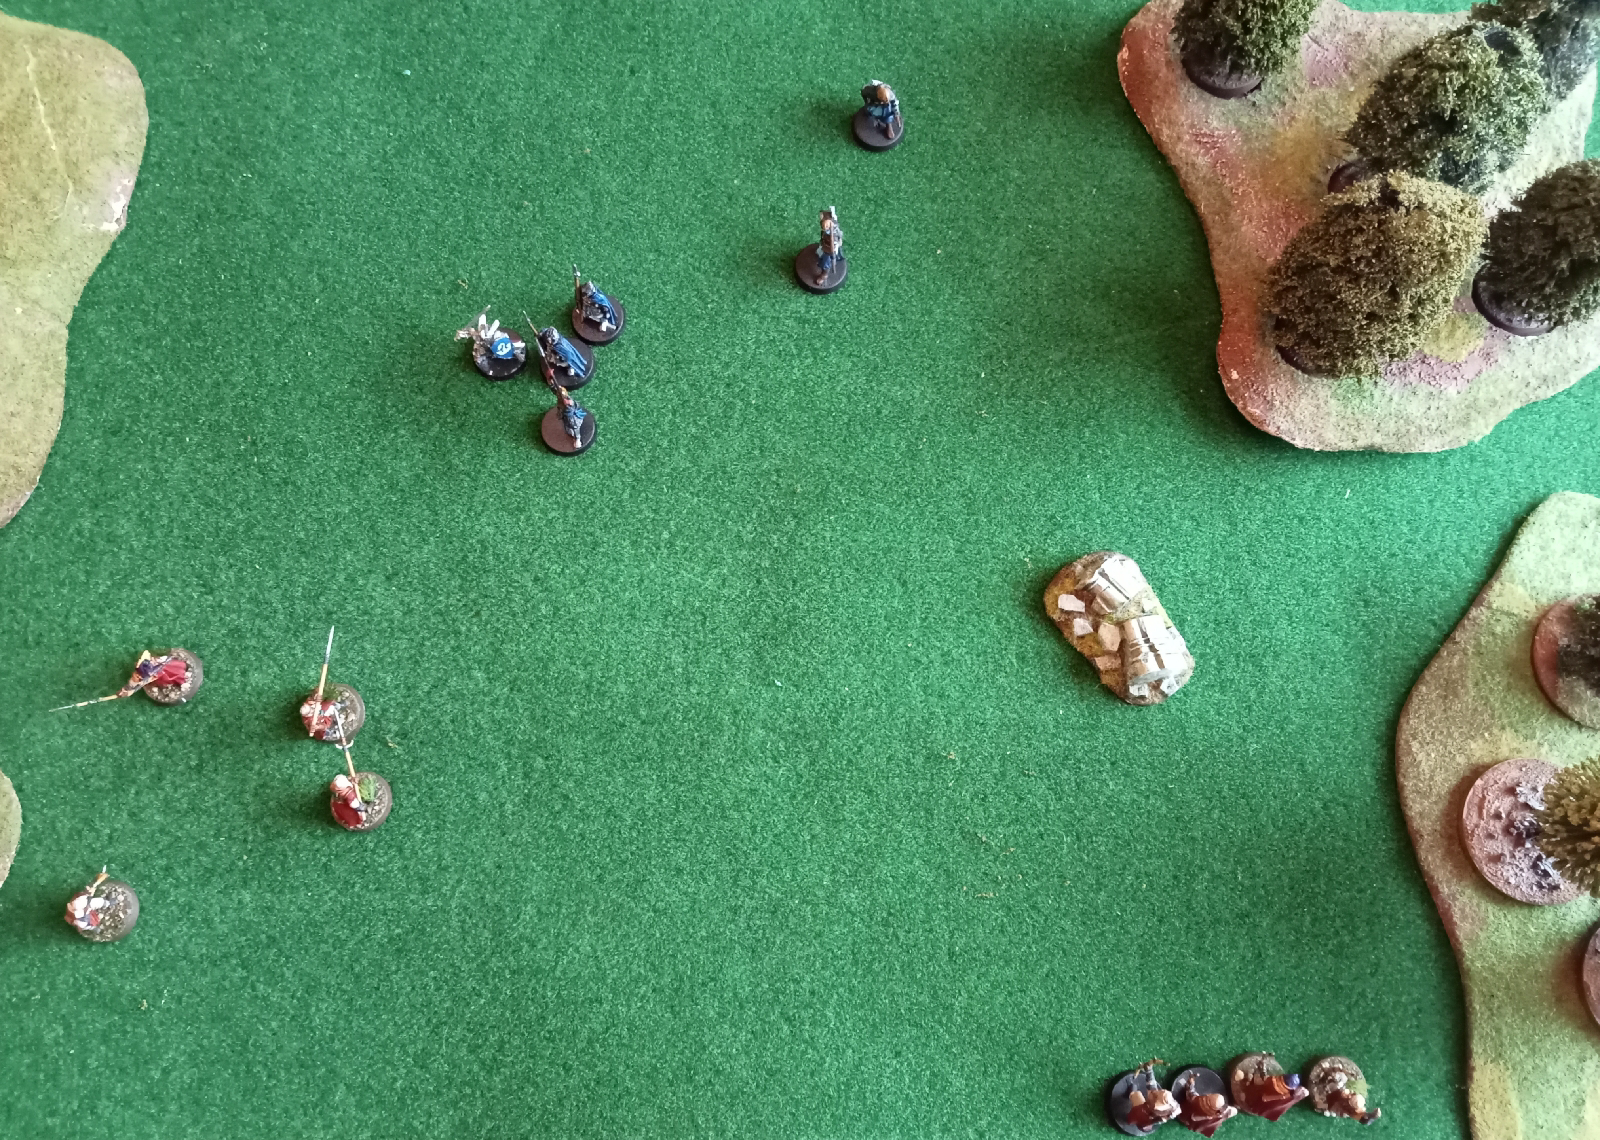
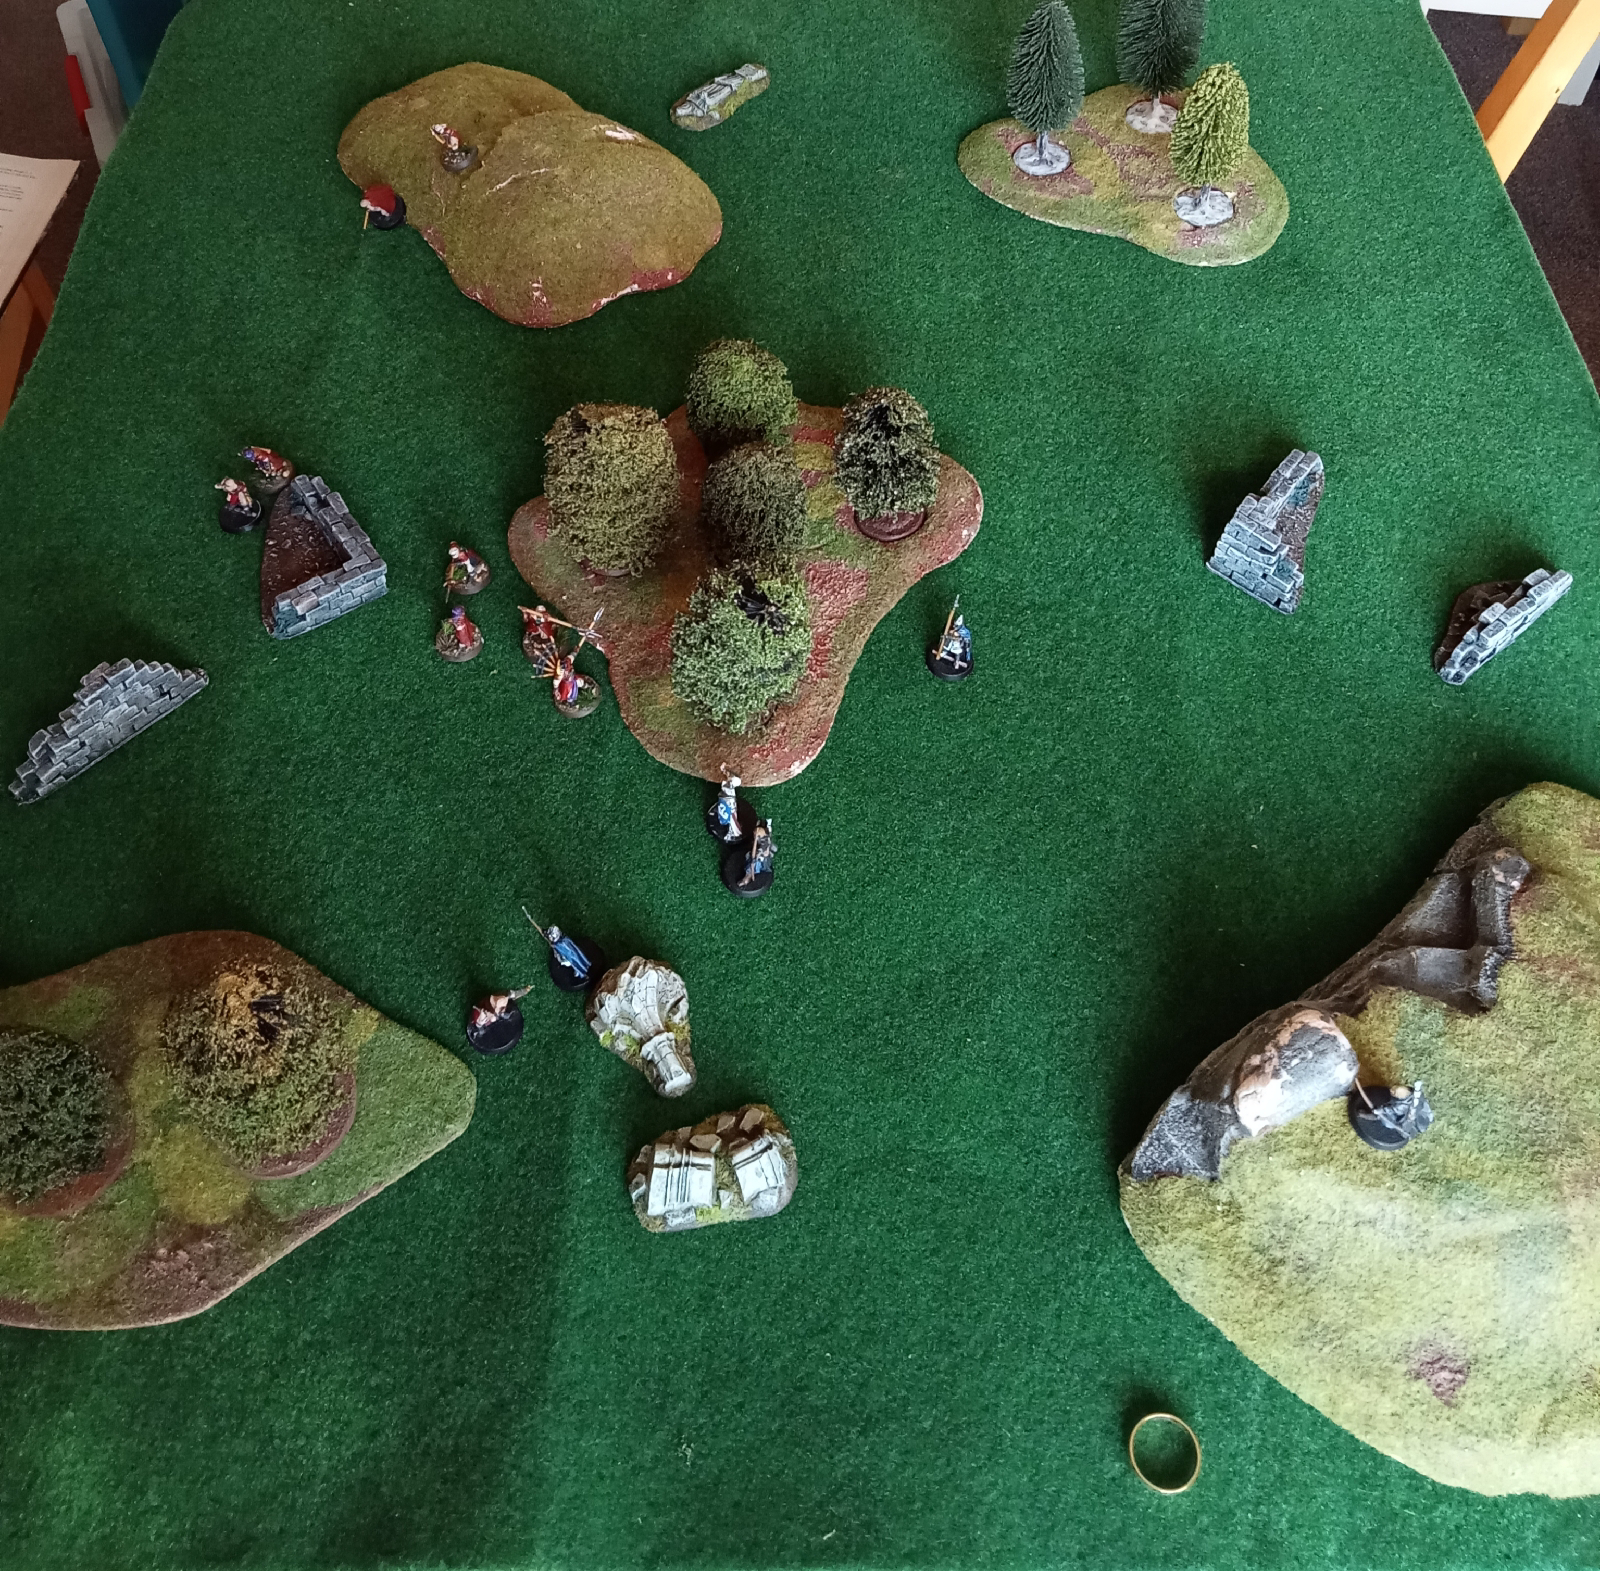
Early missile fire downs one of the Harad Bowmen 

The remaining Bowmen use the ruined arcade as cover and Qayid and his retinue head for the ruins. The Raider tries to hide by the woods, waiting for the approaching Fiefdoms troops.


The Knight of Dol Amroth, supported by one of his Men-at-arms, clashes with Qayid and his retinue. Despite the superior numbers of Haradrim, they are beaten back, but avoid injury.

The Raider and one of the Bowmen charge into the Axeman and the Man-at-Arms

The Men-at-arms falls to the Bowman, but the Axeman of Lossenarch easily fights off the Raider and Sayaad.  The Warrior moves round to tackle the Pikemen supporting the Knight, but is felled for his troubles.
The Knight once more beats back Qayid and Shawish, but they avoid injury

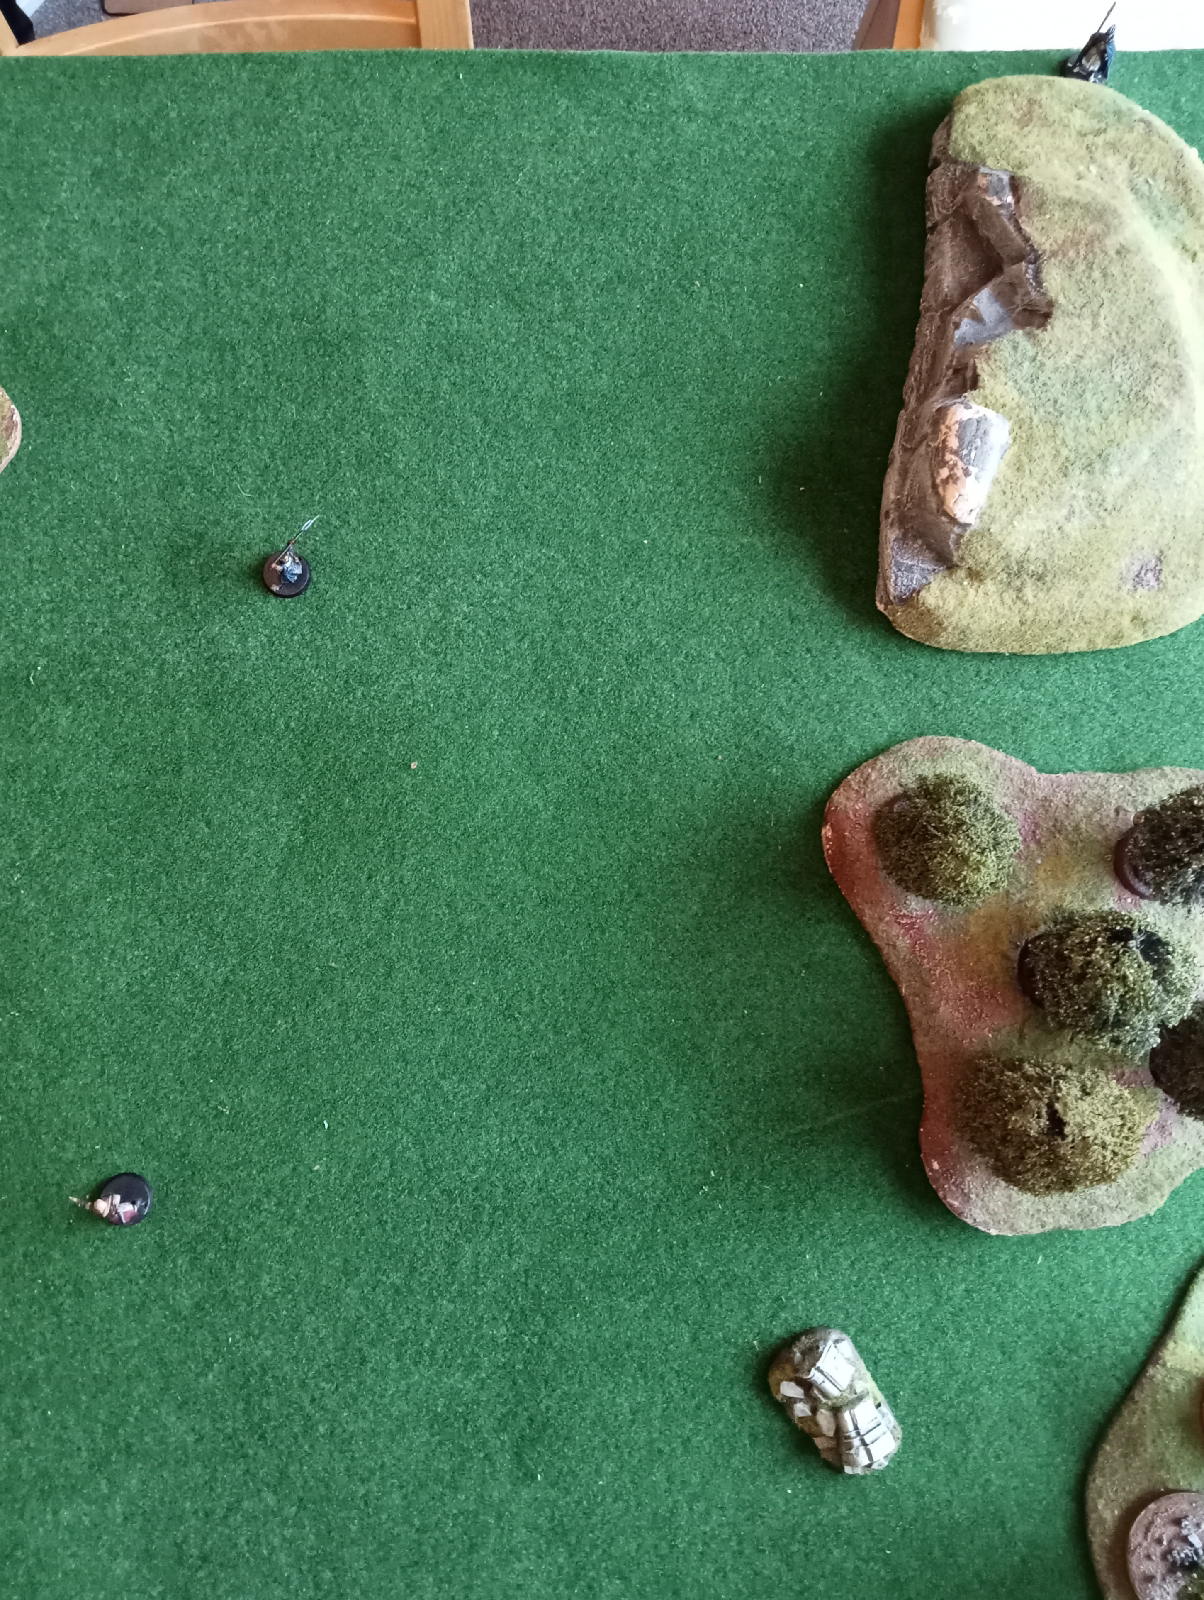
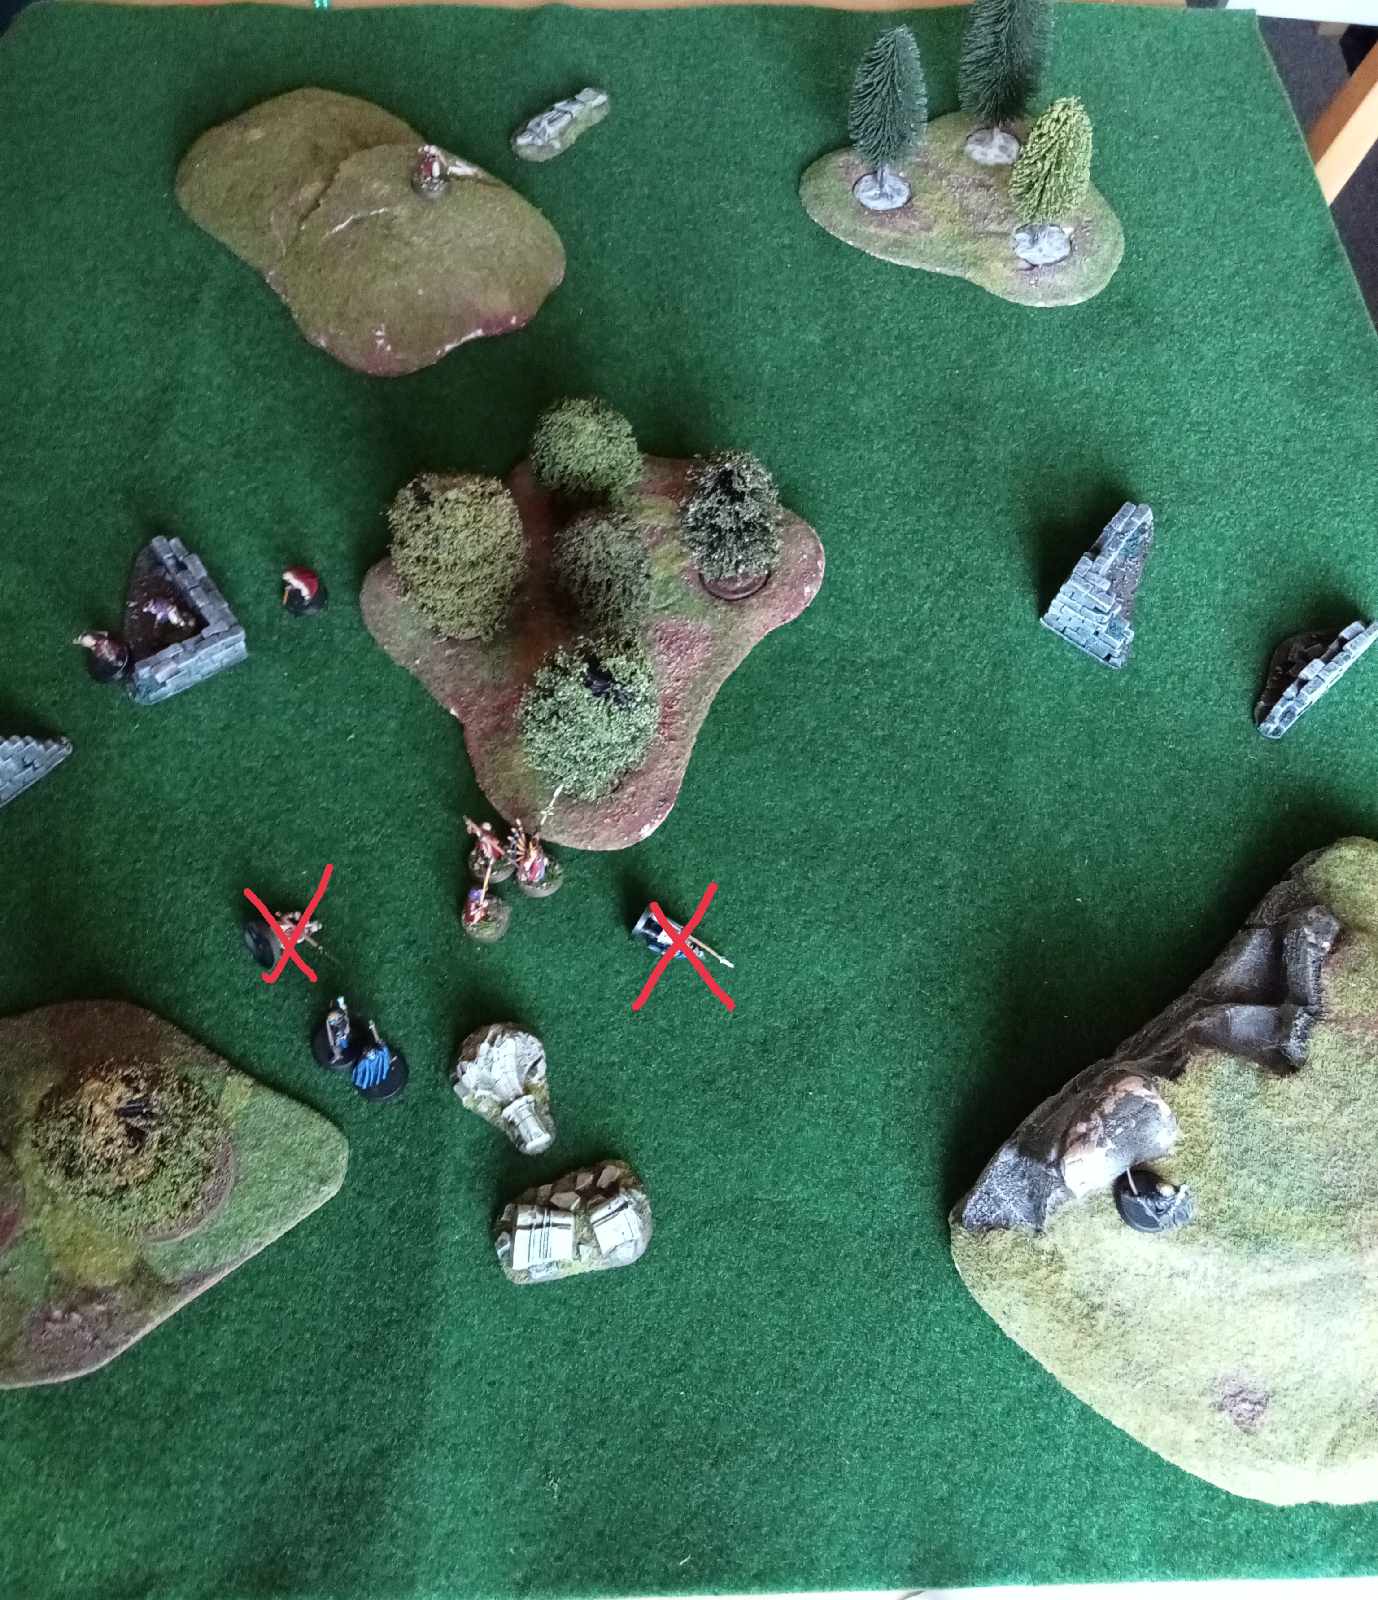
The view from the other side of the battlefield 

At this point the Haradrim were Broken. Qayid saw that he stood no chance against the Knight, so ran (hobbled) away, most of his troops followed. The brave Raider held firm, and even managed to knock the Axeman down, but failed to injure him.

At the end of the skirmish neither leader had felled any opponent, so it was a draw.

Aftermath
One of the Fiefdoms will miss the next game. My warriors were all fine, but disastrously, Sayaad, my great bow hero, got an arm wound, making him much less effective. I'll just have to hope he gets that recovery result should he be put out of action in a future game.
Two more of my Warriors have become Heroes, clearly they watched Qayid and thought they could do just as well.  I've now got a good amount of Influence to spend on my Battle Company, I've already got some thoughts in that direction.

This was an odd game. It's fair to say that it was the first game of the campaign that neither of us particularly enjoyed, it wasn't a bad game, just dull.
From my point of view, I rarely managed to win a duel, and even rarer wounded my target. The dice were not kind to me, often teasing with 6s to hit with a bow, then another 6 for the 'in the way' roll, then a 2, or that's how it seemed.
I didn't make the most of my numerical advantage, but I was hoping that Qayid would get at least one 'kill', so I probably held the rest back too much.

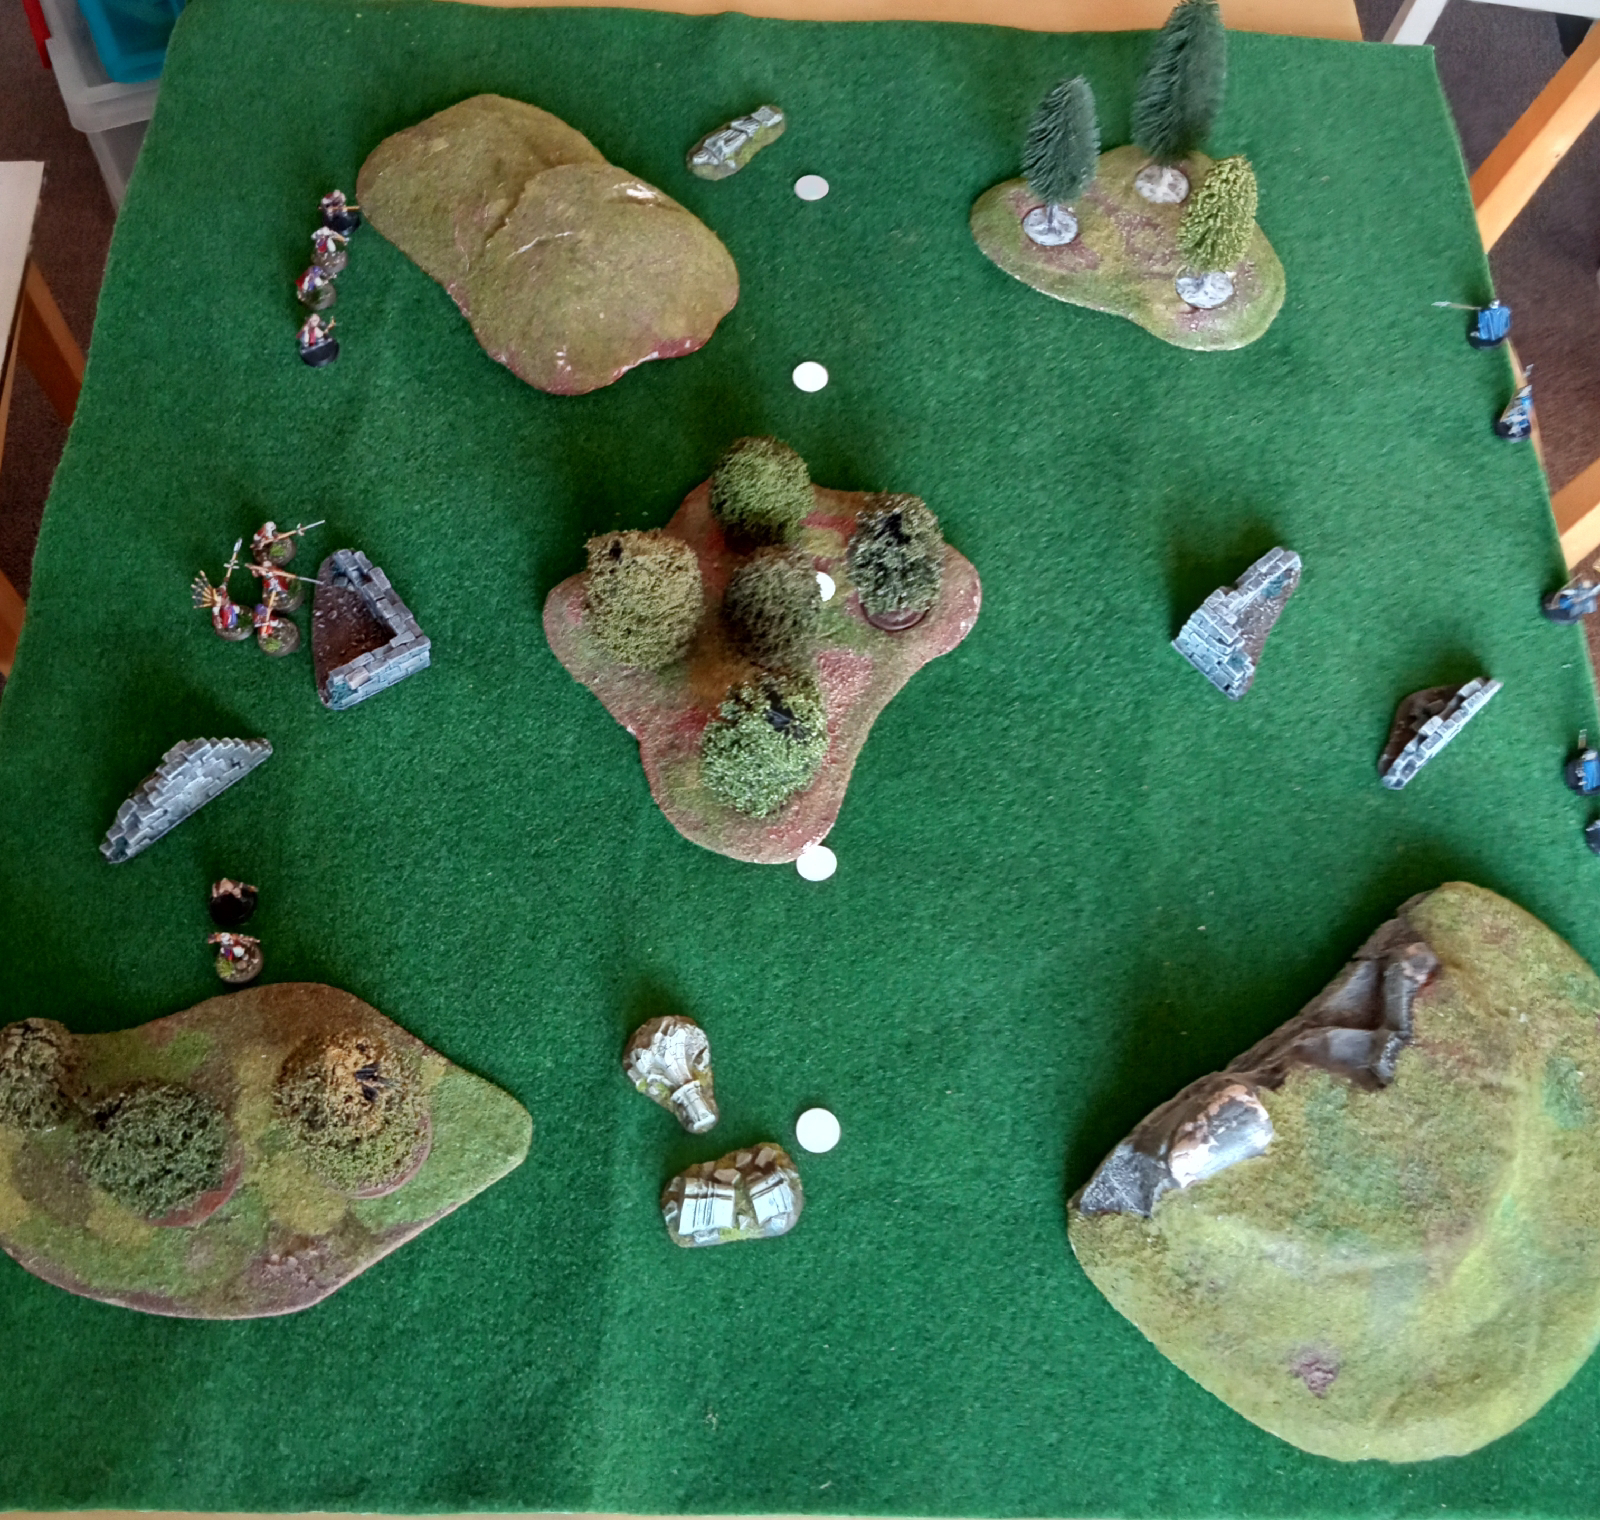
One interesting point, this is the first time we've actually used the recommended four foot square table (Citadel's Realm of Battle), rather than our usual three foot square mat. We found there seemed to be too much space, it took a lot of moving just to get close enough to do much. We'll stick to the mat for future games.

Kings of War Ambush, Karpath vs Basilea.

I played another Ambush game with my Karpath Kingdoms of Men recently, this time against my son in law's Basileans.

Set Up
We chose the Pillage scenario, so placed five objectives around the neutral ground between our forces.
Even before the action began, the Sisterhood Scouts snuck forward to claim one objective. 

Before the action

Opening Moves
The Basileans seized the initiative and marched forward. The Spearmen claimed another objective, as did the Gur Panthers.
The Sisterhood took out a few of the Mounted Scouts facing them, though they held steady. The War Wizard chose to remain safely out of sight behind the lines.

In response the lead Karpath Phalanx advanced to claim an objective and the Mounted Scouts moved to loose a volley at the Sisterhood. The Bowmen targeted the Basilean Spearmen, but none of the Karpath arrows struck home.

 
The Sisterhood Scouts turn to face the main action, casually loosing a volley that finishes off the Karpath Scouts.  The War Wizard bravely steps out of cover to enspell the Bowmen, some fall, but they hold steady.
The Basilean Spears charge the leading Karpath Phalanx causing some casualties, but not enough to daunt the brave men of Karpath. 


The Bowmen exact their revenge against the War Wizard, despite him being a small target they bring him down in a hail of arrows.
The Phalanx hits back against the Basileans, causing some damage, but the power of their faith lessens this.


Middle Phase
The Sisterhood are able to draw a bead on Artem, but the Karpath leader survives, blooded, yet unbowed.
The Basiliean spearmen continue their assault on the Karpath Phalanx, while the Gur Panthers lurk, ready to spring in to action when the time is right.


The Bowmen shoot at the Sisterhood.  Despite them being partly obscured, the archers cause sufficient damage to waver the Scouts.
The 'spear grind' continues, and the Basilieans take more damage, wavering them too. 


Basilea's choices are severely limited, with only the Gur Panther reserve unwavered.

The Karpath Bowmen eschew their arrows and swing round to hit the Basileans in the flank.  This is enough to finish them off.  After disposing of the Men-at-arms, the Bowmen turn to face the Sisterhood and the victorious Phalanx advances.

The Bowmen swing into the flank of the Basilean Spearmen. It's enough to seal their fate.


The Battle's Ending
The Sisterhood loose arrows at the Bowmen, wavering them.
The Gur Panthers seize their moment, crashing into the flank of the Karpath Phalanx and wiping them out completely.


The Wavering Bowmen can't shoot, so they retire to claim an objective.
The second Phalanx charges the Panthers, along with Artem. They hit hard, but not hard enough to get rid of the Gur Panthers.


At the end of the battle each side controls one objective, so it's a well fought draw.

This was a great fun game, the Basilean tactics were sound and I felt he made me work hard for the draw. I had some bad luck with the dice, but it probably balanced out over the game (taking out that pesky Wizard when I needed 6s to hit was great).  Once again the Mounted Scouts survived the first turn, though they fell soon after.

It was also great to face the Basileans, my first experience of fighting them. I had wondered if the two human armies would seem a bit samey, but the Basileans are quite different.  I'm looking forward to facing them again.  I wonder how they'd fare against my Orcs?

Saturday, 15 April 2023

Kings of War Demo Game

I finally got to show my nephew how to play Kings of War. He has lots of experience with other wargames, but this was his first try at Kings of War.
We used my standard 500 points Orcs and Kingdoms of Men forces and a simple 'last army standing ' scenario. I gave him the choice of army and table edge and he chose Orcs.

Set-up
The men of Karpath deployed in the gap between the wood and the cliffs, the bulk of the Orcs were poised ready to advance to the wall, while the Gore Riders prepared to march round the human flank. the Mounted Scouts were ready to try and stop the Gore Riders from rolling up their flank.


Turn One 

The Orcs advance, not to hold the wall, but around it, meanwhile the Gore Riders begin their flank march.
In response, both Spear Phalanxes advance and the Mounted Scouts ride up to the wall. The Bowmen shoot at an Ax regiment and the Scouts at the Gore Riders, but neither are able to cause any damage.

Turn Two
Both Ax regiments advance further, being too far away to charge. The Gore Riders ignore the Mounted Scouts, focusing on getting behind the Human line.
In response one of the Spear Phalanxes charges an Ax regiment,  the other advances to protect their comrade's flank, but is too far away to charge the other Ax regiment. The Mounted Scouts manoeuvre to keep the Gore Riders targeted. Archery is slightly more effective, both targets take slight damage, but not enough to stop them. Similarly, the Spear Phalanx damages the Axes, but not enough to slow them.

Turn Three 
The Gore Riders ignore the Human cavalry and trot on towards their goal. The unengaged Ax regiment charges the Spears facing them while the Krusher looks on.
Both Ax regiments damage their opponents, but the Humans stand firm under the watchful eye of their leader.

In response the cavalry and the Bowmen turn to face the Gore Riders. Their archery does some damage, but not enough to stop them.  Both Spear regiments damage the Orcs; the regiment near the cottage is hurt enough

Turn Four
The Gore Riders see their chance. They smash into the Human Hero. Once they have trampled him into the mud, they do a smart about face, ready to tackle the Scouts. One regiment of Ax wipes out their Spear Phalanx, but by the cottage, the Orcs are still reeling from the damage they took previously. The Krusher is able to charge the Humans, but on his own can't do much.

This is the sort of luck the Orcs were having

Determined to avenge their leader, both the Mounted Scouts and the Bowmen charge the Gore Riders.  Despite the sheer number of attacks, they are unable to destroy them.  The remaining Phalanx wipes out the Orcs they are facing, then readies to face the  Krusher.

Turn Five 
The Gore Riders are still reeling from the damage they took, but the remaining Ax regiment charges the flank of the Bowmen, who are destroyed in short order.  They then turn to face the remaining Phalanx. The Krusher continues to fight the Spearmen.


The Spear Phalanx knock the fight out of the Krusher, the Scouts continue to keep the Gore Riders on the back foot (hoof?).

Turn Six
The regiment of Ax charge the flank of the remaining Phalanx, quickly finishing them off. They then turn to face the remaining Humans, the cavalry engaged with the Gore Riders.

The Scouts finally finish off those pesky Gore Riders and turn to face the threat of the remaining Orcs.

The Final Turn
With a seventh turn rolled, the Orcs take the obvious choice. All their remaining forces charge the Mounted Scouts. Although they can't quite destroy them, they are unable to fight back, so merely withdraw prior to, presumably, retreating to safety.


This was a great fun game. Despite only having 500 points each, there was enough to allow tactical manoeuvring, and the action was tense. I felt that the Men of Karpath seemed to be doing well to begin with, but there were several combats and volleys where I just failed to break the Orcs. The Orcs' high defence definitely helped them. In melee I needed 5+ to damage the Orcs, but they only needed 3+ to damage the Spearmen. If Orcs can hold out long enough to make contact they tend to do well.

My nephew had a good grasp of the tactics required, managing flank charges and picking off my units. I'm annoyed with myself for leaving my Leader exposed and vulnerable to the Gore Riders though.

Wednesday, 12 April 2023

Hold the Pass: MESBG Battle Companies

Another MESBG Battle Companies game today, this time, the Fiefdoms had to try to stop the Haradrim traveling across the board.  I had eight troops as two were recovering from wounds from the previous encounter, whereas the Fiefdoms had only six.  Given that for space reasons we play on a three foot square area rather than four foot, it should be easy for me to get the required three troops off the board.

No problem.  

Hardly worth a battle report, and certainly not a fun or interesting one, right?  

Well read on.

Pre Battle
Qayid was unaffected by his Old Wound, but the Fiefdoms Pikeman was unable to fight.  The Fiefdoms would be stretched to stop the forces of Harad, who set up in two main groups, hoping that Sayaad's abilities with the bow would hold them off long enough to allow Qayid's group to advance, always ready for a quick move to the side to take advantage of the cover near the board edge.


Starting positions

Opening Moves
My objective is simple - move forwards avoiding the Fiefdoms troops.

Qayid leads his men forwards, and the bulk of the Fiefdoms move towards them.  Sayaad keeps his group of archers ready to tackle the Blackroot Archers who have moved off to face them

The inevitable clash between the Knight and his retinue, and Qayid and his troops cost Harad a Spearman.

The archer accompnaying Qayid makes a break for the far side, managing to drop one of the Blackroot Archers as he does so, but another Spearman falls.  In retaliation Qayid fells the Knight - or does he?

  
The Knight is saved by his Lucky Talisman!  In response he fells Qayid.

Sayaad leads his archer contingent to the flank, hoping to make the far side.  They leave one of their number to face the one-armed Sergeant. 
The Knight leads his men off to try and stop them.

Middle Phase
By now I had one archer heading off up the left side of the field, and three heading off to the right.  I'd lost my Leader and a couple of warriors, but I felt victory was in the bag, the Fiefdoms simply lacked the numbers and speed to catch me, and they had no missile troops left.

The one-armed sergeant falls to the Haradrim Archer, everyone else heads up the field.

Sayaad realises that his Bowmen can get off some shots at the pursuing Fiefdoms troops who are veering off towards them.  This, of course slows them down, and they all miss.
One of the Men-at-Arms heads back to deal with the lone Bowman.  The rest now have a chance of caching Sayaad and his men.

The Knight and his attendant Man-at-Arms close in on the fleeing Bowmen.  The Axeman of Lossenarch is ordered to chase the Bowman nearly at the edge, and the Bowman leads the other Man-at-Arms a merry dance around the field.

One Bowman reaches safety, the rest race the pursuing Fiefdoms troops.

Sayaad urges his men onwards (calling a Heroic Move as the Fiefdoms won Priority).  He makes it to safety, but the rest just fail to make it to safety.  The Knight chops one of their number down.  
Back down the field, the Man-at-Arms falls to the Bowman.


The End Phase
With both sides now broken, Priority, and who took Courage tests first, became of vital importance.  I still needed to get one troop off the table, but over the next few turns two of my troops deserted.  I had one mini left, and was facing one opponent.

The remaining Bowman now has to make it up the field opposed by the Axeman and a Man-at-Arms.

In the final turn we both failed Courage tests.  The Fiefdoms remaining warrior fled, but my warrior also fled rather than risk traveling further.  The victory conditions are very clear, I had to get three minis over the line to win, and I failed by the end of the game. Given that the Fiefdoms were also broken at this point my son generously suggested that we call it even.

Aftermath
Despite their injuries (or desertion) all my troops survived, as did the Fiefdoms men.  Unfortunately Qayid now has a leg wound, slowing him down in future battles. Arbaea, who showed his mettle as a hero last game, has improved his armour (Defence 5), but will have to miss next game.  I now have enough Influence to get a company banner, which will grant a useful Courage boost.  Arbaea will carry it next time he is fit.  Khamsa has been promoted to a Raider.
The Fiefdoms sergeant with the arm wound has luckily healed it, so he is back to full fighting fitness now.

I've some more modelling and painting to do.  I have a couple of the metal banner bearers, but I might convert one of the many plastic warriors I have.  I'd like to adapt the same pose as I used for Arbaea.  I have a box of the plastic Raiders somewhere, but I can't find it at the moment.  I do have a couple of the Serpent Raiders, so I might paint one of these up as a stand-in.

Another great fun battle, and one where one tactical error, staying to get off a round of shooting, cost me the game.  Lesson learned? (probably not).  


Tuesday, 4 April 2023

Chillcon 23

I got to Chillcon 23 this last weekend.  It's a lovely show in Sheffield, with plenty of room, and much better lighting than I remember at FIASCO!

I was relatively restrained with my purchases, picking up the jig from the Slice and Slot Kickstarter that I backed.  I also got a sample pack of the printed doors, arches and windows, just so I can have a go while I wait for some to be printed*.  I've been playing around with these and I'll make up some ruins that will be ideal for my Middle Earth terrain.  These particular prints were from MTG Terrain.

I also got some 3D printed crabs which will make a great Tidal Swarm for my Trident Realm from Iron Gate Scenery.  They have plenty of nice normal animals alongside some great looking fantasy stuff.  I was tempted by a Bolt Thrower for my Kingdoms of Men, but it is quite a bit too big for the 50mm base required.  The crabs, however, look just right for a Tidal Swarm regiment.


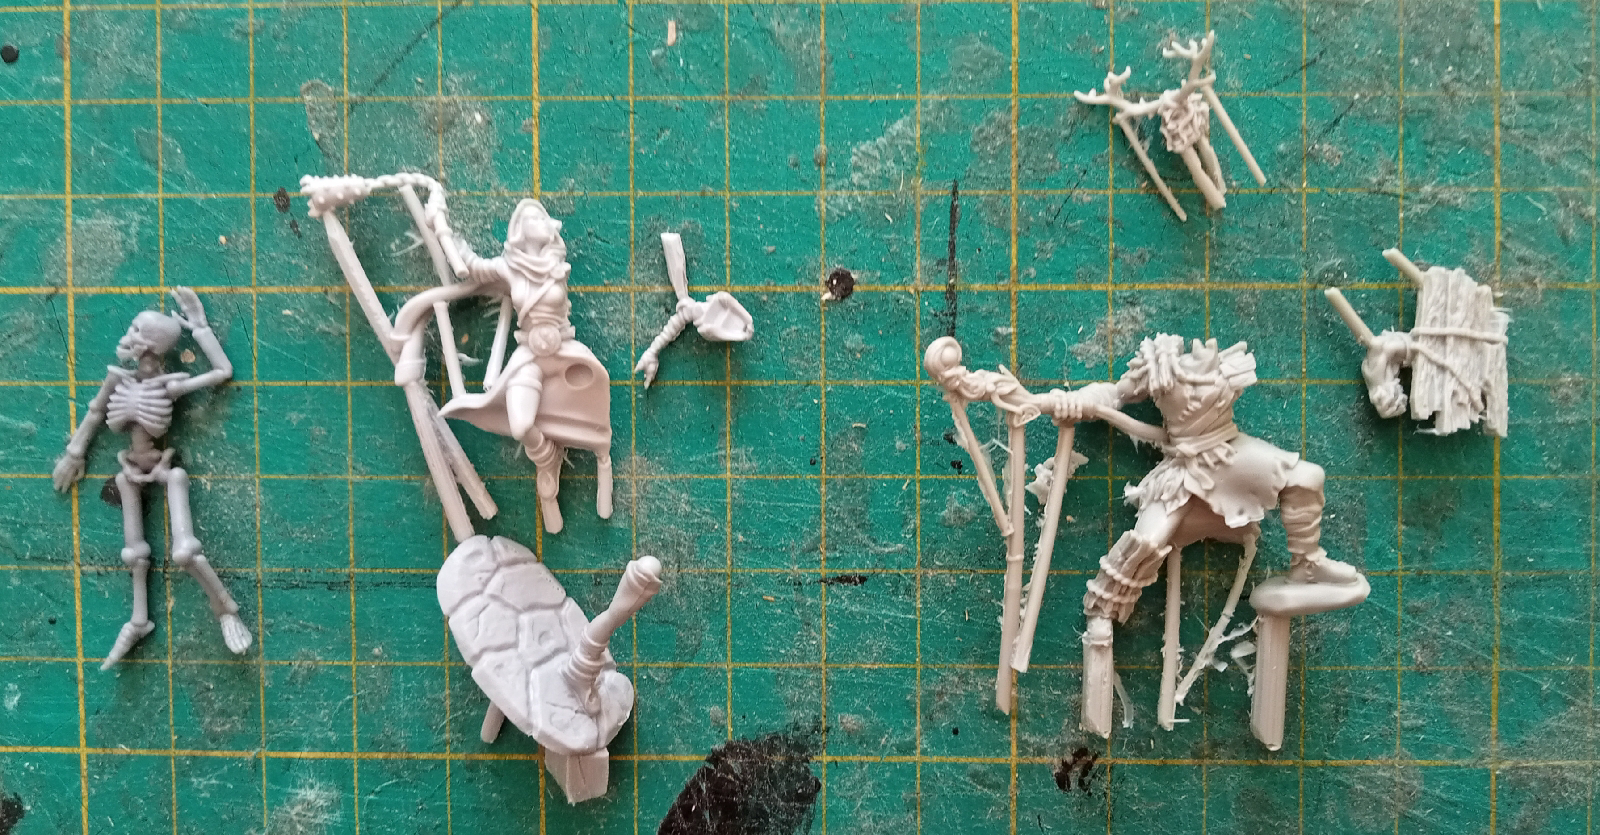
Just as a sample I got three minis from The Lion's Tower who had a lucky dip, £5 for 3 minis!  I've not heard of this company before, but I'm very impressed.  Looking at their catalogue later I particularly like the ghouls, great for roleplaying.  I think the minis I 'dipped' are a skeleton corpse, a human female monk with flail and a chap I haven't IDed, but I think he'd make a nice druid.


Finally I picked up three packs from Ramshackle Games.  These seem to be prototypes for a new range of folklore style goblins.  Think Brian Froud rather than Games Workshop or Tolkien.  I was particularly impressed by both the enthusiasm of the young man we talked to, and the odd nature of some of the sculpts.  I understand that he plans to Kickstart the range soon.  I got a robed goblin with a cleaver and wearing some sort of mask (it could just as well be a rebreather for a SciFi setting), a lovely female goblin with a slightly 'hedgehog' face and different options for arms, and a pie and tea service - ideal objectives.

I also spent an enjoyable half hour talking about Early Medieval music with the re-enactors.  A couple of them have a  band, Elven Dale, and it's just my sort of thing, Early Medieval and new tunes in the the same style.


*I know I don't have a 3D printer, nor am I ever likely to get one, but I have friends who do.

Sunday, 2 April 2023

Recovery: MESBG Battle Companies

Our fourth Battle Companies game was Recovery. An item of power was in the area, and both Leaders wanted to find it for their superiors.  Five tokens are placed on the centre line, one is the objective, but neither side knows which.
Both our heroes with Old Battle Wounds were well enough for the battle, though I certainly had the advantage, having ten minis to the Fiefdoms six.

Opening Moves
I won Priority for the first few turns, the above shows the first turn after my move.  I split my force into three groups, hoping to make for at least a couple of objectives while my bowmen provided missile support.

The Fiefdoms place a Blackroot Vale archer on a hill while the rest of the company advance.

The Middle Phase
The Fiefdoms now had a run of Priority rolls, and their Knight managed to reach a token, which turned out to be the item we were both seeking.  I now had to stop them taking it off my table edge.

I tried to bring my force together to block the enemy.  Sayaad made the most of his Expert Shot to take down one of the Dol Amroth Men-At-Arms.  The Archer on the hill shot one of my Bowmen (Sita).

Qayid leads a small group of spearmen ready to attack the Knight.  The remaining Man-At-Arms charges Eashra.

The End Phase
Eashra falls to the combined attacks of the Man-At-Arms and the one-armed archer, but the turn is disastrous for the Fiefdoms - the Knight is slain by the combined efforts of Qayid, Shawish, Arbaea and Khamsa

Arbaea snatches the item, while Qayid and Khamsa knock the Man-At-Arms down.  It doesn't go all Harad's way, as Tise is felled by the Man-At-Arms and the Archer.

Shawish catches an arrow from the Archer on the hill, but Qayid manages to avenge Tise when he charges the one-armed sergeant.

At this point the Fiefdoms wisely decided to retreat and see to their wounds.  Permitting the Haradrim to take the item.

Aftermath
Neither of us lost any troops, though both Tise and Shawish will miss the next game as they recover from their injuries.  Qyaid is now a Master of Battle, and Sayaad has the Keen Eye ability.  Not tremendously useful, given that I'm not facing elves, but it could be interesting.  As Arbaea carried the item away, he is now a Hero, and has a point of Fate.  Very nice.  Unfortunately I failed all my various Warrior advancement rolls, so the rest of the Company are no better.
The Fiefdoms managed to recruit an Axeman of Lossenarch, I can see that two handed weapon will be cleaving through my lightly armoured troops like a dwarf axe through goblins hot knife through butter.

Another great fun game, though it did feel as if my superior numbers really gave me a huge advantage.  I'll be down to eight next game though.  I tried to think about how I moved and used my forces this time, and resisted the temptation to charge whoever was clos against the Knight, instead waiting until I had a good number of troops.  I must try and think smart again in future games.


Wildspire Miniatures: Bugbears, Mummies and Dire Wolves Painted

In my last post I mentioned that I recently got a set of Wildspire miniatures , specifically the Classic Creatures Expansion 1.  I've be...