No problem.
Hardly worth a battle report, and certainly not a fun or interesting one, right?


Well read on.
Pre Battle
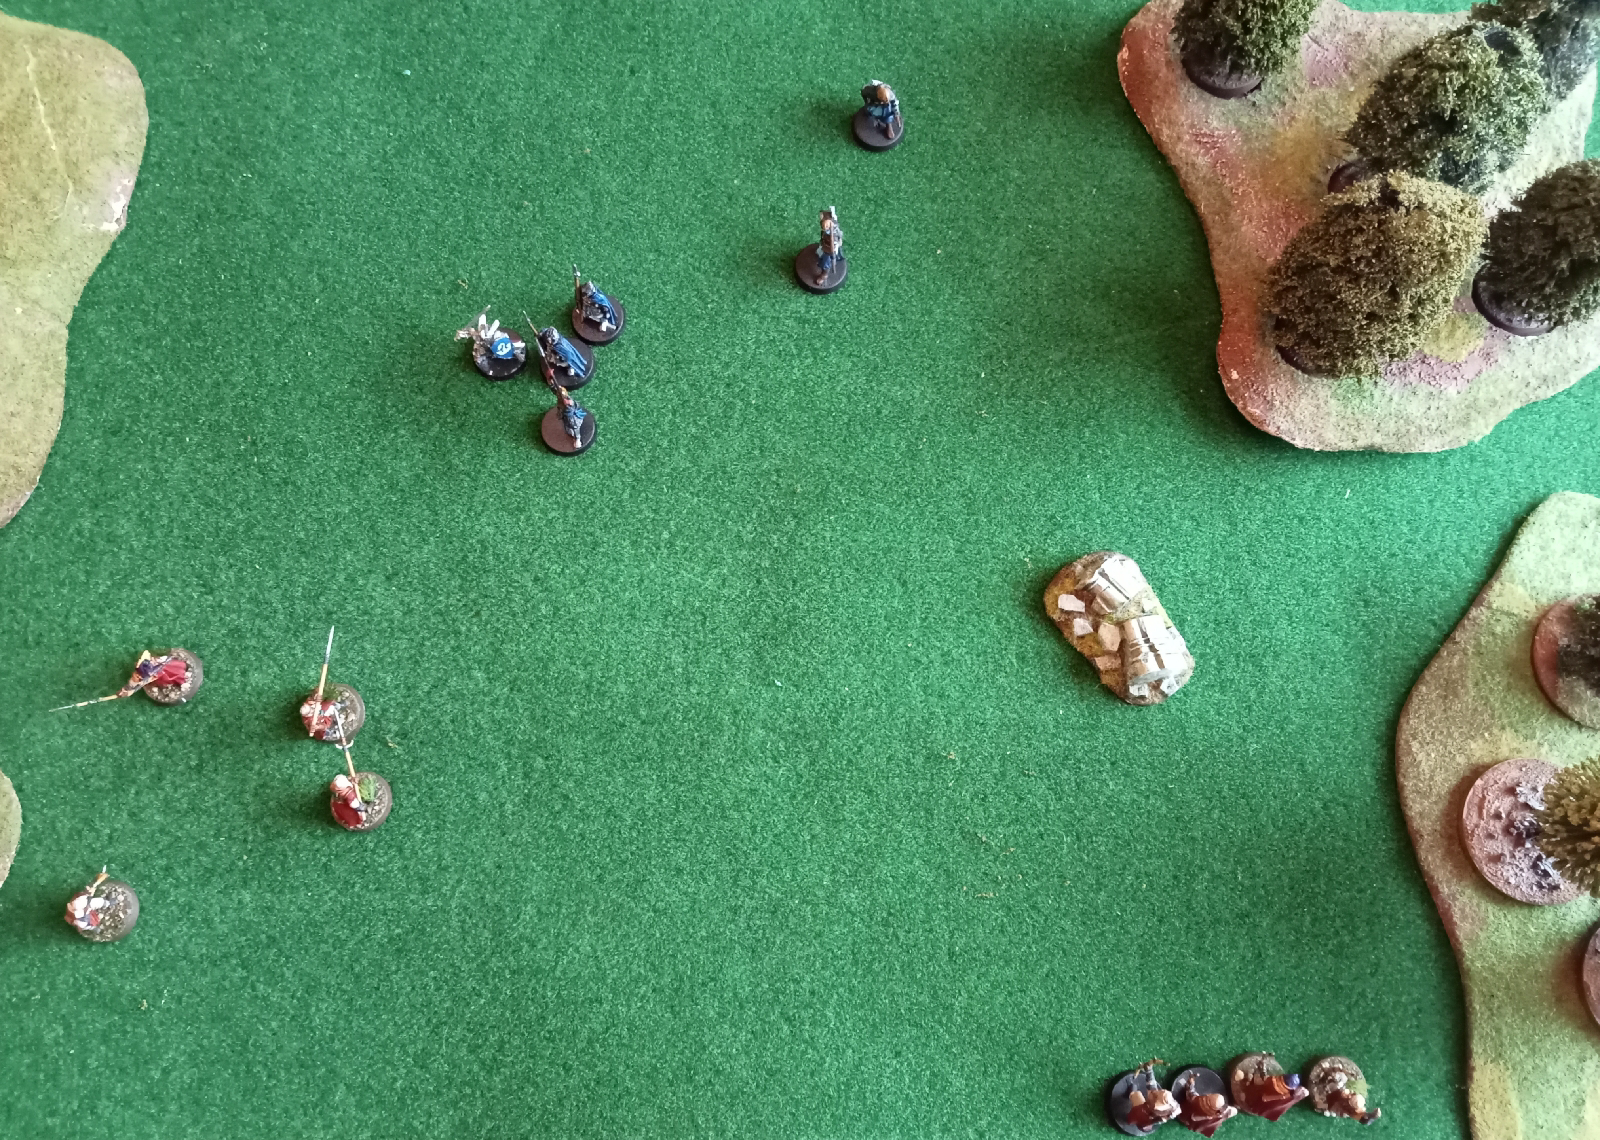
Qayid was unaffected by his Old Wound, but the Fiefdoms Pikeman was unable to fight. The Fiefdoms would be stretched to stop the forces of Harad, who set up in two main groups, hoping that Sayaad's abilities with the bow would hold them off long enough to allow Qayid's group to advance, always ready for a quick move to the side to take advantage of the cover near the board edge.
Starting positions
Opening Moves
My objective is simple - move forwards avoiding the Fiefdoms troops.
Qayid leads his men forwards, and the bulk of the Fiefdoms move towards them. Sayaad keeps his group of archers ready to tackle the Blackroot Archers who have moved off to face them
The inevitable clash between the Knight and his retinue, and Qayid and his troops cost Harad a Spearman.
The archer accompnaying Qayid makes a break for the far side, managing to drop one of the Blackroot Archers as he does so, but another Spearman falls. In retaliation Qayid fells the Knight - or does he?
The Knight is saved by his Lucky Talisman! In response he fells Qayid.
Sayaad leads his archer contingent to the flank, hoping to make the far side. They leave one of their number to face the one-armed Sergeant.
The Knight leads his men off to try and stop them.


Middle Phase
By now I had one archer heading off up the left side of the field, and three heading off to the right. I'd lost my Leader and a couple of warriors, but I felt victory was in the bag, the Fiefdoms simply lacked the numbers and speed to catch me, and they had no missile troops left.
The one-armed sergeant falls to the Haradrim Archer, everyone else heads up the field.
Sayaad realises that his Bowmen can get off some shots at the pursuing Fiefdoms troops who are veering off towards them. This, of course slows them down, and they all miss.
One of the Men-at-Arms heads back to deal with the lone Bowman. The rest now have a chance of caching Sayaad and his men.
The Knight and his attendant Man-at-Arms close in on the fleeing Bowmen. The Axeman of Lossenarch is ordered to chase the Bowman nearly at the edge, and the Bowman leads the other Man-at-Arms a merry dance around the field.
One Bowman reaches safety, the rest race the pursuing Fiefdoms troops.
Sayaad urges his men onwards (calling a Heroic Move as the Fiefdoms won Priority). He makes it to safety, but the rest just fail to make it to safety. The Knight chops one of their number down.
Back down the field, the Man-at-Arms falls to the Bowman.
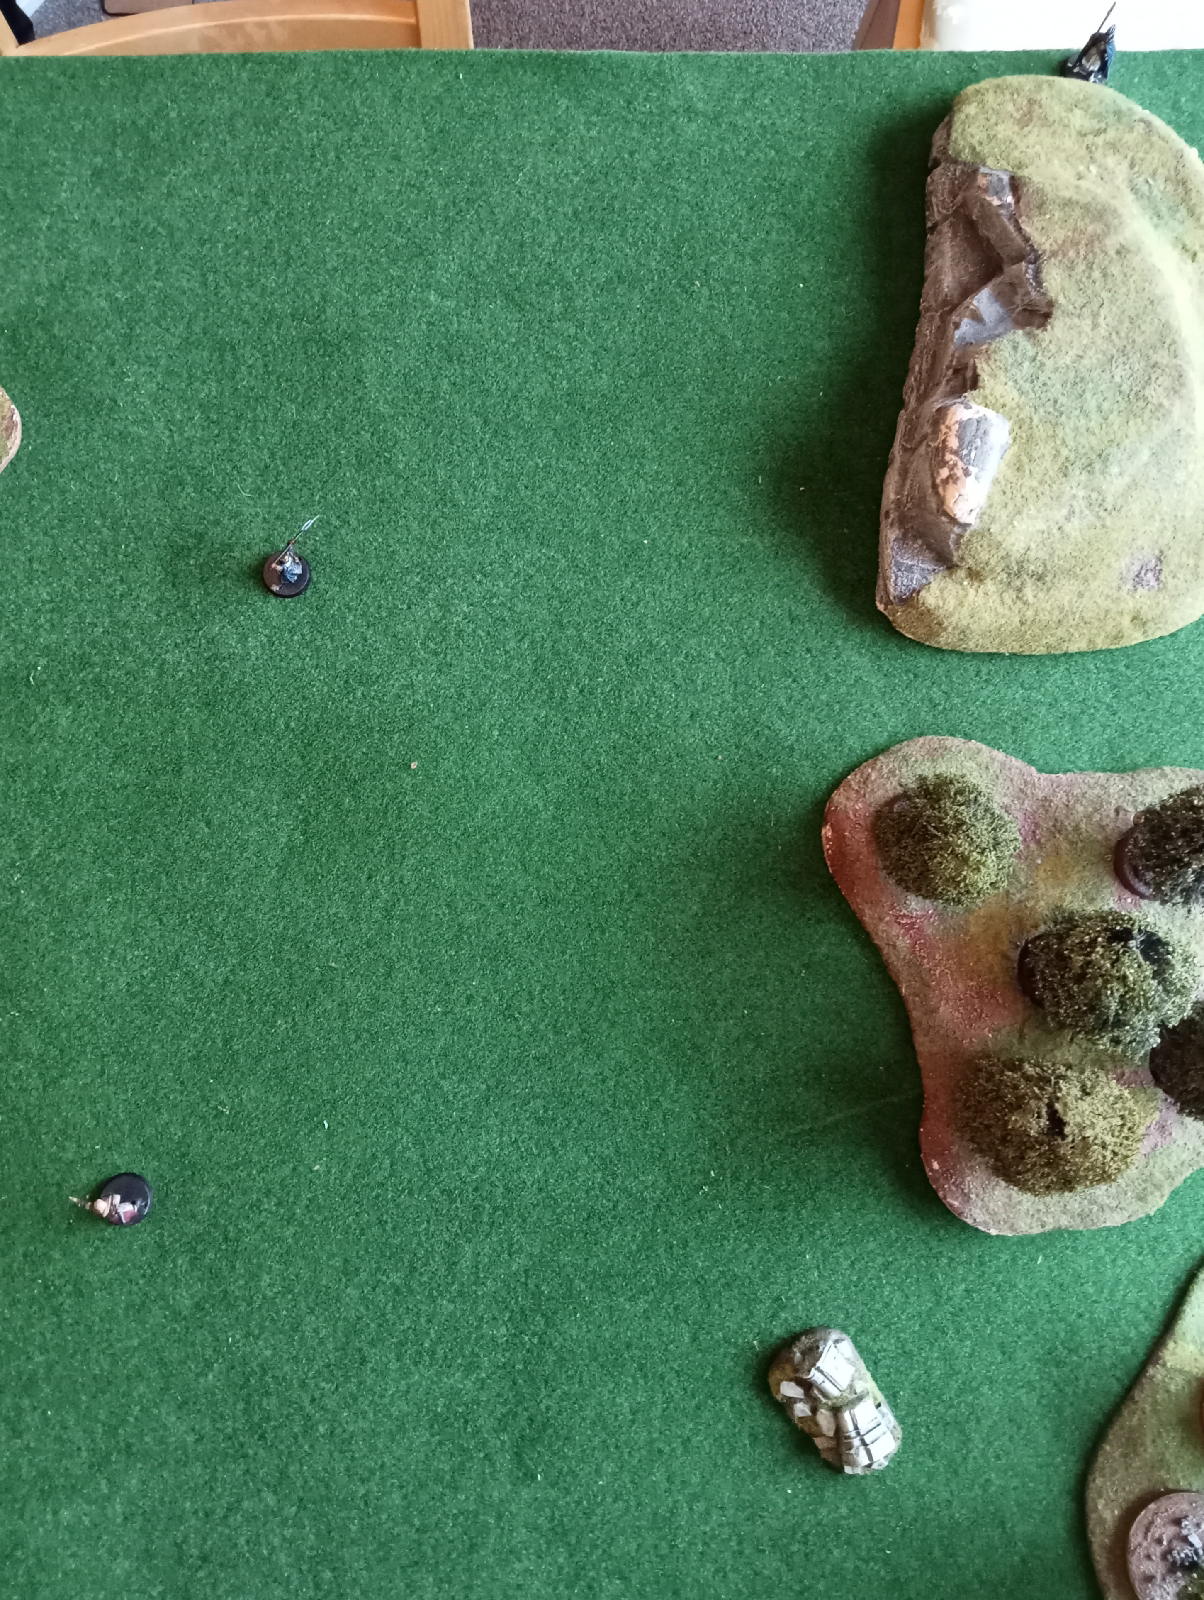
The End Phase
With both sides now broken, Priority, and who took Courage tests first, became of vital importance. I still needed to get one troop off the table, but over the next few turns two of my troops deserted. I had one mini left, and was facing one opponent.
The remaining Bowman now has to make it up the field opposed by the Axeman and a Man-at-Arms.
In the final turn we both failed Courage tests. The Fiefdoms remaining warrior fled, but my warrior also fled rather than risk traveling further. The victory conditions are very clear, I had to get three minis over the line to win, and I failed by the end of the game. Given that the Fiefdoms were also broken at this point my son generously suggested that we call it even.
Aftermath
Despite their injuries (or desertion) all my troops survived, as did the Fiefdoms men. Unfortunately Qayid now has a leg wound, slowing him down in future battles. Arbaea, who showed his mettle as a hero last game, has improved his armour (Defence 5), but will have to miss next game. I now have enough Influence to get a company banner, which will grant a useful Courage boost. Arbaea will carry it next time he is fit. Khamsa has been promoted to a Raider.
The Fiefdoms sergeant with the arm wound has luckily healed it, so he is back to full fighting fitness now.
I've some more modelling and painting to do. I have a couple of the metal banner bearers, but I might convert one of the many plastic warriors I have. I'd like to adapt the same pose as I used for Arbaea. I have a box of the plastic Raiders somewhere, but I can't find it at the moment. I do have a couple of the Serpent Raiders, so I might paint one of these up as a stand-in.
Another great fun battle, and one where one tactical error, staying to get off a round of shooting, cost me the game. Lesson learned? (probably not).


Sounds fun, I need to see these figures for real.
ReplyDeleteIt certainly was.
DeleteI'll show you them next time I see you.
I'll also do a post with the battle companies once the next lot of minis are painted.