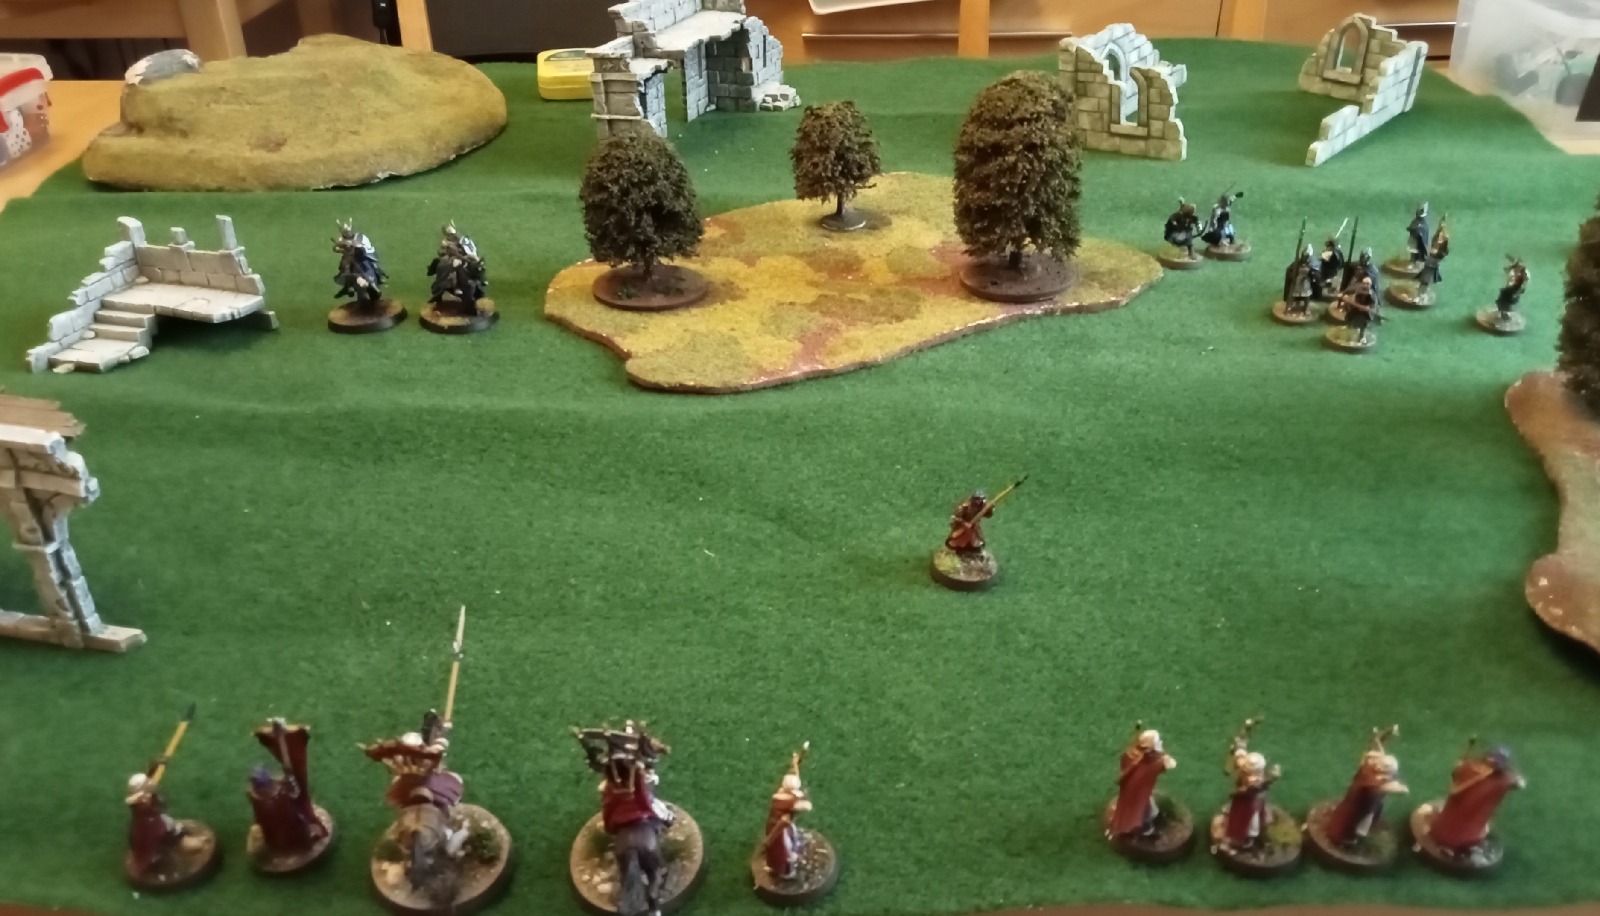
As we were playing the mission as a direct response to the previous game we decided that Shawish would start out alone rather than accompanied by two warriors.
We also made a few adjustments due to our smaller table size, three foot square rather than four feet. The hero started in the centre of the table as normal and the Fiefdoms at least six inches away. The Harad reinforcements arrived at the end of the second turn, essentially using up their turn two movement to cover the 'missing' 6" of table.
Opening Moves
The Fiefdoms troops amass in the ruins north of a wood. They believe that their target is hiding in the wood, but can't see him yet.

Shawish makes a break towards where he hopes the rest of the Harad force may be. The Fiefdoms troops flank the woods, cavalry on one side and infantry on the other.
The Harad force arrives at last.
The Middle Phase
Despite the appearance of the Harad force the Fiefdoms march on. Qayid and Khamsa charge the enemy horse while the archer contingent move forward a little and draw their bows.
To no avail. Every shot either misses outright or fails to wound.
The cavalry skirmish continues, with Khamsa unhorsing his opponent. Qayid is rocked in the saddle by the Dol Amroth Captain, but the Fates have more in store for him and he survives.
Neither sides archery is effective, but the Fiefdoms infantry are closing the gap.
Khamsa continues his assault, running down a Clansman, and Sabea shoots a Man-at-arms. It's not all Harad's game though, Sita falls to an Axeman of Lossenarch.
End Game
Khamsa rides down a Blackroot Vale archer as the Harad bowmen engage the Fiefdoms infantry, placing themselves as a living shield for Shawish. However, another sneaky Blackroot Vale archer is able to catch him in the flank and cut him down despite a desperate Parry (two failed Fate rolls, 2s, so his point of Might didn't help either).
Victory to the Fiefdoms.
Aftermath
All downed troops survived, though the new Fiefdoms knight was badly injured and only the use of Healing Herbs saved him. Sabea was promoted and Arbaea gained a point of Might. I'll be replacing the Healing Herbs that I used (though in fact they weren't needed as I rolled well) and buying a horse for Shawish. I might look at buying more troops, but I find trying to control too many means I sometimes miss their various skills. As seven of my ten troops are now Heroes, this becomes more more of an issue.
Another great game, and really exciting to play. We hadn't played for a few weeks and I, at least, was a bit rusty. A few turns in and it came back to me though.
We liked the scenario, and it would be interesting to play it on the recommended four foot square.
*I now need to paint up a couple more Raiders.


Sounds like a fun game. Your warbands seem to be getting quite powerful now.
ReplyDeleteIt was a great fun game.
DeleteYou are correct, our Companies are becoming quite powerful. This is great, but it does mean that I sometimes forget some of the special rules.